How to Fix a Leaking Sink
Planning & preparation
- A leaking sink is generally caused by the washers, the plastic seals between the sink and the strainer, being old, perished or damaged
- Firstly, try and work out where your leak is coming from. Check all the pipes underneath the sink, including the cold and hot tap feeds, for any signs of drips or moisture. Then, hand-tighten the compression fittings before testing the sink for leaks again
- To check whether the washers are causing the problem, simply fit your plug and fill the sink with cold water, then wait to see if the level drops. If it does, you’ll almost certainly need to replace the washers
- Several methods for fixing a leaking sink are shown in this leaflet, but if your problem persists then call in a professional
Do it right
- If you do have to remove the plughole and washers, carefully clean the surrounding area before replacing washers and reassembling
- It’s best to store manufacturer’s instructions for your sink and tap somewhere safe, as this information may help you to locate the source of the leak and solve the problem as quickly as possible
- Check the seal periodically for the 24 hours following any repair work
Staying safe
- Turn off the water supply before carrying out any plumbing work
- No specific safety equipment is required, but it’s a good idea to be careful of sharp edges when removing the plughole and when cleaning the area around the sink hole
Step by step
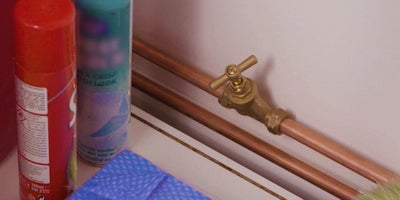
Start by turning off your water supply. To do this, locate the stopcock and turn it clockwise.
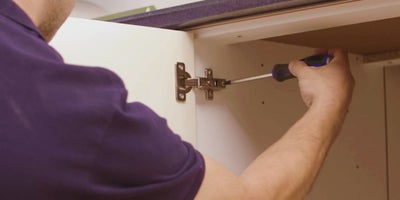
Remove any cupboard doors that may block your access to the pipes and the underneath of the strainer.
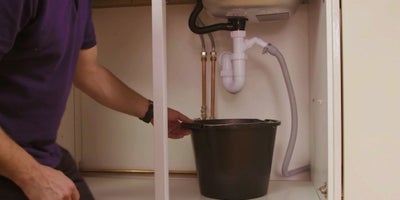
Place a bucket or watertight container underneath the strainer to catch any water that spills out.
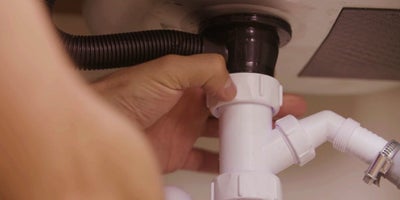
Unscrew the two compression fittings that hold the waste pipe in place. You may need to use a wrench if the compression fittings are particularly tight.
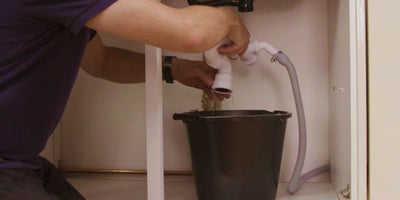
Carefully remove the waste pipe and empty the water into the container below.
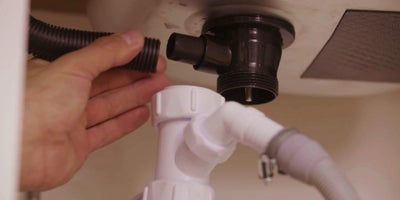
Next, disconnect the overflow pipe from the side of the strainer.
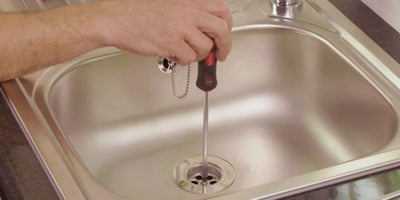
Remove the lower half of the strainer by unscrewing the screw that holds the top of the drain to the strainer. It’s best to reach underneath and hold the bottom of the strainer still whilst you do this.
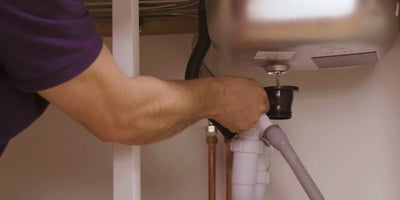
Now remove the lower half of the strainer unit.
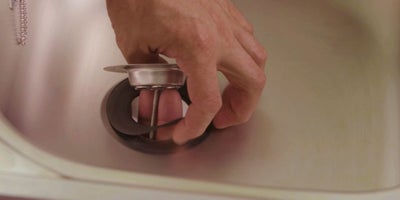
Then, lift the top of the strainer unit out from above.
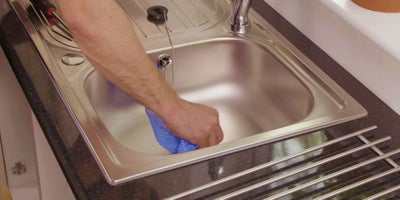
Use a cloth to thoroughly clean the parts and the area around the hole. Take care as the edge may well be sharp.
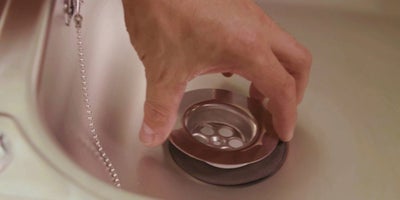
To install the replacement strainer, start by placing the thinner, wider, rubber washer between the sink and the top part of the strainer.
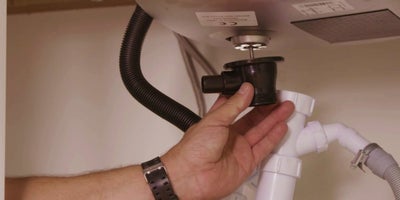
Then, put the thicker rubber washer and the bottom part of the strainer into position underneath the sink.
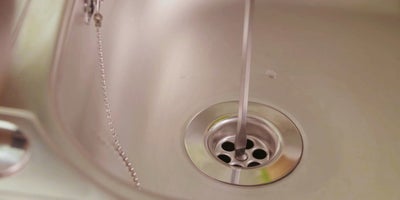
Use a screwdriver to tighten the screw and secure the strainer in place.
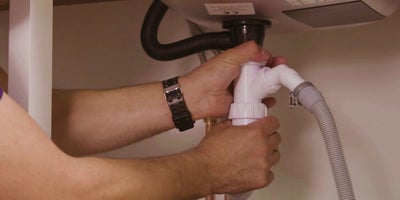
Reconnect the overflow pipe to the waste pipe, and then connect to the trap.
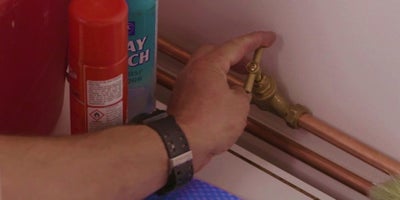
Turn your water supply back on by twisting the stopcock anticlockwise.
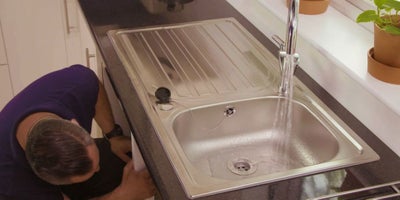
Finally, run the tap to check the leak has been resolved.
