Skip to content Skip to navigation menu
Basket
0

Building a pergola

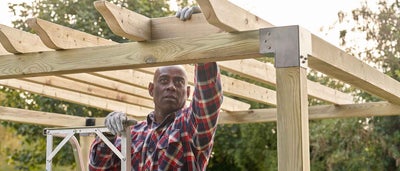
Building a pergola is the perfect solution for adding a new dimension to your garden. On top of being a stand-out feature of your outdoor space, they give you the ideal spot for outdoor entertaining, whether it’s an alfresco dining area or a space for lounging and relaxing. They come in a plethora of styles to suit any aesthetic and can be made to any size so that they’re tailored to your space.

This job requires two people at times, so make sure you’ve got someone on hand to help you when required.
How to build a pergola

Step 1

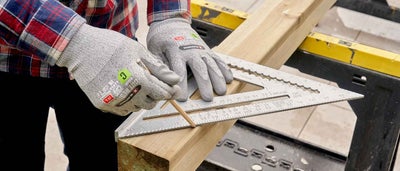
Firstly, ensure you have a level, flat surface to work on. Make sure existing decking or block paving is in good condition and safe to build upon. Once you’ve decided on how big you want your pergola, start by preparing the timber for your four ring beams that go on top of the upright posts. To do this, start by mitring each end. Use a speed square to mark your angled cutting lines.

Wickes_Pergola_How_To_13.jpg

Step 2

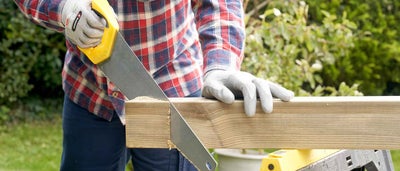
Then use your saw to make your mitred cuts.

Wickes_Pergola_How_To_16.jpg

Step 3

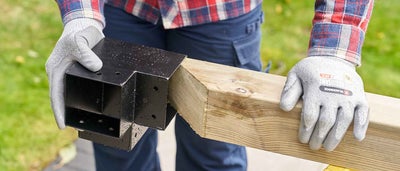
Now you can pop the corner brackets onto both ends of each beam. You might need to use a mallet to help slide it into place.

Wickes_Pergola_How_To_18.jpg

Step 4

Then secure it with one fixing screw for now. The rest will go in later. 

Wickes_Pergola_How_To_20.jpg

Step 5

The next thing you’ll need to do is measure, mark and cut your four upright posts to your desired length. This will determine the height of your structure. For reference, we cut 

Wickes_Pergola_How_To_22.jpg

Step 6

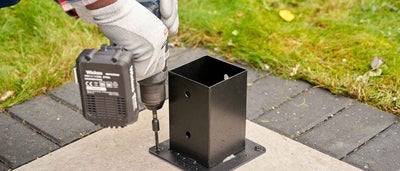
You can install a pergola on most bases- we’re installing ours on a ceramic tiled patio. There are four post bases that need to be fitted to the floor. Place your first one in your desired location and fix it into place to give yourself a starting point.

Wickes_Pergola_How_To_29.jpg

Step 7

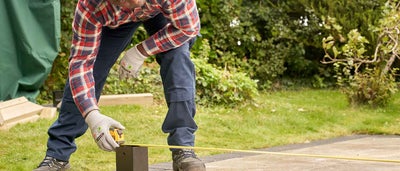
Then measure out the distance between your four corners and mark out the screw holes for each base bracket.

Wickes_Pergola_How_To_30.jpg

Step 8

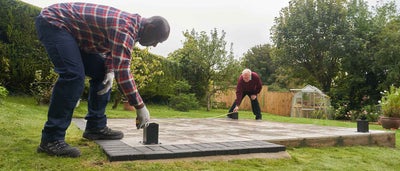
Measure across the gap diagonally to make sure that it’s squared up.

Wickes_Pergola_How_To_33.jpg

Stop 9

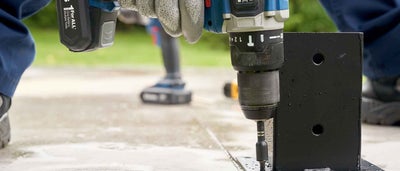
Once you have all four post base locations marked out, you can screw them into the ground. 

Wickes_Pergola_How_To_32.jpg

Step 10

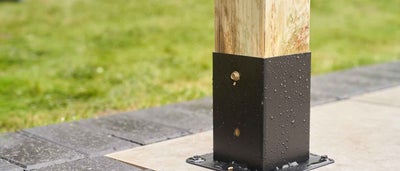
Once they’re fixed, you can insert each upright post into place.

Wickes_Pergola_How_To_35.jpg

Step 11

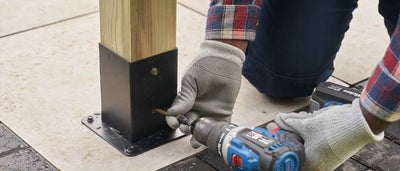
Use one screw for now to hold them in - the remaining screws can go in later.

Wickes_Pergola_How_To_38.jpg

Step 12

Then you can lower the front and back beam into place on top of the posts.

Wickes_Pergola_How_To_39.jpg

Step 13

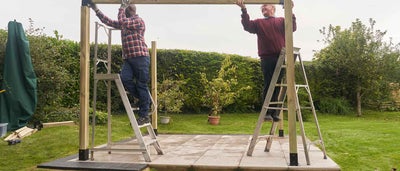
Then insert your side beams. To do this, you might need to pull the posts apart slightly. Make sure the mitre joints on either end are properly aligned. You can use a mallet to make sure the brackets are securely attached.

Wickes_Pergola_How_To_47.jpg

Step 14

It’s also worth checking that they’re level, so you can make any adjustments before you fix them with screws.

Wickes_Pergola_How_To_52.jpg

Step 15

Once you’re happy, screw them into place.

Wickes_Pergola_How_To_54.jpg

Step 16

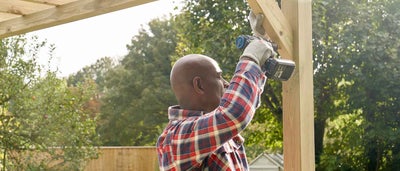
Now that you’ve got the pergola built, insert any remaining screws where they’re still needed to make sure that everything is fixed and secured.

Wickes_Pergola_How_To_67.jpg

Step 17

This is just the beginning of your pergola, now the fun can really begin. It’s time to add some finishing touches - there are loads of directions you can take it; the choice is yours. You can install a trellis and have climbing plants for a pop of natural colour. You might want to add curtains or a canopy to shade yourself from the sun.


##How to build a pergola roof##

We went for some decorative roof joists and corner braces. You can use a mitre saw to create these elegant, curved ends to the roof joists. Once you have them prepared, drill a pilot hole at either end of each one, so that it’s positioned centrally with equal overhang on both sides.

Wickes_Pergola_How_To_60.jpg

Step 18

Then place them in position, using an offcut of wood as a spacer so that they’re spaced out consistently.

Wickes_Pergola_How_To_63.jpg

Step 19

Then screw them into position.

Wickes_Pergola_How_To_61.jpg

Step 20

Then screw in your corner braces and you’re all done.

Wickes_Pergola_How_To_72.jpg

Step 21

It’s ready for all your outdoor entertaining.

We hope our ‘how to build a pergola' guide has inspired you to get started on your own garden masterpiece. 

Wickes_Pergola_How_To_80.jpg