Skip to content Skip to navigation menu
Basket
0
1.How-To-Fit-A-socket.jpeg

Planning & preparation

  • Here we will show you how to replace an old socket with a surface-mounted double electrical socket with USB ports. Bear in mind that different socket designs may have different fitting requirements, so be sure to always check the manufacturer’s instructions
  • Sockets are available in a range of sizes, colours and finishes, with some more modern designs also featuring USB ports and Wi-Fi extenders
  • Electrical installations and alterations are subject to local building and electrical regulations that you must comply with. For information on the regulations in your area, visit: https://www.electricalsafetyfirst.org.uk/ or your Local Authority website
  • Wiring should always comply with IEE Wiring Regulations
  • If you have any doubts or queries, then it’s best to contact a registered electrician

Do it right

  • When replacing an existing socket, it is essential that the cable connections wire up to the new product in the same way as the old one. The colours of your wires will depend on how old the wiring is:
    • Brown (or Red if you have old wiring) – indicated by ‘L’ on your socket (Live)
    • Blue (or Black if you have old wiring) – indicated by ‘N’ on your socket (Neutral)
    • Yellow & Green striped – indicated by ‘E’ or three vertical lines on your socket (Earth)
  • Before using a voltage or socket tester, use it on the old socket before the power is turned off; that way you can be sure that the tester is working
  • If there is any sign of heat damage or fraying on the wiring, use side cutters and electrical wire strippers to trim back the damaged wire

Staying safe

  • Electrical work can be dangerous, so be sure to always follow instructions and to never work on your electrics unless you are sure they have been turned off and isolated at the consumer unit (fuse box)
  • Purchasing a voltage or socket tester is the safest way to ensure there is no electrical current to the socket. Test the voltage tester on the old socket before the power is turned off; that way you can be sure it is working
  • We would recommend that all homes are fitted with a fixed RCD (Residual Current Device) as they offer the highest level of protection

Aftercare

  • Take care not to overload your socket as this can cause damage and overheating
  • Wipe with a soft dry cloth from time to time
Step by step

Step 1

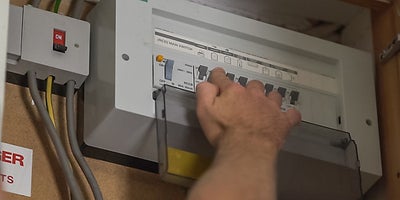
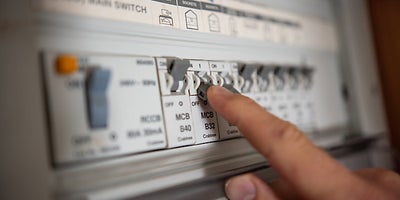
Locate your consumer unit (fuse box) and identify the circuit you’ll be working on. Isolate the circuit by flicking the micro-circuit breakers (MCB) to the OFF position or by removing the fuse, keeping it safely in your pocket until the job is completed.

2.How-To-Fit-A-Socket-1.jpeg

Step 2

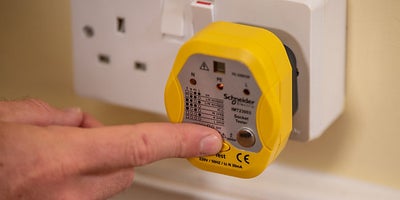
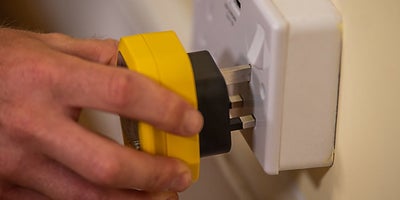
Use a voltage or socket tester to check that the socket is no longer live. You could also double-check by plugging in a lamp before isolating the circuit, then checking the light has gone off.

3.How-To-Fit-A-Socket-2.jpeg

Step 3

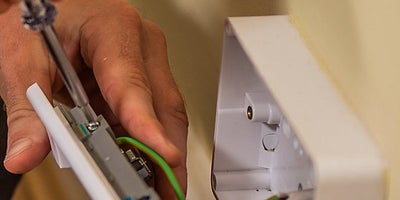
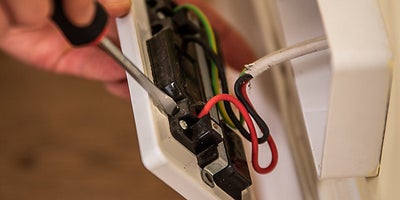
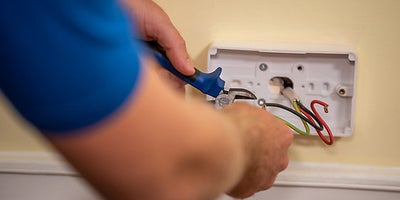
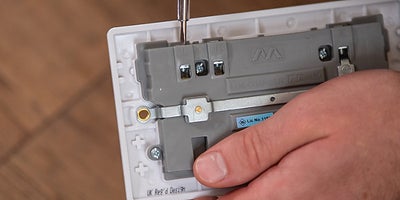
Use a screwdriver to remove the retaining screws and gently manoeuvre the front of the socket to reveal the wiring. There should be enough slack in the wire that you can easily access the back section.

4.How-To-Fit-A-Socket-.jpeg

Step 4

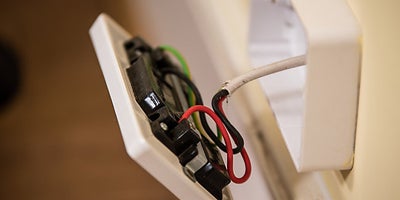
You may have single, double or triple wiring, and it’s vital that you replace the wires like-for-like.

5.How-To-Fit-A-Socket.jpeg

Step 5

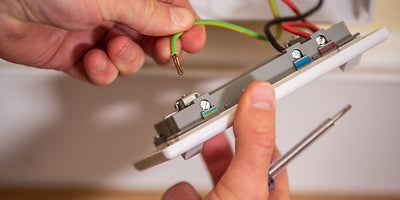
Loosen the terminal screws, gently free the wires and put the old socket to one side.

6.How-To-Fit-A-Socket.jpeg

Step 6

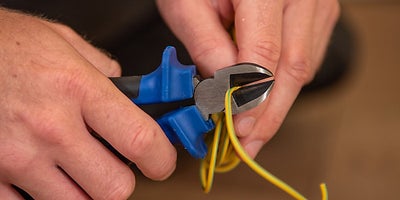
If any of the wires are frayed, use side cutters and electrical wire strippers to leave 5mm of wire clear.

7.How-To-Fit-A-Socket.jpeg

Step 7

Cover any bare earth wires with appropriate green or yellow sleeving.

8.How-To-Fit-A-Socket.jpeg

Step 8

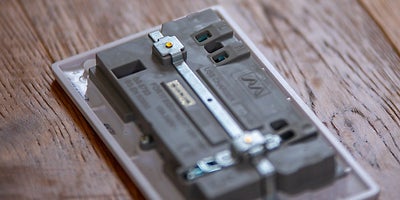
Note that the order and positioning of the Live (L), Neutral (N) and Earth (E) terminals on the new socket may be different from the old socket. Be sure to check the terminal labels on the new socket carefully.

9.How-To-Fit-A-Socket.jpeg

Step 9

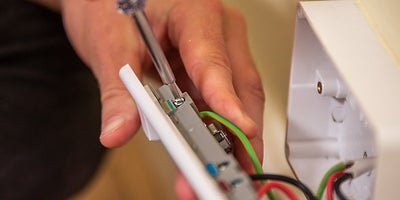
Ensure that the terminal screws on the new socket are open. Then, depending on the age of your wiring, connect the brown (or red) wiring to the Live (L) terminal, making sure no bare wire is visible, and that the connection is secure.

10.How-To-Fit-A-Socket.jpeg

Step 10

Repeat this process connecting the blue (or black) wiring to the Neutral (N) terminal and the green & yellow wiring to the Earth (E) terminal.

11.how-To-Fit-A-Socket.jpeg

Step 11

Re-tighten the terminal screws so that they are firmly fixed but not over-tightened.

12_How-To-Fit-A-Socket.jpeg

Step 12

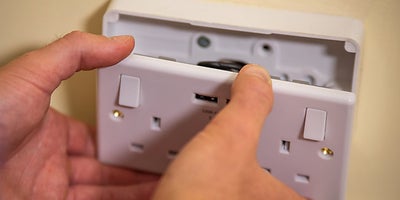
Carefully manoeuvre the faceplate back into position, making the sure that wiring is not caught or trapped.

13.How-To-Fit-A-Socket.jpeg

Step 13

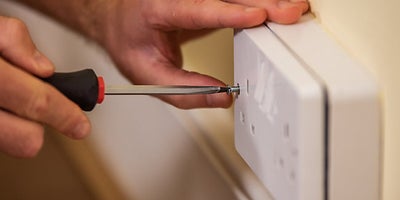
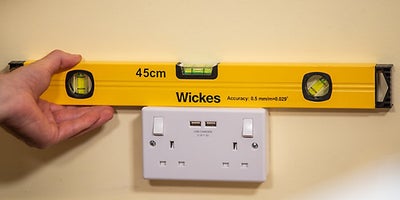
Reattach the faceplate with the retaining screws, checking it is level with a spirit level and being sure not to over-tighten.

14.How-To-Fit-A-Socket.jpeg

Step 14

Replace the fuse and restore the power at the consumer unit.

15.How-To-Fit-A-Socket.jpeg

Step 15

Use the socket tester to make sure the unit is correctly wired and functioning.

16.How-To-Fit-A-Socket.jpeg