What is coving?
Coving is a decorative join between the wall and the ceiling of a room, and is a great way of creating an attractive finishing touch to any room. Coving comes in a large variety of styles to suit both traditional or more contemporary décor.
Coving comes in three main materials:
- Plaster coving – the most traditional material and also the most durable, so it needs less maintenance and less painting. Plaster coving is heavier than other coving.
- Duropolymer coving – this comes with the benefits of plaster coving, but it’s more lightweight. It’s also quicker to install.
- Polystyrene coving – this is the cheapest option for coving, and again is more lightweight than plaster coving. It’s also the least durable, and usually needs several coats of paint.
How do I fit inside corners with coving?
Sections of coving are joined at the corners with mitre cuts. This applies to both internal and external corners. However, some coving comes with pre-cut internal and external joints. This means you’ll only have to make simpler cuts to join pieces together on a length.
It’s best to fit your coving prior to painting or putting up wallpaper. If your room has architrave and skirting then choose a design which complements these features for the best look.
How do I measure coving?
You should always put up coving straight and level, as you can fill in any gaps afterwards. Lay down a dust sheet before you start and use a pipe detector to check for hidden pipes behind the walls. Start your coving on the longest wall and plan from there how it will go around the room and where the mitre joints will be internal or external.
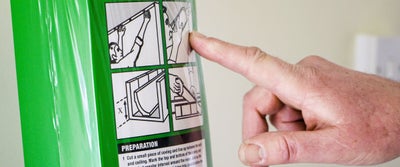
Check the manufacturer’s instructions to see how far the edges of the coving should be fixed from the wall and ceiling. This varies according to the style and size of the coving.
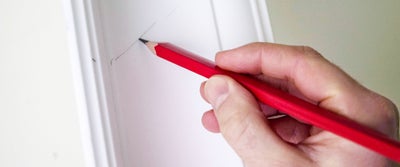
Then go around the room and draw pairs of marks onto the wall and ceiling at 500mm intervals.
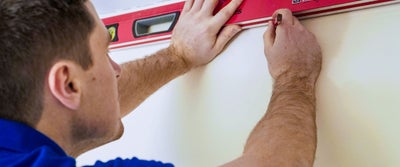
Using a long spirit level join up the marks so you have two continuous level pencil lines, one on the wall and one on the ceiling. These will be your guidelines for the coving. Alternatively you can use panel pins and a chalk line to mark where the coving should be fixed.
How do I cut coving corners?
Measure out the sections of coving you will need, remembering to account for the internal and external mitre cuts. Mark the direction of the intended cuts on the coving face. When measuring and marking coving it’s useful to mark on the rear side of the piece which is the wall edge, and which is the ceiling edge.
For an internal corner the wall face is the longest end. For an external corner the wall face is the shortest end.
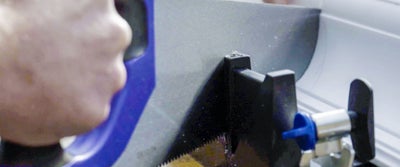
Firmly secure your mitre box on a workbench and place the coving in the mitre box with the wall edge at the top of the box. Use a fine-toothed panel saw to make the 45 degree cuts at each end, in the marked direction. If necessary lightly sand the ends until smooth.
How do I fit coving?
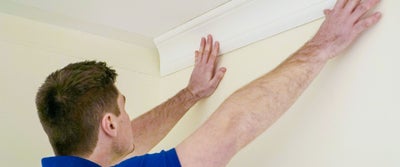
To fit the coving start by holding the cut piece in position to check that it’s a good fit.
Ensure the area marked for your coving is free from dust and any loose plaster by giving it a quick brush over. If you’re applying coving to fresh plaster or a very porous surface, then apply some PVA adhesive first and allow it to dry before you install your coving.
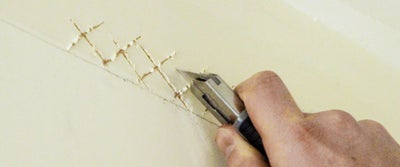
Score the area in between your pencil marks or chalk lines with a sharp knife. This will help the adhesive to bond firmly.
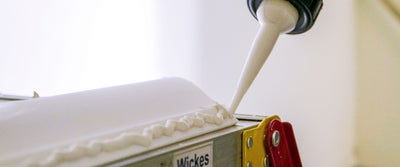
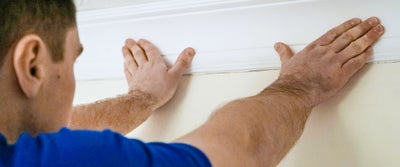
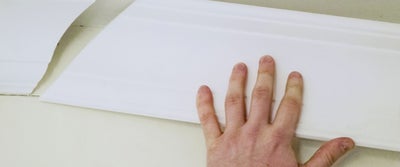
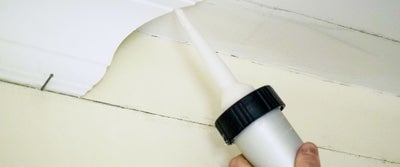
Apply a generous line of adhesive to the top and bottom edges of the coving. Use enough so that a little will ooze out and help to fill any small gaps. Align the coving with the lines on the wall and ceiling then press it into position, working your way along the length.
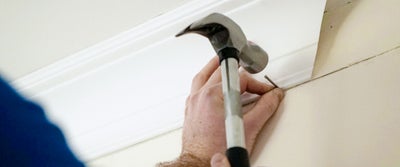
Lightly hammer panel pins into the wall at 600mm intervals to hold the coving in place. This adds a little bit of security whilst the adhesive sets. Remove the pins once the adhesive has properly dried.
Sometimes on a long wall you’ll have to join two pieces of coving together. You can do this using a pair of matching mitre cuts. Apply adhesive to the cut faces before joining together.
If you are using pre-cut corners be sure to follow the manufacturer’s instructions on the correct order of fitting the corners and straight lengths of coving. Then fix the coving as described above.
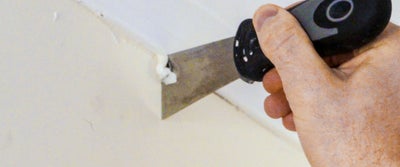
Use a little extra adhesive to fill in any little gaps between adjoining pieces of coving, or between the coving and the wall or ceiling. Then remove any excess adhesive first with a scraper, then with a damp cloth.
If you want to paint the coving afterwards then it’s advisable to wait at least 24 hours. Use a suitable primer first followed by a matt emulsion paint.
