Painting a room
Painting a room is probably the most common DIY project, and is a job that can easily be accomplished by most homeowners. Painting walls and ceilings is also a relatively cheap way to refresh a room and achieve a high impact look.
Although painting a room is a fairly straightforward task it’s still essential to plan properly. When you’re choosing your new paint, work out how the colour will complement existing woodwork. If you’re using tester pots to pick the right shade, then apply a small square of paint in a darker area of the room and apply two coats. This will give you a realistic preview of what the finished shade will look like.
What is the right order to paint a room?
To achieve the best results, the best order to paint a room is as follows:
- Calculate the amount of paint you need and prepare the surfaces.
- Paint the ceiling.
- Paint the walls.
- Paint the woodwork
Do I need to prime the walls before painting?
If you want the best results then generally the answer is yes. Primers are used to help surfaces absorb the paint properly, which provides the optimum finish. But the type of primer you need can vary.
A specialist primer should be used on a bare surface such as wood or metal, or on a new surface which has never been painted, such as a newly plastered wall. These primers are usually white or off-white in colour. Make sure the plaster is completely dry before applying your primer. You can tell if plaster is dry when no dark patches remain.
For surfaces which are already painted, washed, and in good condition, apply a matt undercoat before your topcoat. Again, a white or off-white colour is best.
Depending on the nature of the job and the surface you are painting, be sure to carefully check the manufacturer’s instructions on application when you’re choosing your undercoat.
How much paint will I need?
Calculate the amount of paint you need by measuring your walls and ceilings to get the total surface area. Don’t worry about subtracting doors and windows as it’s always good to account for a little extra paint.
Allowing for two coats, check the manufacturer’s instructions to see how much paint you’ll need. Buy each type of paint you need in one go. This ensures it’s from the same batch, and the exact shade will match properly.
How do I prepare the walls for painting?
The most important stage of any painting job is to thoroughly prepare the walls, ceilings and woodwork. Make sure they are completely clean and free from dust, grease, and flaky plaster or paper. This stage is crucial because paint won’t take properly on dirty walls, in which case you would end up re-painting again soon afterwards anyway.
To prepare walls and surfaces for painting, make sure you take the following basic steps:
- Remove as much furniture as you can from the room, then cover the floors and any remaining furniture with heavy duty protective sheets. Cluster any remaining furniture in the centre of the room.
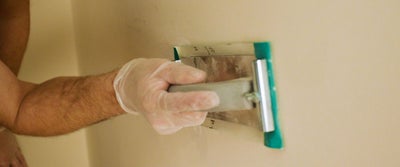
- Fill in any holes or cracks with suitable filler. When the filler has dried completely, sand it down with fine grade sandpaper. You may need to sand down other areas of the wall which have areas of flaking paint.
- Thoroughly brush away any remaining dust or debris from the walls and ceiling. You may need to vacuum all surfaces if there’s a lot of dust.
- Use a damp sponge to wash your surfaces. Use a diluted washing solution or sugar soap and wait for it to dry thoroughly.
- Once the wall is dry, protect switches, sockets and skirting with masking tape.
How do I paint the ceiling?
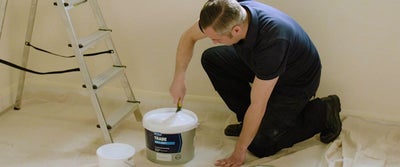
Once your ceiling is properly prepared and your tools are washed and ready for use, begin by stirring your paint with a stirrer or an offcut of wood. If you’re using more than one tin, then mix them into the same bucket to maintain a consistent colour. Thoroughly stir the paint for a couple of minutes.
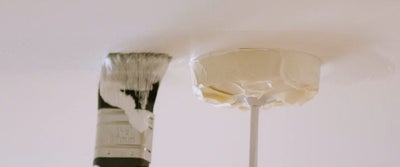
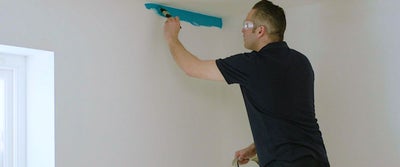
Transfer some paint to a paint kettle and start by using a brush to paint a 50-70mm thick strip around the edges of the ceiling. This is a process known as ‘cutting in’. Start in a corner of the room near the door and work your way around, using a step ladder if necessary. If you have ceiling lights you will need to cut in around the fittings.
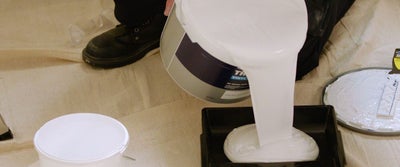
Pour some of the paint into a tray and load the roller, being careful not to overload it. Make sure you’re using the right pile depth on your roller. Use a long pile roller for textured ceilings and a short pile roller for smooth ceilings.
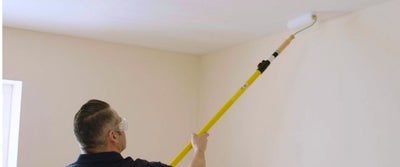
Use a roller which is fixed to an extension pole to apply the paint. This enables you to reach the ceiling easily and is much safer than standing on a step ladder.
Once again start in the same corner and work outwards. Roll smoothly and steadily with a mixture of up, down, and W-directional movements until the whole ceiling is covered. This method is the best one for ensuring an even coverage and preventing tide marks. Once the first coat has dried thoroughly then repeat the process for the second coat.
How do I paint the walls?
Painting your walls follows a similar method to painting a ceiling. Try to paint an entire wall in one go, as this will result in a consistent, professional appearance and reduce the chance of tide marks.
Rather than clean rollers and brushes in between coats, you can wrap brushes in clingfilm and wrap rollers in plastic bags secured with a rubber band. This prevents them from drying out. Only do this for two days at the most though. Then at the end of the job make sure to clean your brushes properly.
Starting with your primer or undercoat, use a medium paint brush and once again use the cutting in method. Start in a corner near the door and work outwards and around the room.
Use a short pile roller to apply the first undercoat, working from top to bottom of the walls. If you’re painting onto textured wallpaper then use a long pile roller. Once again roll smoothly and steadily using W-shaped motions for even coverage. If you’re painting over a darker colour you may need to apply two undercoats.
Once the undercoat has properly dried, you’re ready to apply the topcoat to the wall. Repeating the previous method, start by cutting in along the wall. This needs to be done very carefully, as you’ll be painting right up to the ceiling line.
Don’t overload the brush, and use smooth strokes. If you get any paint on the ceiling then wipe off immediately with a dry cloth. If it leaves a mark then cover it over with emulsion paint later on. Remember to cut in along fittings and light switches too.
Use a roller on an extension pole to paint the wall, once again using the same smooth W-shaped motions as before. Work from top to bottom in sections of roughly 150cm across and move along the wall in this way.
Once the first coat is complete, check the manufacturer’s instructions for application and drying times. Then apply a second topcoat for a professional finish.
How do I paint the woodwork?
Once you’ve painted the walls and ceiling, paint the woodwork in the following order –
- windows
- skirting
- architrave
- the door
Be sure to apply masking tape to areas you want to protect. Then open any windows you intend to paint so they don’t get sealed shut whilst you’re painting.
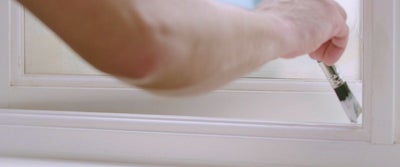
Starting with the windows, use a small paintbrush to give the woodwork an undercoat. If you’re painting onto new wood, you will need to use a specialist primer. After the recommended drying time apply another undercoat.
The topcoat for your woodwork will depend on the style you prefer. You can pick from eggshell, matt, satin and gloss finishes.
When painting any edges that meet freshly painted walls take extra care to maintain the lines and not get any overspill onto the walls. Check the manufacturer’s instructions for drying times and allow the first coat to dry completely. Apply a second coat for a professional finish.
Once the second coat has dried, carefully remove any masking tape and put any fixtures and fittings back into position.

