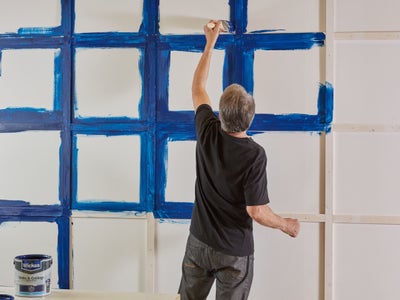
How to prepare walls and ceilings for decorating
Planning & preparation
- Thorough preparation is vital if you want to achieve a professional-looking finish when decorating your walls and ceilings. This guide will help you through the preparation process for the different types of surface you may encounter, as different surfaces need to be prepared in different ways
- Lay out heavy-duty protective sheets to protect the floor and cover any furniture that you can’t remove from the room with dust sheets
- Make sure all surfaces are free from grease, dust and imperfections. Any holes or cracks need to filled and sanded, and any flaky plaster or peeling paint must be removed
- Whilst you can paint over wallpaper, the most professional and long-lasting finish is achieved by stripping it. If you are removing wallpaper, bear in mind that scoring the paper is effective for small areas, whereas a chemical stripper would work better for more stubborn areas. Steam removal is best when working on a larger area
Do it right
To avoid picking up dust on damp paint, use a vacuum to clean any areas where you have sanded. The top edge of the skirting board is often a dust trap, so it’s best to also wipe it down with a cloth
Staying safe
- Wear protective gloves when using filler
- Wear protective gloves and safety goggles when cleaning surfaces with sugar soap
- When sanding, be sure to ventilate the space as best you can and to wear a dust mask and safety goggles
- If you plan to use a chemical stripper to remove the wallpaper, be sure to read the instructions thoroughly. Wear safety goggles, a dust mask, gloves and protective clothing when using the product, as most chemical strippers are caustic. Contact the point of sale if you have any questions or concerns
- If you opt to use a steam stripper to remove wallpaper, be sure to follow the manufacturer's safety advice and wear protective clothing. If you need to strip an area of paper that is higher up the wall, use a step ladder to avoid the hot steam from running down your arm. Take care when steaming around switches and sockets, and be sure not to let the water level run low in the steamer, as this can damage the machine
How to prepare plastered walls
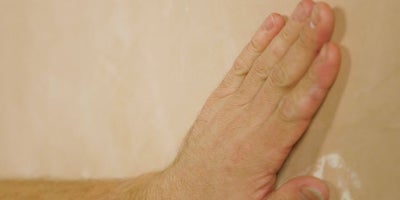
Make sure that any fresh plaster has completely dried before preparing it for painting. You can tell it is dry when no dark patches remain.
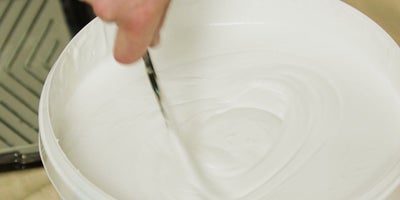
Priming fresh plaster before painting is key to ensuring a long lasting finish. Use a specialist paint for new plaster, making sure to follow the manufacturer's instructions for the number of coats needed.
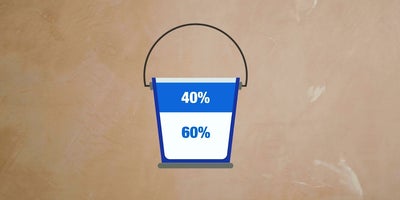
Alternatively, apply two coats of a light coloured mist-coat. This is made up of 60% paint and 40% water to create a watered down emulsion.
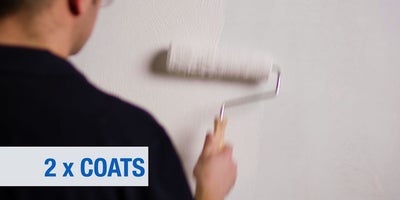
After using specialist paint or the two mist-coats, apply two top coats.
How to prepare painted walls
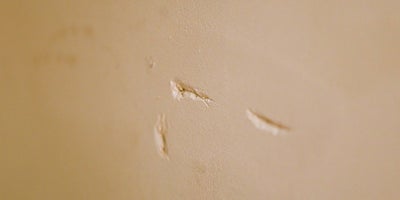
Firstly, identify any holes, gaps or cracks in the wall.
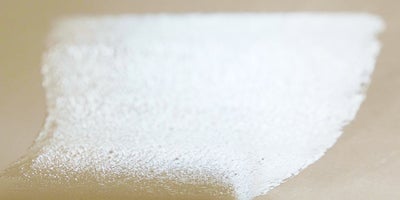
Use a basecoat to fill in small hairline cracks or imperfections.
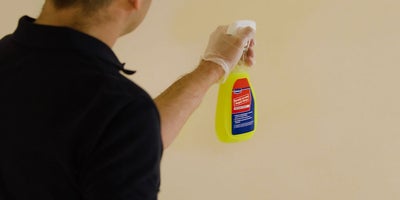
For larger cracks and holes, start by removing any grease, dust and flaking plaster from the surrounding area, and the edges of the hole, by washing with sugar soap. Wear protective gloves and goggles whilst using this product.
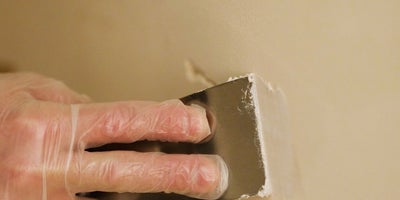
Allow the wall to dry, then place some quick-drying filler onto a scraper and work it into the crack or hole, making sure you fill it completely. Scrape off any excess filler as you go. Follow manufacturer’s instructions on drying time before continuing.
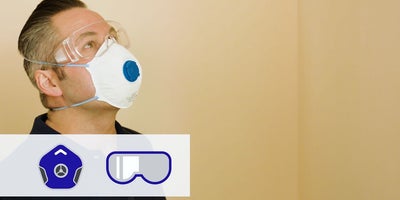
Once the filler is dry, ventilate the room and put on your safety goggles and a dust mask.
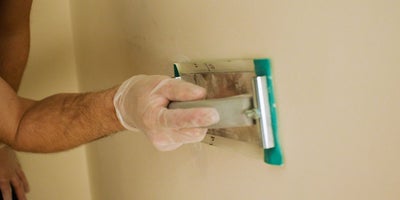
Use fine grade sandpaper to sand down the filler until you have a smooth and level surface.
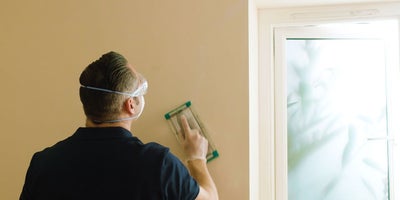
Check the rest of the wall for any areas of flaking paint and sand down where needed.
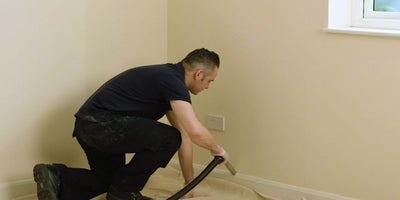
Thoroughly brush down and vacuum all surfaces after sanding, to remove any dust, dirt and grime.
How to remove wallpaper - Option 1 - Score, Soak and Strip
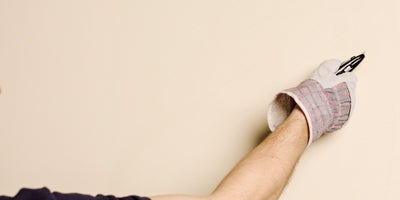
To remove small areas of wallpaper, start by lightly scoring the paper, but take care not to damage the plaster underneath.
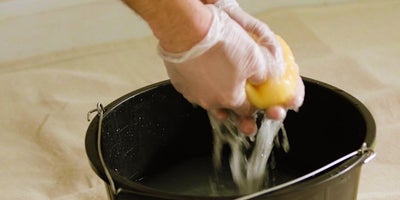
Use a sponge and hot water to soak the paper. Leave to soak for 5 minutes before continuing so the water can penetrate the adhesive base.
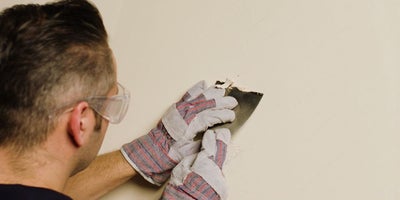
Scrape off the paper by working your stripping knife into the scores.
How to remove wallpaper - Option 2: Chemical stripper
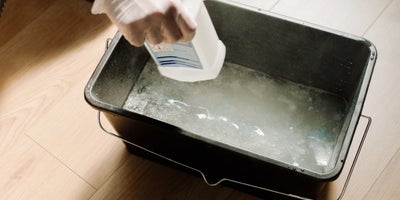
Follow manufacturer's instruction for mixing. As most chemical strippers are caustic, put on safety goggles, a dust mask, gloves and protective clothing when using this product
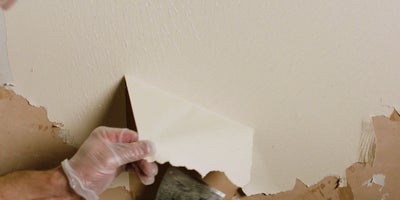
Apply the stripper and allow time for the chemical to soak. Then strip the wallpaper. Be sure to follow manufacturer’s instructions throughout this process.
How to remove wallpaper - Option 3: Steam stripper
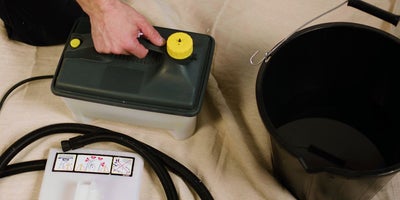
Stream strippers are effective when working on a large area. Start by filling the tank with water, putting on protective gloves and safety goggles and then switching on.
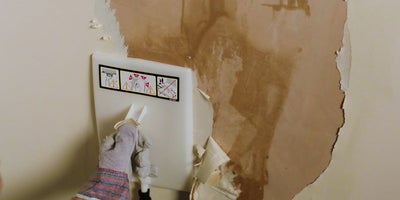
Place the steamer pad onto the wallpaper; this will allow for the steam to penetrate the paper and soften the adhesive. Most steamers take about 15 seconds but check the instructions on your specific device.
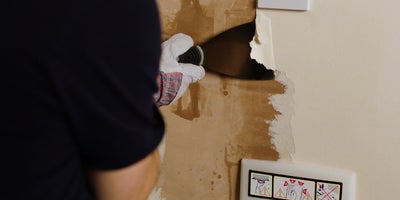
Once the wallpaper has loosened, strip the paper using a stripping knife.
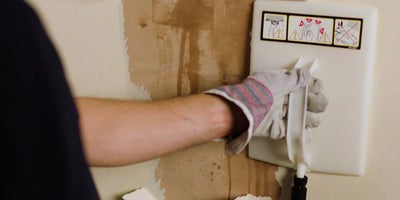
If any area of wallpaper is not coming away easily, then steam again but be sure not to leave the steamer pad in one area for too long as it may damage the plaster.
Cleaning the wall after removing wallpaper (any method)
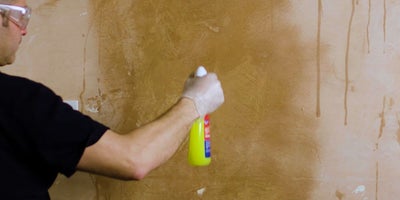
Once the wallpaper is removed, wash the wall with sugar soap to remove all traces of grime, dirt and wallpaper adhesive. Then, rinse the sugar soap off with warm water and wipe the surfaces down. Wear protective gloves and safety goggles when handling this product.


