How to lay vinyl & carpet tiles
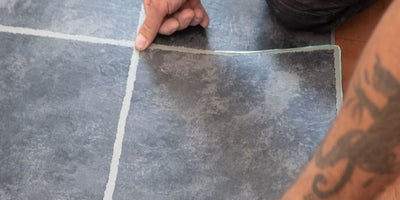
Planning & preparation
- Here we will show you how to lay vinyl flooring, specifically vinyl tiles with self-adhesive backing, and how to ‘dry’ lay carpet floor tiles without adhesive. We will also show you how to cut tiles and how to fit them around obstacles
- Soft vinyl floor tiles are hard-wearing and relatively simple to lay. However, they are not usually recommended for laying over a floor with underfloor heating or a timber floor that has been treated with wood preservative
- Some vinyl tiles have a peel-off self-adhesive backing, making them easier to lay, whereas other types require you to apply tile adhesives yourself. Carpet tiles are usually laid ‘dry’ without adhesive
- Tiles must always be laid on a level surface that is clean, dry and smooth with no nails or screws sticking up. Thorough surface preparation is key to ensuring a long-lasting and high-quality finish
- If you have floorboards, these need to be screwed down then covered with flooring grade hardboard (smooth side up) or plywood. The hardboard or plywood needs to be securely fixed in place using 25mm nails at 150mm intervals
- Plywood, hardboard and other porous surfaces, like concrete, will need to be sealed with a suitable primer before you start tiling. Be sure to check the manufacturer’s instructions
- To work out how many packs of tiles you need, calculate the size of the area in m² (length x width = number of metres squared) and then check the coverage of the pack. Remember to account for any alcoves that will be tiled
- Purchase an extra 10% to allow for wastage, and so you can keep some spare tiles afterwards in case any need replacing in future
- It’s best to buy all the tiles you need at the same time, with the same batch number, to avoid possible colour variations between batches
- Store the tiles in the room where they are to be laid for at least 24 hours before laying them so that they can acclimatise to room temperature
- As most rooms are not perfectly square, it’s a good idea to plan the position of your tiles before laying them down
Do it right
- Always tile from the middle of the room outwards, not from a corner, as walls are often not straight and corners are not always perfectly square
- Adjust the starting position slightly to avoid having to cut thin strips of tile at the edges of the room; this can be fiddly, look messy and thin slivers of vinyl tile may not stick down well
- If you are using any tools or materials that are left over from previous jobs, then check the use-by date
Staying safe
- Use a pipe and cable detector to check the areas where you are nailing or screwing anything into the floor
- Whilst not essential, we would recommend wearing knee pads as a lot of kneeling is involved
Aftercare
- When cleaning tiles, only use products that are suitable for the material of the tile, as using the wrong product could cause permanent damage
Finding the starting position
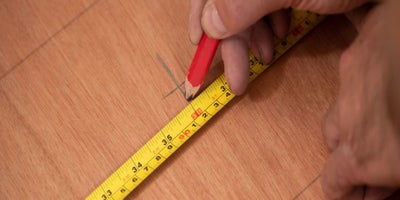
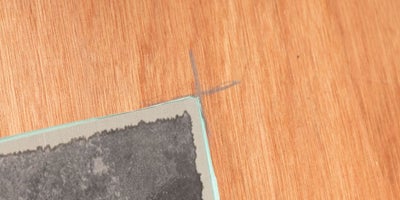
Starting with the corner of a tile on the midpoint, position tiles towards one of the side walls. Don’t stick the tile down at this stage.
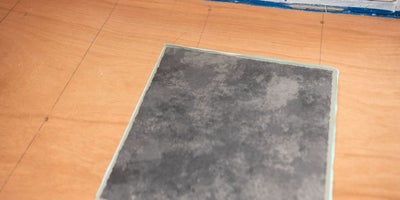
If this results in a narrow gap between the last tile and the wall, move all the tiles away from the wall by about half a tile’s width. Adjust your starting position mark by the same amount.
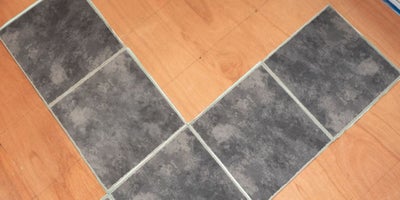
Repeat this process of laying tiles from the starting position to one of the end walls and adjusting the starting position, if necessary, to avoid having to fit thin strips of tile.
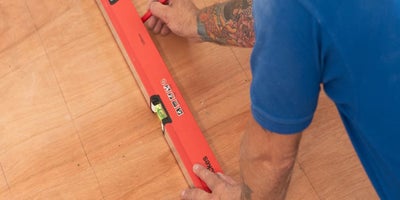
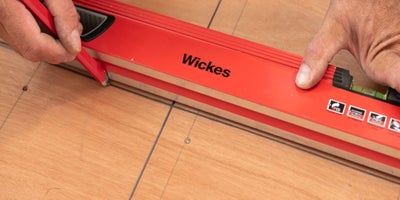
From the same starting point, use a combination square and straight edge to draw another line perpendicular to the first, which will be roughly parallel with the end walls.
Laying whole vinyl tiles

If you are using self-adhesive vinyl tiles, peel the paper off the first tile to reveal the self-adhesive surface. If you are using tiles where you apply tile adhesive yourself, be sure to follow the manufacturer’s instructions.
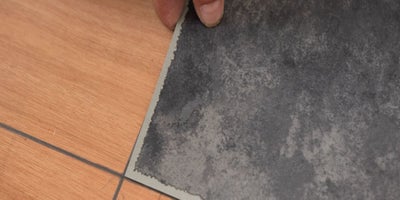
Place one corner on the starting point where your two lines join and align two edges of the tile with the lines.
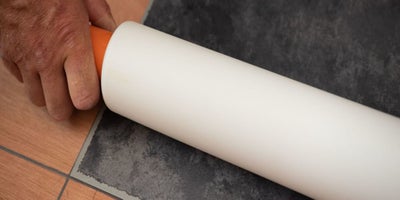
Press the tile down firmly. Use a rolling pin and a wallpaper seam roller to firmly secure the edges.
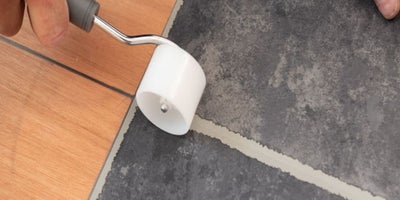
Place one corner of the second tile onto the starting point so that one edge is butted against the first tile, but on the other side of the line. Secure it firmly, as above.
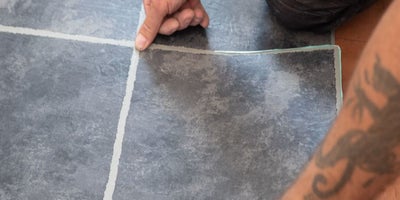
Lay the next two tiles, each with one corner on the starting point, to complete a square.
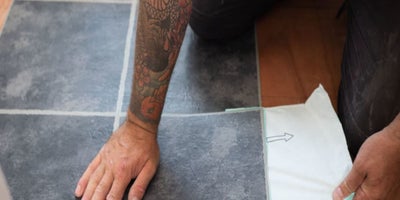
Align subsequent tiles with those already laid, stepping back occasionally to check that the lines are perfectly straight.
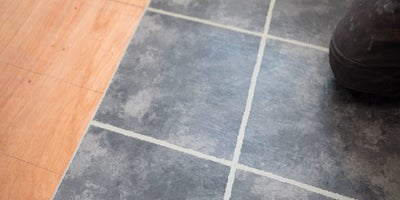
Lay all the whole tiles in one half of the room, and then the other half, before you start cutting tiles for the edges or around fittings.
Cutting vinyl tiles
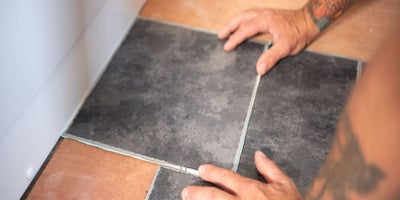
Place the tile that needs to be cut exactly on top of the last whole tile. Then place another whole tile on top but position it so that that one of its edges touches the wall.
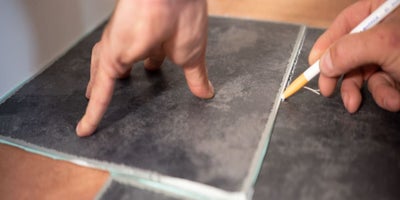
Use a pencil to draw a line along the edge of the top tile onto the tile below it.
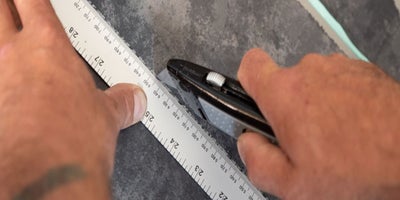
Place the tile you need to cut onto an offcut of board. Position a straight edge along the line, then use a retractable knife to carefully cut through the tile.
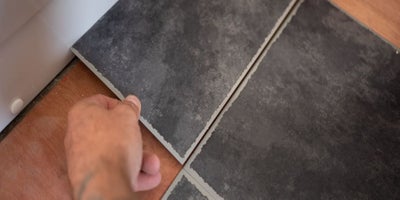
Keep the backing paper on whilst you check that the tile fits neatly into the gap. If all is well, remove the backing and fix the tile.
Tiling around an obstacle
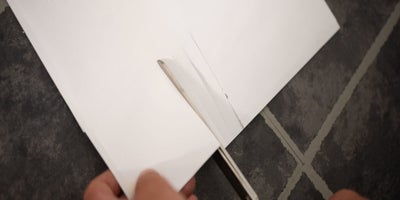
Cut a piece of paper to the same size as a whole tile, then cut a series of 5-10mm wide slits where the paper ‘tile’ touches the obstacle.

Place the paper ‘tile’ into position, pressing it down against the obstacle and folding back the slits.

Draw a pencil line onto the paper, following the shape of the obstacle. Then, cut the paper along this line so that you have a template of the tile you need.
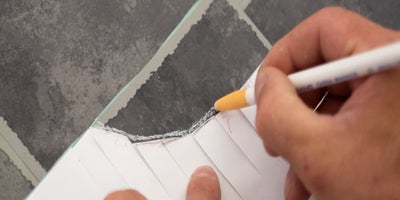
Check that the paper ‘tile’ is a good fit, then tape it to a real tile. Use a pencil to carefully mark the intended cut line onto the tile.
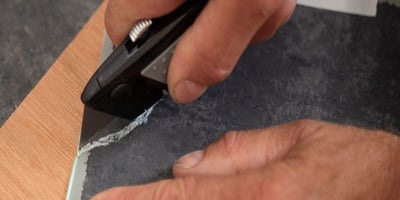
Using a retractable knife, carefully cut the tile along the pencil line.
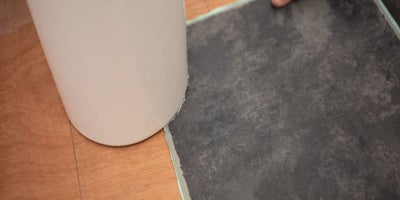
Keep the backing paper on whilst you check that the cut tile fits neatly against the obstacle. If all is well, remove the backing and fix it into position.
Laying carpet tiles
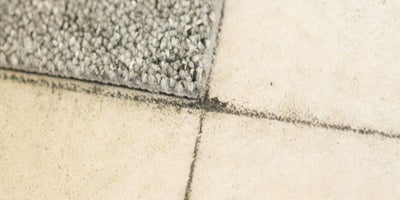
Laying carpet tiles is very similar to laying vinyl, with the only difference being that double-sided carpet tape is used to secure the tiles, rather than adhesive. Find the starting point in the same way as described for vinyl tiles.
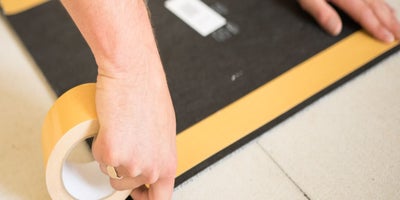
Use double-sided carpet tape to secure the first row into position, and every third row after that.

When laying carpet tiles, pay attention to the ‘pile direction’ arrows on the back of the tiles and follow the manufacturer’s instructions. You can lay the tiles in the same direction or, alternatively, in a checkerboard pattern.
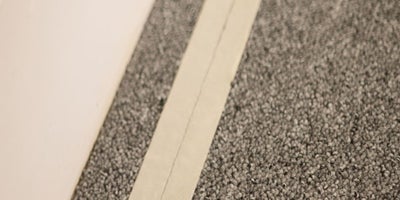
If you need to cut carpet tiles, then place a strip of masking tape onto the carpet tiles that need to be cut and mark the cutting line onto that rather than marking the carpet.

Use double-sided tape to fix any cut tiles around the edge of the room.