Removing tiles
Although your bathroom tiles and kitchen tiles are designed to be long-lasting and low maintenance, they will occasionally need replacing. A cracked or damaged tile is no longer waterproof, which risks further damage in the long term. And of course if you’re tiling an entire bathroom floor or wall for example, then you’ll need to remove all the old tiles first.
Removing wall tiles and floor tiles is a relatively easy process, but it can also be hazardous. Chips and shards of tiles can be very sharp, so it’s essential to wear protective gloves and safety goggles. For the same reason it’s advisable to wear a long sleeved top, and to clear up tile fragments as you go along.
What tools do I use to remove old tiles?
Removing tiles usually requires only a small number of tools, such as a hammer, a chisel and a utility knife, especially if you’re removing a whole wall or floor. But if you’re removing and replacing a single tile, you will also need some specialist tools, which will help with the delicate job of removal without damaging surrounding tiles. We’ve provided a full list of necessary tools at the beginning of this guide.
How do I remove wall tiles?
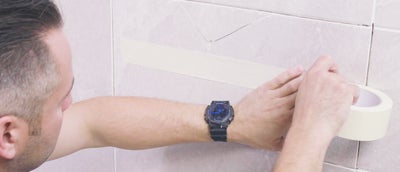
This guide will concentrate on showing you how to remove and replace a single tile. Start by sticking a piece of masking tape over the centre of the tile. This stops the drill bit from slipping on the tile.
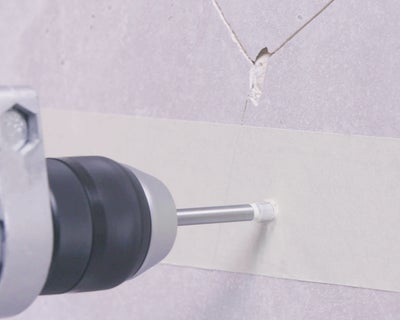
Drill a small hole into the tile using a ceramic tile drill bit. Take care not to drill right through the tile and into the wall. Then carefully remove the masking tape.
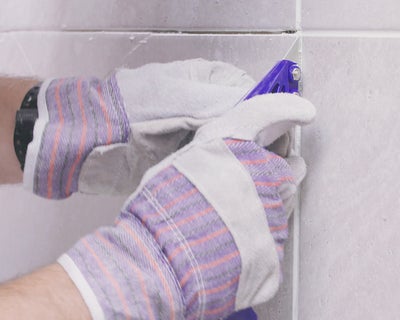
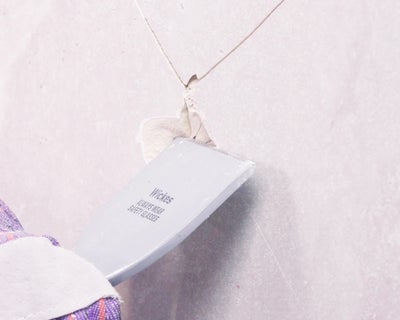
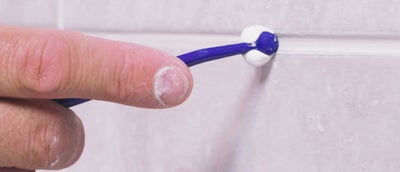
Use a grout removal tool to remove the grout from around the tile. The grout around wall tiles is usually thinner than the grout around floor tiles, so apply light pressure when cutting and work carefully. You want to minimise the risk of cutting through to the wall or damaging surrounding tiles.
Use a hammer and chisel to chip away the broken tile, starting from the hole in the centre. Work your way outwards towards the edge, taking care not to damage any adjacent tiles.
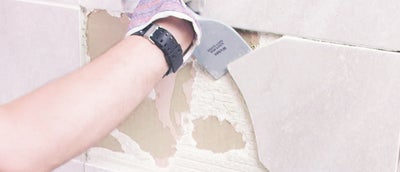
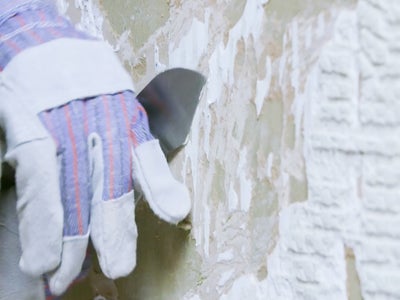
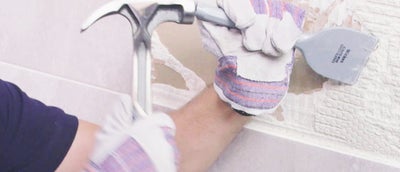
Next you need to make sure all of the old adhesive is removed. Use a scraper, or a hammer and chisel if the adhesive is particularly tough to get off.
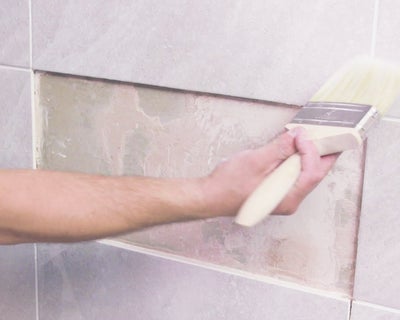
Once all the adhesive has been removed, brush away any remaining dust until you have a completely clean and dry surface.
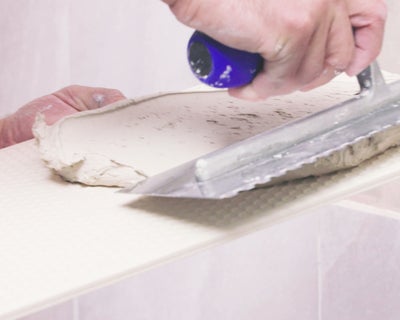
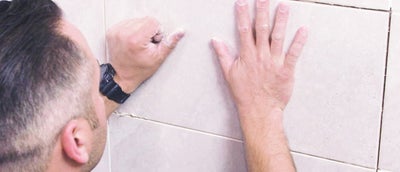
Apply adhesive to the back of the tile using a notched tile adhesive spreader. Place the new tile firmly into position. If the tile is not flush with the existing tiles, you may need to add or remove some adhesive as appropriate.
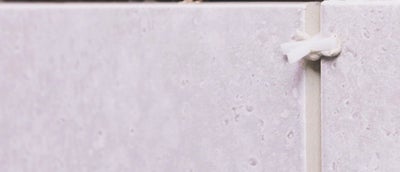
Insert tile spacers to maintain a consistent gap between the new tile and the surrounding tiles. Leave the spacers in place until the adhesive has fully dried. You may need to wipe excess adhesive off the tile with a damp sponge.
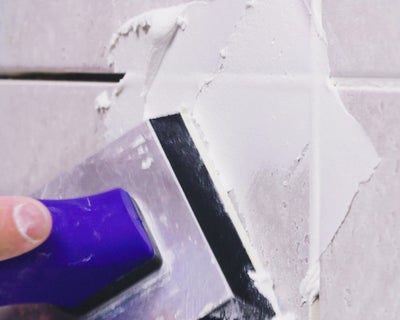
Once the adhesive has fully dried, remove the tile spacers. Then use a grout float to work the grout into the tile joints using smooth diagonal movements. Wipe off any excess grout from the tile surface.
When the grout has started to harden, run a grout finishing tool along the newly grouted tile joints to create a smooth finish that matches the surrounding tiles. Once the grout has dried remove any residue from the tile with a clean dry cloth.
