DIY Bed Canopy
A DIY bed canopy brings a four-poster feel for a fraction of the cost, and it works with beds and rooms of any size. It’s also suitable for any age, whether you want to create a cosy hideaway for your kids or a comfy place to unwind for yourself. While this project can be done by one person, having an extra set of hands around to help out will make some steps a lot easier.
- Copper pipe
- Couplers and elbows
- Curtains
- LED string lights
- Pipe clips
- Plasterboard fixings
- 70mm screws
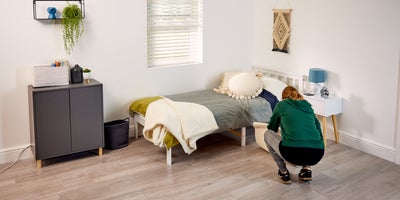
Start by clearing the area around your bed, including moving the bed itself. Make sure to give yourself plenty of space to work in.

Now you’ve made room, you’ll need to start measuring. There are general similarities in the sizes of single beds, but every bed is different so make sure to measure the length and width of your bed frame. For example, our measurements are 1150mm x 2 for the side and 1058mm for the end, which gave us 70mm of clearance around the bed. Our bed is located in a corner, meaning we only need to cover one side and the foot of the bed. However, the process is the same no matter what, so you can easily do all four sides or three sides if the head of your bed is against the wall.

Once you have your measurements, mark them out on your copper pipes and cut them to size. Take care with the pipes after cutting them, as the ends can tend to be quite sharp.

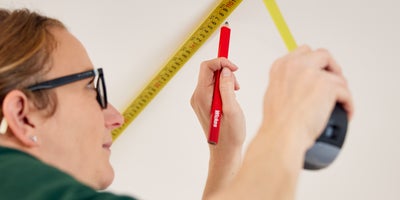
Then mark the locations for your clips on the ceiling, starting off close to the wall and then spacing them out evenly. Ideally, you’ll want as few clips as possible for a cleaner look, but enough to keep the frame stable and sturdy, so think about how you’re going to space them out. You can use a laser level if you have one, which will help to simplify this process.

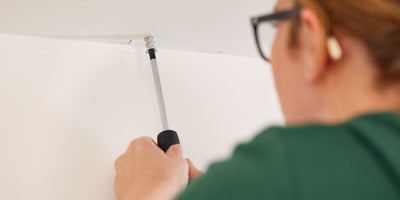
Screw in your plasterboard fixings.
We recommend doing it by hand if possible. If you hit a timber stud or beam, remove the fixing and just use two screws instead. Repeat this for the rest of your clips until they’re all fixed into place.
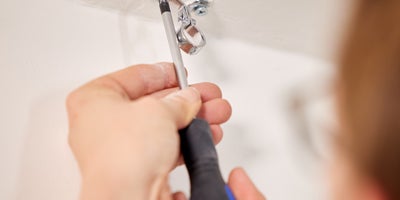
Once all your clips are done, you’ll need to loosen the screw that joins both parts, so that you’re able to feed the pipes through them. Do this on every clip except the one at either end.
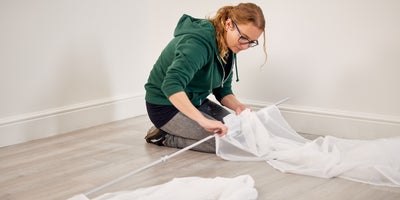
Slide your curtains onto your bed canopy frame.
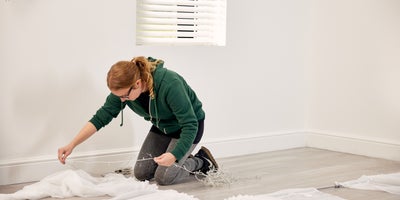
It’s important that you use LEDs if you’re including lights, as they don’t heat up like other bulbs do. Wrap LED string lights around your canopy. If your string lights are too long, you can double back on yourself and wrap them or drape them over both sides of the curtain.
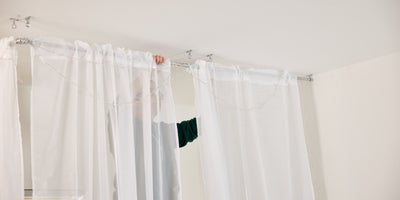
Open all clips except the ones on each end.
Lift the canopy into position, inserting the ends first before tightening the rest of the clips to secure it in-place.

Once you’ve fitted the canopy, adjust your lights and curtains to get your desired look.
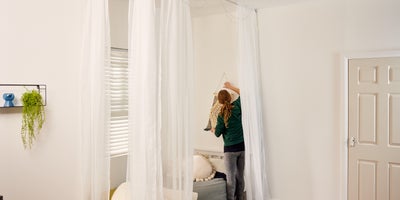
Then move your bed back into position and bring all of your furniture back in.
And your canopy is ready. There are all sorts of different ways you can dress it up, so get creative and decorate it as you see fit.
