How to fit decking balustrade
How to fit decking handrails
Installing decking is an excellent way to create an outdoor living space which can be used for relaxing and entertaining. Decking can either be freestanding or attached to your house, and it really gives you a chance to be creative with design and function.
This guide outlines the method for adding posts and railings to your raised deck frame. To find out how to build a raised deck platform, read our How To Build A Raised Deck guide.
Adding railings to your raised deck does involve planning, and a lot of moving, lifting and cutting heavy timber. Because of the size and weight of the timbers and the frame, it’s always easier and safer if you can get somebody to help you.
Always use structural treated timber and screws specifically designed for the job and treat all cut surfaces and drill holes with two coats of preservative. This will ensure a hard wearing, long lasting deck.
When sawing, use the 90-degree guide marker on your saw, or a set square, to make accurate cuts, and sand the cut ends to remove splinters. When drilling, mark out all pilot holes to ensure your fixings are as accurate as possible.
Make sure that you wear appropriate protective clothing, such as gloves, a face mask, or safety goggles, when cutting or sawing timber, applying preservatives or other timber treatments.
Offcuts of treated timber should never be burned as they will release toxins into the air. Always dispose of them safely at your local recycling or waste disposal centre.
What height should decking handrails be?
Start by carefully planning your railings to scale, which will limit cutting and wastage. When you’re planning your design, make sure the height of the top railing is at least 900mm from the surface of the deck. Ensure that the deck posts are spaced a maximum of 1800mm apart.
In this guide we are adding ‘modern’ decking spindles to our raised deck. For these particular spindles the maximum deck height they can be used on is 600mm. If your deck is higher than this, you will require a different railing design.
To ensure your spindles are evenly spaced, create an 81mm spacer using a wood offcut. You can lay this horizontally to measure and mark the spindle positions.
We are using L-brackets to fix the rails and spindles in place. Hidden fixings such as dowels and plugs may be more suitable depending on the type of top and bottom rail you’re using, and the finish that you want.
How to fit decking posts
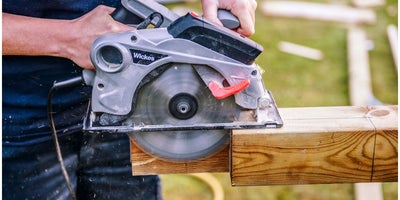
Start by notching out the deck posts 120 x 20mm up from the bottom of each (or you can also buy decking posts pre-notched). If you need to extend your notch further, then do this using a handsaw or circular saw.
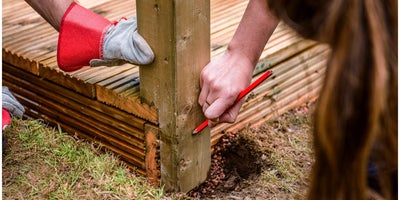
At one corner, ask someone to hold the deck post in position whilst you mark two evenly spaced pilot holes on the post.
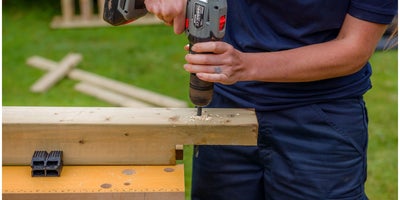
Secure the post in your workbench and drill the pilot holes using an 8mm wood drill bit.
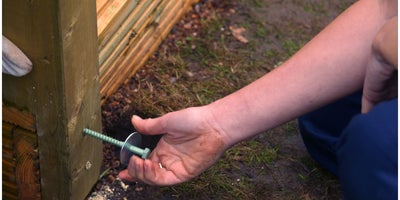
To fix the deck posts to the deck bearer, hang washers on the end of a 130mm exterior coach screw, then tighten the screws with a socket set.
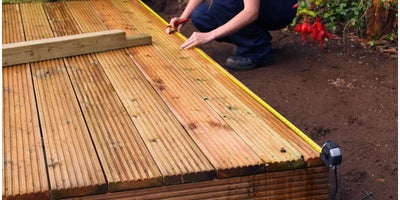
Measure and mark out the positioning of your deck posts, with a maximum distance of 1800mm between the posts.
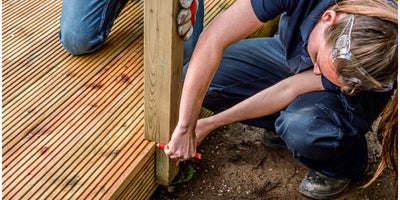
For this guide the deck posts will be flush to the decking, which means we will be cutting into the fascia. Start by marking out where the post will be onto the deck and fascia.
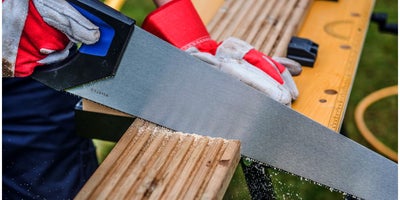
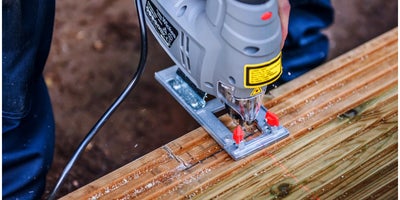
Remove the fascia and use a hand saw to cut out the section you have just marked. Then use a jigsaw to remove the top section.
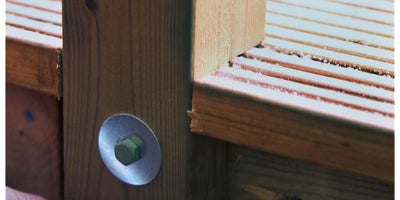
Put the post into position and check that it’s flush to the decking. Then secure the post using 130mm exterior coach screws as before and reattach the fascia.
How to fit decking handrails
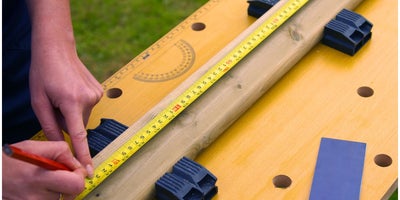
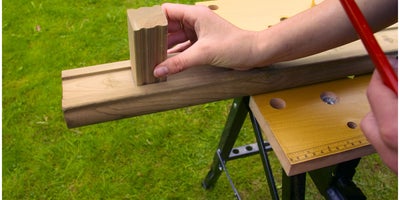
Start by choosing two decking posts and measuring the gap between them. This will be the length of the top and bottom rails. As mentioned in the introduction, use a piece or offcut of spindle for measuring and marking out the spindle positions.
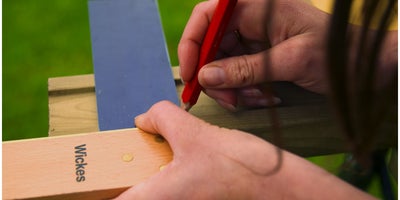
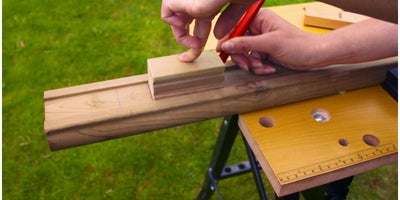
Measure 81mm from the end of the top rail and use a set square to mark an accurate line. This line marks the position of the first spindle. Turn the 81mm spindle section on its side and use this to mark the spindle positions along the length of the railing. You may need to adjust these marks slightly to fit the length of your handrail. Make sure the spaces are equal and do not exceed 82mm.
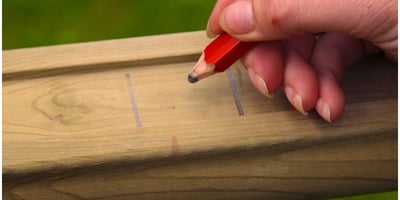
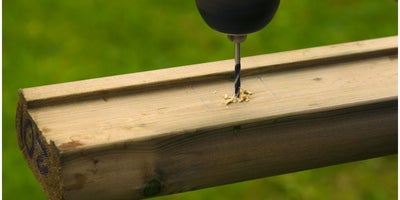
Repeat this process for the bottom rail. When you are marking the bottom railings, mark the centre of each spindle and drill a 3mm pilot hole through each of these marks.
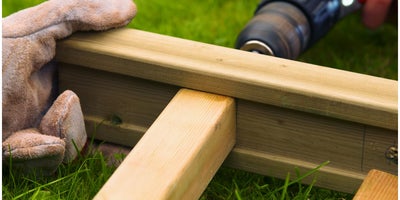
Attach the spindles to the bottom rail using 76mm deck screws. You may need someone to hold the spindles or rail in place to ensure a secure fixing.
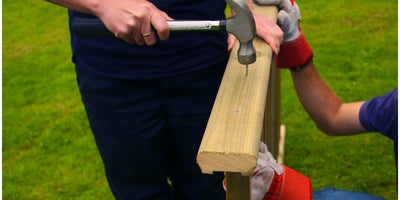
To attach the top rail to the spindle, use a 64mm galvanised finish nail, but take care not to damage the wood whilst hammering. Alternatively you could use a nail punch to finish the nails.
How to secure a handrail to a post
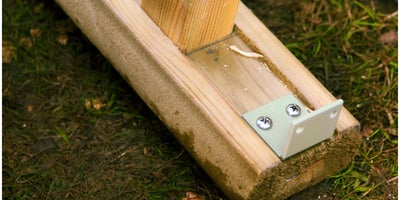
Start with the underside end of the bottom rail and place the long side of an L-bracket centrally into the fillet slot. Make sure that the bracket doesn’t stick out past the end of the rail. Fix the bracket into place using two 25mm screws.
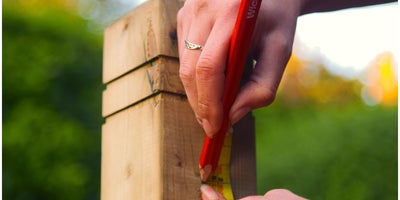
Mark on your post where you want the top railing to be, making sure that it’s at least 900mm above the deck.

Centrally place the short side of an L-bracket onto the mark and fix the bracket to each deck post using two 25mm screws.
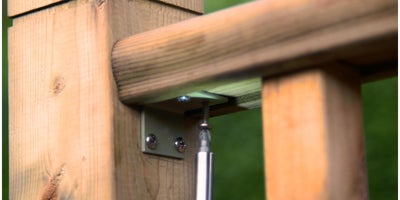
Place your railing onto the fixed post L-brackets and secure the underside of the top rail using two 25mm screws.
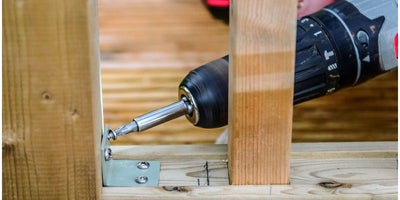
Use another L-bracket to fix the bottom rail to the deck posts. Place the L bracket centrally on each post and fix using two 25mm screws.
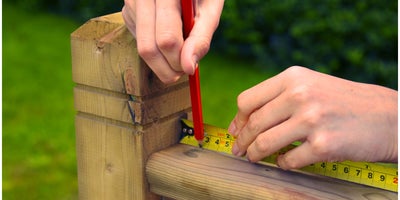
On each side of the top and bottom rails measure 25mm from the end of the rail and make a mark.
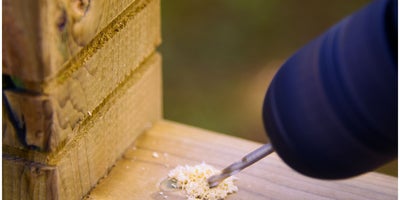
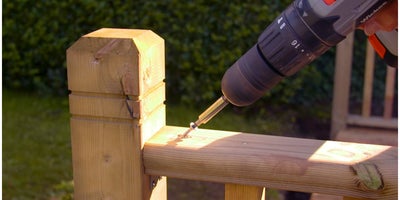
Drill a countersunk 3mm pilot hole at a 30 degree angle, making sure the hole goes through the rail and into the post. Then skew two 50mm screws into each hole to secure the post and rail together.