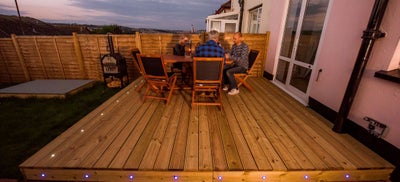
Planning your decking lights
Adding some lighting is the ideal finishing touch to your decking. It means you can sit and relax, and entertain into the evening. Sympathetic lighting casts a pleasing glow over seating areas and can illuminate steps and other features. Low voltage lighting systems are safe and easy to install and can be fitted to new or existing decks.
How far apart should deck lights be?
When planning the layout of your lights the maximum distance between each light should be 120cm. It’s best to measure and mark out the position of your lights in advance. When deciding where to position your lights remember that you can buy extension kits to increase the number of light fittings.
How do I wire deck lighting?
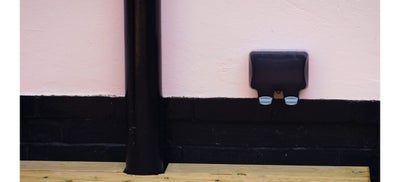
You need to have an external 13 Amp plug socket situated within 5m of your deck. If you don’t already have one, then you will need to have one fitted.
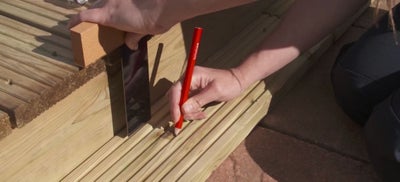
Measure and clearly mark out the points where you will be drilling. This will help ensure your decking lights are positioned and spaced correctly. Make sure all cables won’t be pinched or trapped by existing joists, noggins or deck boards.
How to fit decking lights
If you are adding lights to a fascia board then remove the board now. This will allow you to avoid any bolts and noggins when you’re choosing the position of the lights.
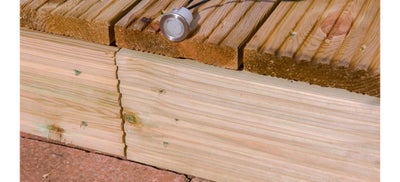
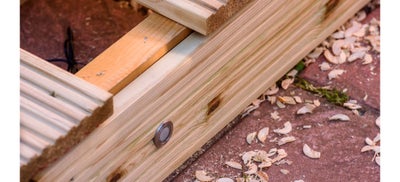
If you are adding lights to the top of a deck, make sure that they are positioned over the centre of a deck board and not directly over any joists.
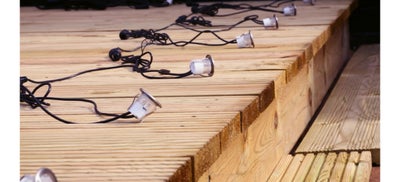
Position your lights out on the deck where you’d like them to be, bearing in mind that they shouldn’t be placed more than 120cm apart. Use a tape measure to ensure the lights are evenly spaced. They shouldn’t be plugged in at this stage.
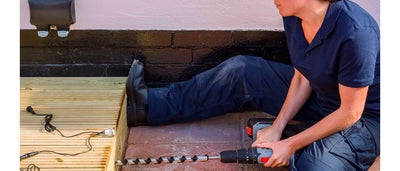
Once you are happy with the position of the lights use a set square to accurately mark the wood. Then reattach the fascia and drill the mounting holes using a 24mm drill bit.
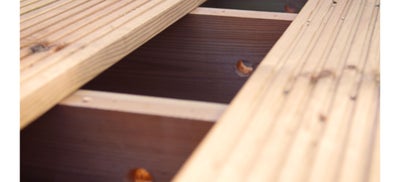
Remove all the necessary deck boards so that you can feed the lighting cables through the holes. You may need to smooth the hole edges with sandpaper.
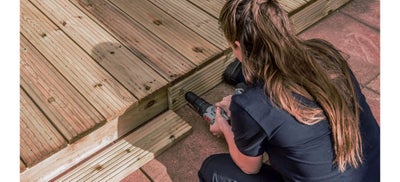
Using a 24mm drill bit, drill holes in the joists or noggins so the cables can be fed through and connected.
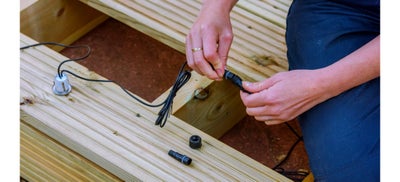
Place the light fittings into position.
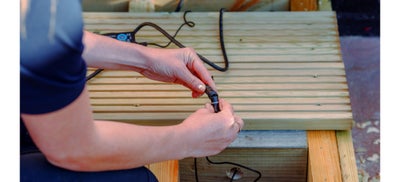
Once all the lights are in place, connect each head to the next in the series. If you are not extending your lights then add the supplied banking plug to cover the last socket.
If you are extending your lights then repeat the same process of choosing where to position the lights, followed by marking out, drilling holes and connecting.
Add the blanking plug to cover the last socket. Then connect the driver cable into the socket closest to the plug.
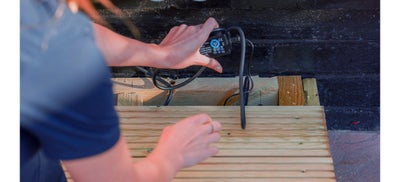
Place the mains cable and driver inside the decking so that they will not be visible once you’ve secured the boards back into position. Then switch the lights on to test that they work.
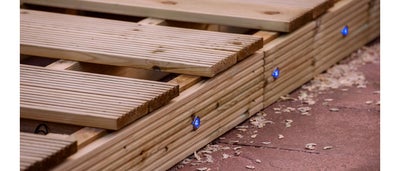
Once you’ve successfully tested the lights, secure the boards back into position. Your decking lights are now ready to use.
