The Big Event! Offers on Tiles, Flooring, Doors & more
Skip to content Skip to navigation menu
Basket
0

Planning & preparation

  • Loft insulation is an effective way to reduce heat loss and save on your fuel bills. Here we will show you how to fit loft insulation rolls, as well as how to insulate pipes and cold-water tanks
  • This guide is based on installing glass mineral loft insulation wool rolls. The minimum recommended depth of this type of insulation material is 270mm. This equates to a Thermal Resistance R-Value of 6.1
  • If your loft has existing loft insulation in between the joists, measure the depth of it. Ideally, this base layer needs to have a depth of 100mm and come up to no more than 25mm above or below the joist. A second layer of at least 170mm can then be laid over the top of the joists to get you to the recommended building regulations guide of 270-300mm
  • The gap between joists is most commonly 400mm or 600mm, so loft insulation rolls tend to be available in a width of approximately 1140mm. Most come with pre-cut perforations so they can easily be cut into halves or thirds
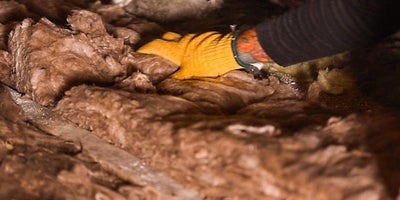
  • Remove any stored items from the loft so you can work in a clean and uncluttered space. Try to work in good lighting and use a portable battery powered light if necessary
  • Measure your cold-water tank so that you can fit an appropriate tank jacket. You'll need to insulate tanks and pipes before you start to lay the loft insulation
  • To calculate how many rolls of insulation you need, work out the size of the area in m2 (length x width = number of metres squared) and check the coverage of the rolls. You can deduct around 10% to allow for ceiling joists

Do it right

  • Before starting, make sure your loft has ventilation gaps at the eaves or is fitted with loft ventilation. Be sure to maintain this ventilation gap during and after installation
  • If you want to use the loft space to store items, install raised floor loft legs that you can fix boards to, above the insulation. Leave a minimum air gap of 50mm beneath the boards. Alternatively, cover an existing boarded area with insulation boards rather than insulation rolls
  • Insulation shouldn't be laid over any electric cables. Ideally, cables should be clipped to the roof joists or gently lifted out of the way and then laid over the insulation once it is in position
  • Do not fit insulation underneath the water tank unless it is in an elevated position

Staying safe

  • Turn off the power at the mains consumer unit before touching any cables
  • Always move slowly and carefully in the loft and work from ‘crawling boards’, moving them along as you go. Never stand between joists and avoid standing directly on joists as much as possible
  • It’s generally recommended to leave a 75mm gap between the insulation and any hot chimneys, flues, or recessed light fittings, but be sure to check the manufacturer’s instructions
  • Wear safety goggles, a suitable face mask and gloves when fitting your insulation

Aftercare

  • Avoid applying weight to, or storing items on the insulation, as this will reduce its efficiency

Step by step

Step 1

Start by lining your cold-water tank with the jacket, following the manufacturer's instructions.

1.How-To-Insulate-A-Loft-Loft-Insulation-1.jpeg

Step 2

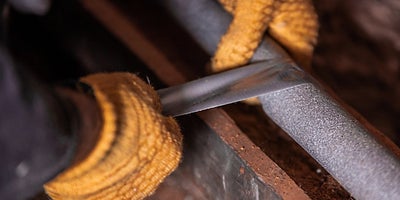
Next, insulate pipes, using a snap off knife to cut the insulation to size.

2.How-To-Insulate-A-Loft-Loft-Insulation-.jpeg

Step 3

Secure the pipe insulation with duct tape.

3.How-To-Insulate-A-Loft-Loft-Insulation-3.jpeg

Step 4

Insulation shouldn't be laid over any electric cables. Where possible, clip them to the roof joists or gently lift them out of the way whilst you install, before laying them over the insulation when it’s in position.

4.How-To-Insulate-A-Loft-Loft-Insulation-4.jpeg

Step 5

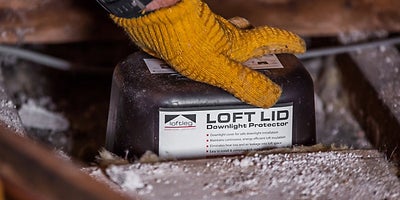
If you have recessed lights, now’s the time to install down light protectors, being sure to follow the manufacturer’s instructions.

5.How-To-Insulate-A-Loft-Loft-Insulation-5.jpeg

Step 6

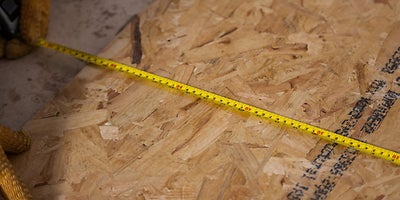
Once the insulation roll is in position, measure the width of roll you need to fit between the joists; this tends to be either 400mm or 600mm. Then, cut the roll to size using a panel saw or large bladed kitchen knife.

6.How-To-Insulate-A-Loft-Loft-Insulation-6.jpeg

Step 7

Position the crawling boards in the furthest corner of the loft. You’ll need to start laying with a minimum gap of 25mm between the eaves and the insulation to ensure a suitable air gap. Maintain this gap along two opposite sides of the loft.

7.How-To-Insulate-A-Loft-Loft-Insulation-7.jpeg

Step 8

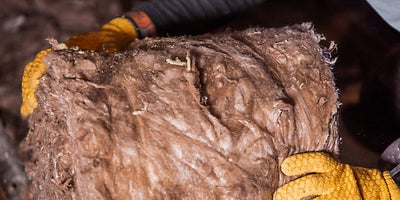
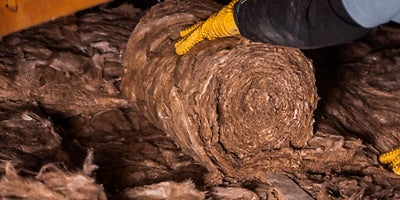
Make sure that the wall plate is covered, then roll out the insulation, moving backwards so you are working towards the centre of the loft to avoid putting your weight directly onto the insulation.

8.How-To-Insulate-A-Loft-Loft-Insulation-8.jpeg

Step 9

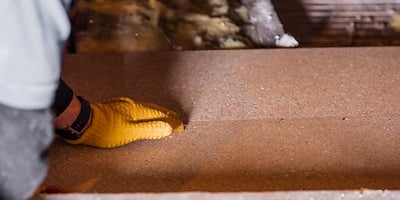
Gently push the insulation so it fits snuggly between the joists, but don't compress it as that will reduce its efficiency.

9.How-To-Insulate-A-Loft-Loft-Insulation-9.jpeg

Step 10

When you reach a cross beam, use a straight edge or metal ruler and a snap off knife to cut the insulation to fit.

10.How-To-Insulate-A-Loft-Loft-Insulation-10.jpeg

Step 11

To join two lengths of insulation, simply butt them up tightly.

11.How-To-Insulate-A-Loft-Loft-Insulation-11.jpeg

Step 12

Continue to lay until the first layer is in position, cutting the insulation as required to fit any awkward spaces.

12.How-To-Insulate-A-Loft-Loft-Insulation-12.jpeg

Step 13

To reach the recommended loft insulation depth of between 270-300mm, a second layer can be added. Simply unwrap the insulation and lay at 90-degrees to the first layer and ceiling joists.

13.How-To-Insulate-A-Loft-Loft-Insulation-13.jpeg

Step 14

As before, when joining two lengths, make sure the butt joint is a snug fit. Stagger the joints to avoid them all meeting in the same place.

14.How-To-Insulate-A-Loft-Loft-Insulation-14.jpeg

Step 15

Continue to lay until the entire loft is covered.

15.How-To-Insulate-A-Loft-Loft-Insulation-15.jpeg

Step 16

Measure the loft hatch and cut insulation to size. You will probably need two layers to achieve the recommended depth.

16.How-To-Insulate-A-Loft-Loft-Insulation-16.jpeg

Step 17

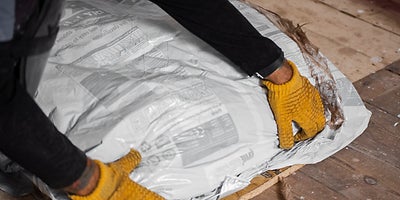
Wrap the insulation you’ve cut in some of the insulation packaging, as this will allow it to be secured in position.

17.How-To-Insulate-A-Loft-Loft-Insulation-17.jpeg

Step 18

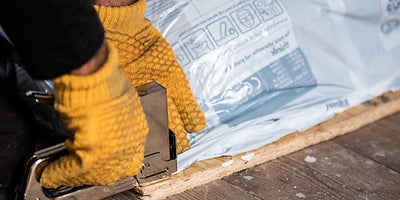
Attach the insulation to the loft hatch using a staple gun or large headed tacks.

18.How-To-Insulate-A-Loft-Loft-Insulation-18.jpeg