Do I need architrave?
Architrave isn’t structurally necessary, but as a room feature it’s essential if you want to add style and decoration to your home. It is primarily intended to cover the unsightly join between the door frame and the wall. Architrave is also used to frame internal windows and loft hatches, and it also offers protection to interior edges and corners, which will get knocked and scratched during the course of daily life.
Architrave is available in a wide variety of styles, lengths and profiles, so choose one which suits your room best. It’s largely available in three materials – hardwood, softwood and MDF. If you’re using softwood architrave then treat any knots with knotting solution before you start, and sand down the face before painting.
What is the difference between skirting and architrave?
Quite simply skirting boards are used to cover the join between the wall and the floor, whilst architrave is used to edge interior doors, windows and loft hatches. If you’re fitting architrave and skirting then fit the architrave first.
How do I fit architrave around a door?
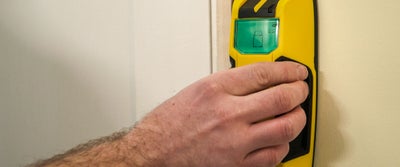
Start by using a pipe and cable detector to check that the area is clear of pipes and cables.
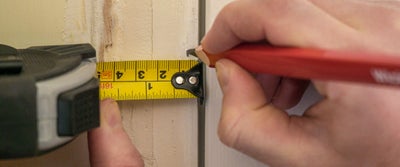
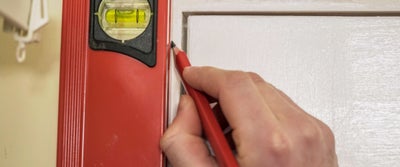
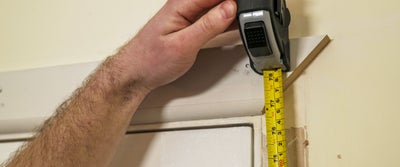
Using a combination square or tape measure, make a series of marks 6mm from the inner edges of the door lining. Mark both sides and the top of the door lining then join the marks up using a straight edge or spirit level. If you draw the lines beyond the frame corners, the intersections will mark the spots where the architrave will join.
These three lines mark where the architrave will be fixed. The 6mm gap allows for the door to move properly on its hinges and prevents damage to the architrave, which should never be fitted flush to a door lining.
If your door casing isn’t precisely vertical, it’s more important that the architrave is joined correctly at the corners rather than being exactly vertically straight. Any tiny gaps between the architrave and the door casing can be filled in with caulk afterwards.
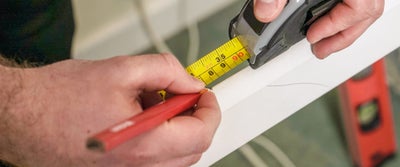
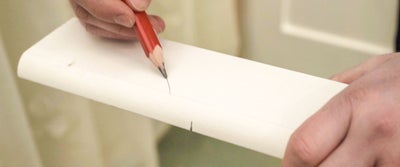
The headpiece of the architrave is usually fitted first. Measure the line across the top of the door between intersections and mark the length onto the inner edge of your architrave piece. Architrave is joined with mitre cuts, so remember to account for the longer edge when you’re measuring up. Lightly mark the intended direction of the cuts onto the architrave.
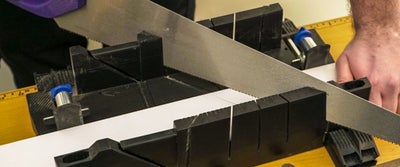
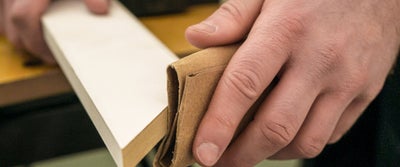
Place the architrave flat side down into a mitre box and make the two mitre cuts using a tenon or fine-tooth saw. Make sure the cuts are angled in opposite directions so that the outer edge is the longest edge. When you’ve made the cuts, lightly sand the ends until they are smooth.
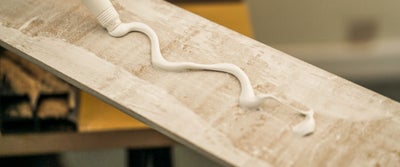
Check to see if the piece fits correctly. Then apply grab adhesive to the back of the architrave, making sure to follow the manufacturer’s instructions.
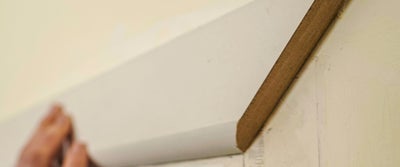
Carefully fit the headpiece into position along the 6mm line, making certain the bottom edge of the mitre joints are lined up with the intersection marks you made earlier.
To hold the architrave in position whilst the adhesive sets, hammer in four 40mm lost head nails through the architrave into the door casing.
Measure from the floor to the bottom edge of the headpiece and mark this distance on the two sections of architrave that will be your side pieces. Then mark the intended direction of the mitre cut on the architrave. Remember that the bottom end of each side piece will have a simple square cut.
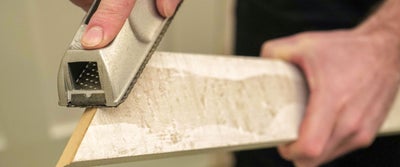
Use a mitre box to make the cuts, once again making sure that the inner edge is the shortest edge. Then lightly sand both cut ends until smooth. Check to see if each piece fits flush and correctly. You may have to make further adjustments with a block plane or more sanding.
Once you’re happy with the fit, take one of the side pieces and apply some PVA glue to the mitred edge. You should also apply the glue to the matching edge of the head piece.
Apply some grab adhesive to the back of the side piece and carefully fix it into position. Once again you can hold the architrave in place using 40mm lost head nails. Then repeat this process with the other side piece.
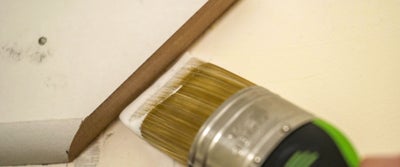
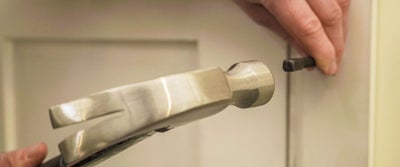
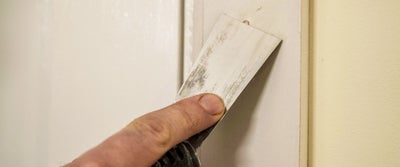
Once the architrave is set and secure you can use a hammer and nail punch to sink the nails just below the surface of the architrave. Then fill and sand down the small nail holes before painting.
