What is the best way to fit skirting boards?
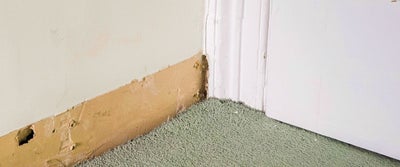
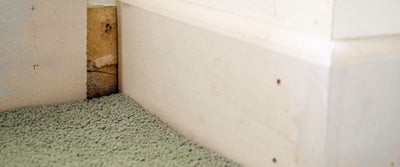
Skirting boards are used to cover the joint where the wall and floor meet each other. Depending on the nature of your project you’ll either be replacing the skirting in a room or fitting new skirting as part of a room makeover. If you’re adding both architrave and skirting then it’s a good idea to match the styles for a consistent look.
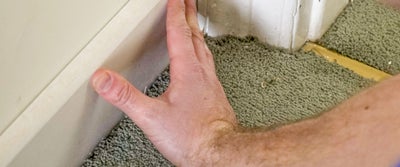
You don’t need to leave a gap underneath the skirting boards. If you’re having a carpeted floor then fit the skirting boards first. If you’re laying down a wooden or laminate floor then fit the skirting boards afterwards.
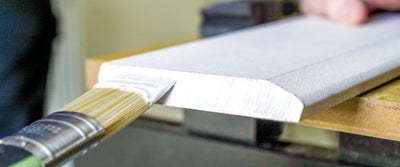
Skirting boards come in a variety of materials – primed MDF, fully finished MDF, softwood and hardwood. MDF skirting won’t warp and doesn’t have any knots or imperfections. If you choose hardwood or softwood skirting then select lengths with the least number of knots and imperfections.
Should I sand skirting boards before fitting?
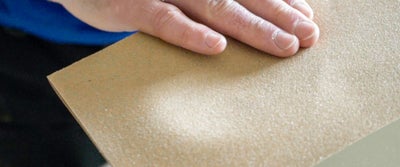
MDF skirting doesn’t need sanding, but if you’re using softwood or hardwood boards they may need lightly sanding and treating before fitting.
How do I cut and measure skirting boards?
When cutting skirting boards you will need to know the best way to join them at the corners. External corners face outwards and internal corners face inwards. Each corner needs a different cut for the best results.
- Mitre joints are used for external corners. The boards are cut at 45 degree angles so they fit nice and tightly around the corner.
- Scribe joints are used for internal corners. One of the boards is cut square then the other board is cut – or “scribed” – to match the profile of the first board. Scribing also helps minimise the risk of gaps forming if the skirting shrinks after fitting.
Remember that when you’re planning to fit new skirting, start from the left-hand side of the door and work anti-clockwise around the room. This ensures that the square cut piece on an internal corner is always cut and fitted before the scribed piece. Make sure it’s clear which cuts are needed for each skirting end.
How do I cut a mitre joint?
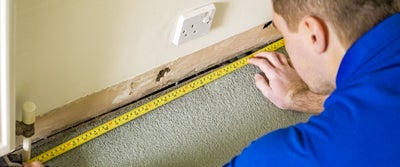
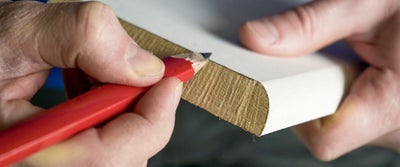
Measure the distance to the next corner and mark that distance on the top back edge of your piece of skirting. Then lightly mark the intended direction of the mitre cut.
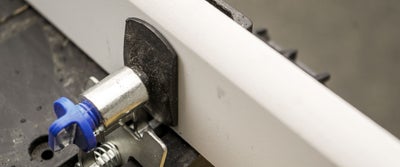
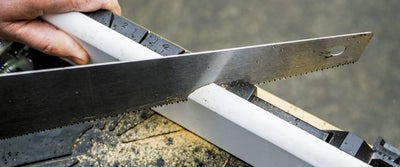
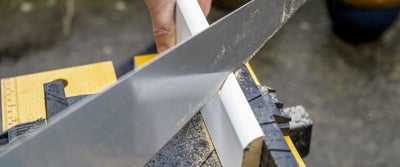
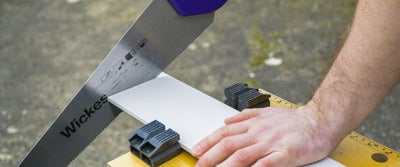
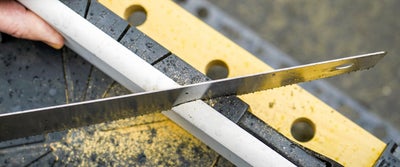
Secure the skirting into a mitre box. The side that will be facing the room needs to be facing you. This helps prevent the skirting from being damaged whilst you cut. Firmly hold the skirting in place and make the 45 degree cut with a tenon or fine-tooth saw. When cutting a long piece of skirting you’ll need to support and secure the opposite end.
Place the next adjoining piece of skirting in the mitre box and make a 45 degree cut in the opposite direction to the first piece, so they will join up around the corner. Lightly sand the ends until smooth and hold the two sections together to check that the mitre cuts join correctly.
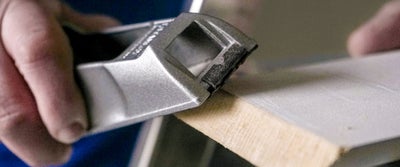
If necessary you can make further adjustments with a block plane and more sanding.
How do I cut a scribed joint?
Start by cutting the piece of skirting that will form the right-hand part of the joint to the necessary length. Make sure the end is cut straight so that it can butt against the wall in the corner.
Cut the piece of skirting that will form the left-hand part of the joint to length using a mitre box. Make sure the 45 degree angle goes into the corner.
With the edge of a pencil, mark the front edge of the skirting down the profile where the mitre cut starts.
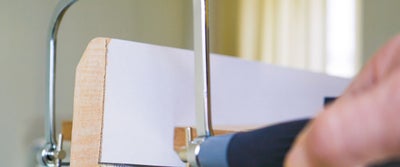
Secure the skirting in your workbench and use a coping saw to cut away the waste section of your mitre cut. Angle the saw slightly so it removes material behind the pencil line but does not remove the pencil line itself. This stage can be tricky to get right, so practice on some offcuts first.
Check the fit of the two boards and make adjustments if necessary, using the coping saw and some sandpaper. Then make the appropriate cut at the other end of the skirting before fixing.
How do I fix the skirting boards?
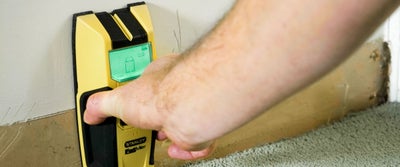
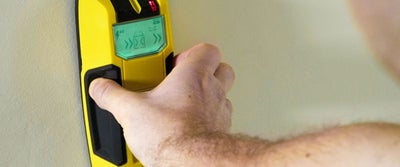
Before fixing anything to the walls, use a pipe and cable detector to check for hidden pipes and electric cables. Be sure to follow the manufacturer’s instructions.
If you’re fixing the skirting to a stud wall then use a stud detector to locate the vertical timber studs behind the plasterboard. Mark the centre position of the studs on the skirting so you know where to hammer the nails.
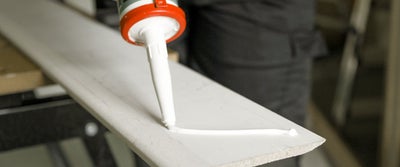
To fix the skirting board, apply grab adhesive to the back of the skirting. Be sure to follow the manufacturer’s instructions. Press the board firmly to the wall and quickly wipe off any excess. If the wall is perfectly flat you may not need any other fixings. If your wall has a bow in it you may need other screws or fixings to tighten up the skirting.
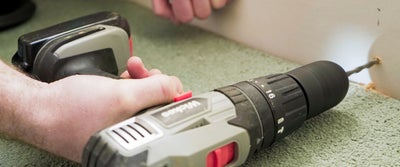
If you’re fixing the skirting to a masonry wall then use a 6mm masonry drill bit to drill through the skirting and into the wall. Start the holes 50mm from the end of the wall and position each one 25mm from the top and bottom of the skirting. Repeat this pattern at 500mm along the length of the skirting. Countersink the holes so that the screws will be hidden, i.e. the screw head sits below the surface of the skirting.
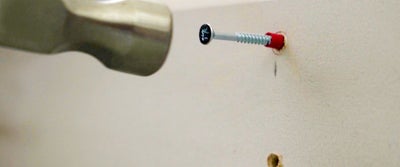
Insert a 6mm wall plug and an 8-gauge screw, tapping into place until you feel resistance. Then screw until the head is below the surface of the skirting.
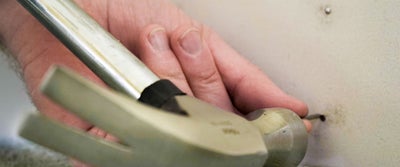
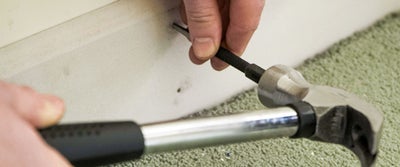
If you’re fixing the skirting to a stud wall, then hammer two 40mm lost head nails through the skirting into the centre of each timber stud. Use a hammer and nail stud to push the nails below the surface of the skirting.
When fitting and securing an external joint you need to apply PVA glue to the face of each mitre cut.
When securing internal joints the square cut section is always fitted first. So simply align the scribed section and secure the board. No PVA glue is required for internal joints.
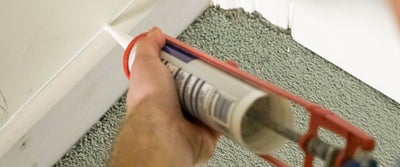
Using a cartridge gun, apply flexible decorator’s caulk to the top of the skirting to seal off and fill any small gaps between the skirting and the wall. Smooth the surface and wipe away any excess with a damp cloth.
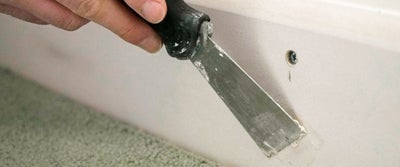
Finally, all countersunk nails and screws should be filled and sanded down. Now the skirting is ready to paint.
