How to fit a kitchen worktop
Is it easy to fit a kitchen worktop?
A hard-wearing, hygienic worktop is an essential for any modern kitchen. Whether you’re fitting a new worktop or replacing an old one, there are a huge range of styles, designs and materials to choose from to suit your needs and preferences.
The most popular kitchen worktops are made from laminate, solid wood, compact laminate, quartz and granite. Each of these materials has slightly different cutting and fitting requirements. Stone and granite kitchen worktops should only be cut and fitted by qualified professionals. However, it’s fairly straightforward to fit the other types yourself, as long as you have planned and prepared thoroughly.
In this guide, we will cover how to pre-cut laminate worktops, leaving you feeling confident you'll get the job done right. But first of all, it's important to plan how much work surface you'll need, and where any cuts are going to be made. The following tips may help your planning:
- Avoid mistakes by measuring twice, so you only need to cut once
- Try to make the best use of the factory-cut edges in your planning, so you keep your own cutting to a minimum. Factory-cut edges will always be perfectly square
- Plan so that any joints are properly supported by the unit frames beneath
- Make sure any joints between pieces are at least 100mm away from any sinks or cut-outs for appliances
- Position any hob cut-outs at least 50mm from the front edge and 60mm from the rear edge
Cutting a kitchen worktop
If you’re cutting laminate, compact laminate or solid wood worktops, there are a few basic rules to follow to ensure your safety, and that you make a clean cut.
- Make sure your worktop is firmly secured before you start sawing. A circular saw with a fine-tooth, thin blade is best for cutting the worktop. You should clamp down a straight edge to guide the saw
- When using a hacksaw or power saw, wear safety goggles and a dust mask, and make sure the room is well-ventilated
- If possible, practice cutting on a small piece of excess or offcut worktop first. This way, you'll get used to the method.
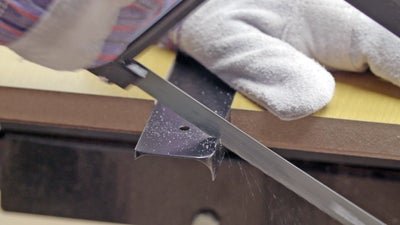
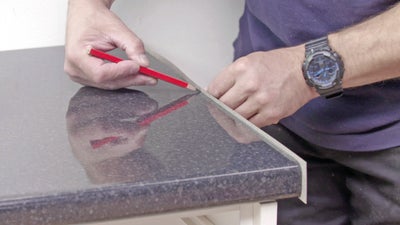
If you need to trim or cut the worktop to length, mark a cutting line on the underside with a pencil. Double-check the measurements and then cut using a power saw. Use a file or sandpaper to smooth down any rough edges.
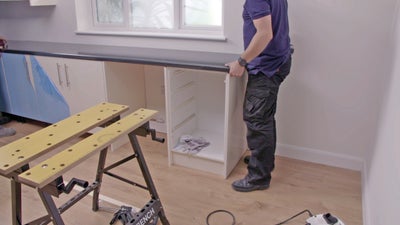
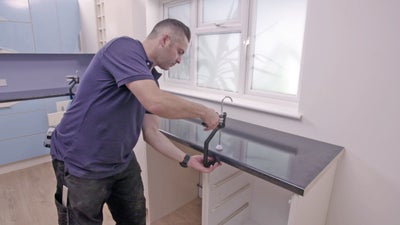
Due to the length and weight of the worktops, you will usually need somebody to help you install them.
Before installing
It’s important to let your worktops acclimatise for 24hrs after they have been delivered. Stack them horizontally on the floor, separated by packers or blocks of some kind. After 24hrs, we recommend you fit them as soon as possible.
Keep the protective plastic covering on the unit door fronts until your worktops have been fully installed.
