How to repair a cracked floorboard
Replacing a cracked floorboard helps to increase the lifespan of your flooring while negating the need to replace expensive floorboards. Anyone with the right tools can do this job. All you’ll need is wood filler, a chisel, a pallet knife, and a vacuum cleaner.
Planning and preparation
- Some wood filler will need to be mixed, the filler we’re using is pre-mixed.
- Be careful not to run your bare hand or fingers across the dent, as this will likely result in splinters.
Method
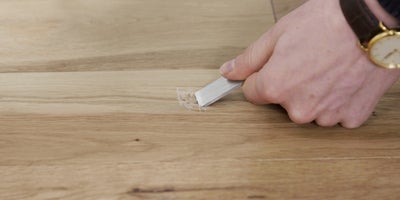
First, use a chisel to break away the loose wood chippings in and around the chip/crack. Then use a vacuum cleaner to ensure all wood splinters are cleared away.
Once the debris has been cleared away, put on your protective gloves, and use your filling knife to scoop out enough pre-mixed wood filler to fill the chip/crack.
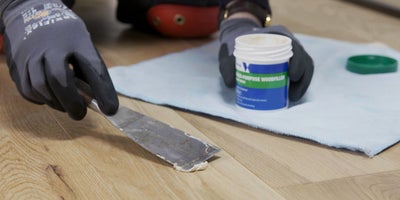
Push the wood filler into the chip/crack, then smooth it over with your filling knife to cover the chip/crack. There should be a small amount of excess filler on top of the chip/crack as we will later sand this down to get a flush finish.
Give the filler enough time to dry completely before continuing.
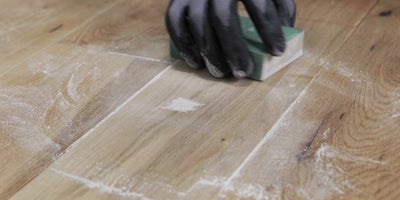
After the filler has dried, rub the fine sanding block in a circular motion to remove the excess filler until it is level with the floorboards.
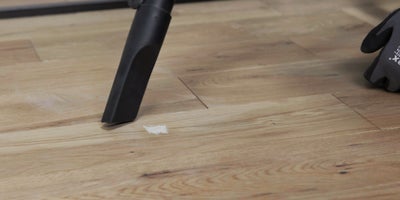
Then hoover up the dust this may have created.
Finally use a damp cloth to clean up any remaining filler/dust around the treated area.
After the repair has concluded and the chip/crack is filled we recommend staining it or using hard wax to match the area to the rest of the flooring.
