Skip to content Skip to navigation menu
Basket
0

Planning and preparation

  • We are going to show you how to build an outdoor cinema screen, step by step.
  • It gives you the perfect way to take your outdoor entertaining to the next level, whether it’s to watch a classic film or the big match, and can easily be disassembled and assembled in a flash.
  • This project doesn’t require too much time or experience to complete and uses materials that are mostly available from Wickes.
  • It should take a DIYer with moderate experience around a day to complete when you include the time you spend planning and designing.

Staying safe

  • Always make sure that your power tools are unplugged while you’re setting them up or changing accessories, to ensure your safety.
  • Keeping the plug in sight acts as a visual reminder to prevent accidents and hazards.
  • For extra safety when using power tools and painting, be sure to wear protective equipment, including your ear defenders, goggles, and a dust mask.
Planning your project

View instructions
Wickes_Q2_Outdoor_Entertaining_Day_1_0515.jpg

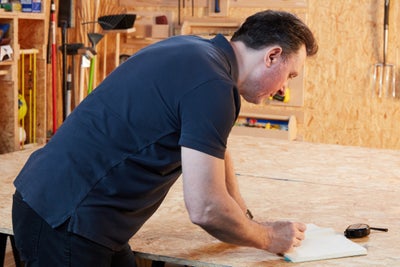
Sketching out your design ideas is the easiest way to help you visualise them and bring them to life before you start building.

We used a thin, white double duvet cover because it will slide over our frame, but you could use different materials depending on what you build your frame out of.

Attach a fixing to one of the long lengths and offer it up to your sheet by sliding it inside and seeing how it fits, before marking the point at which the sheet stops.

Wickes_Q2_Outdoor_Entertaining_Day_1_0518.jpg

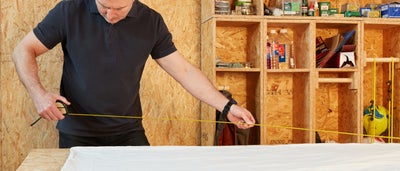
Then measure the size of your sheet from corner to corner so that you have a guide on the size and shape of your frame.

    Remove your sheet from your workshop and store it somewhere clean for the time being.

    Once you’ve fully considered and planned your design, including working out what you’ll need for your frame and how many fixings you require, it’s time to start cutting.

    Cutting your frame and stand

    View instructions
    Wickes_Q2_Outdoor_Entertaining_Day_1_0522.jpg

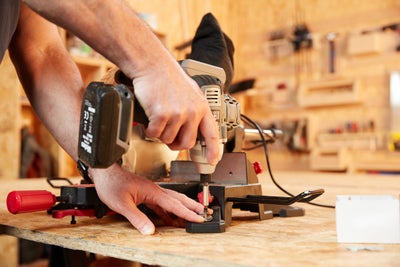
    Place your chop saw in position on your workbench before securing it in place with screws.

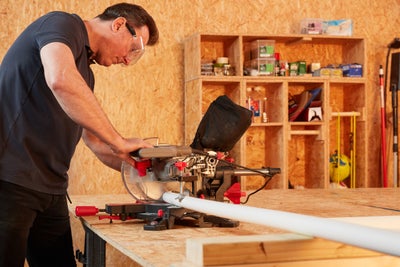
    To support your longer lengths of piping when cutting, place some timber offcuts at the end of your workbench in line with the bed of your saw.

    Wickes_Q2_Outdoor_Entertaining_Day_1_0523.jpg

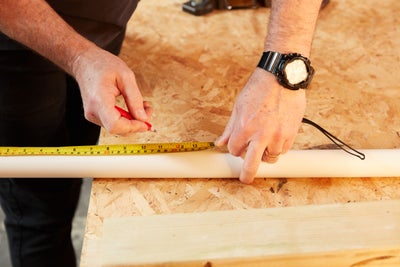
    Measure and mark your piping according to your plans.

    Wickes_Q2_Outdoor_Entertaining_Day_1_0524.jpg

    Cut it to size until you have all of the lengths you need.

    Once you’ve completed your cutting, unscrew your chop saw, clear everything from your workbench.

    Wickes_Q2_Outdoor_Entertaining_Day_1_0549.jpg

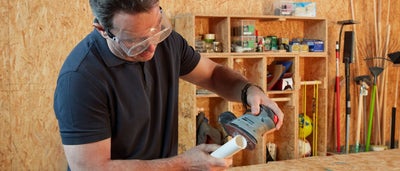
    Go over the cut ends with a sander to smooth them over and remove any burrs, then give your workbench a brush down before you move on.

    Building your frame

    View instructions
    Wickes_Q2_Outdoor_Entertaining_Day_1_0534.jpg

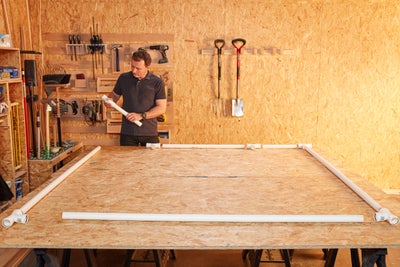
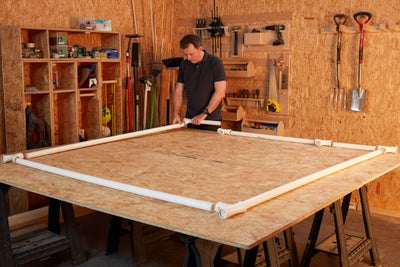
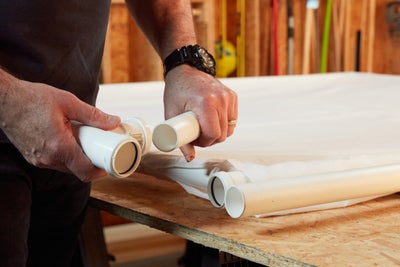
    Clear your workbench and dry lay the pieces and fixings that make up your frame. If you don’t quite have the room on your bench, the floor will work just as well.

    Wickes_Q2_Outdoor_Entertaining_Day_1_0538.jpg

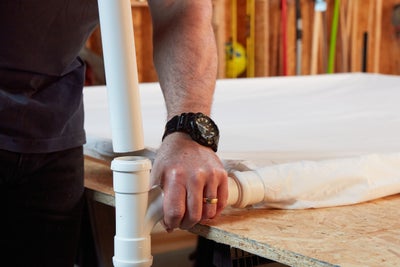
    Join your pipes using the fixings so that they’re completely connected, and then lay a long timber board under either end to raise your frame from the bench and avoid the sheet getting caught on the bench.

    Wickes_Q2_Outdoor_Entertaining_Day_1_0562.jpg

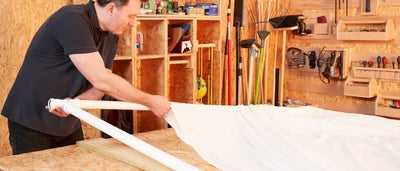
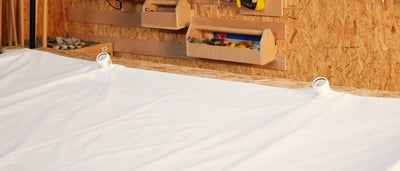
    Grab your duvet cover and either cut the seams or pull them apart so that the open end is split all the way along.

      Wickes_Q2_Outdoor_Entertaining_Day_1_0568.jpg

      Then feed your sheet over your frame so that it’s completely covered and in position.

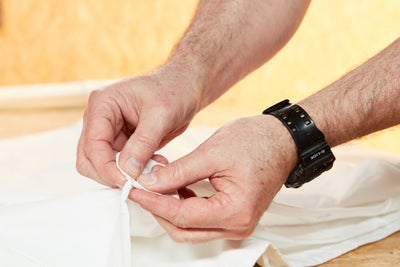
      Fasten the buttons of your duvet cover around the bottom bar of your frame.

      Building the stand

      View instructions
      Wickes_Q2_Outdoor_Entertaining_Day_1_0573.jpg

      Once you’ve constructed your frame and covered it with your sheet, bring in the piping pieces and fixings that make up your stand.

      Wickes_Q2_Outdoor_Entertaining_Day_1_0575.jpg

      Connect the horizontal lengths on either side, to begin with, before attaching fixings to the end of each.

      Wickes_Q2_Outdoor_Entertaining_Day_1_0580.jpg

      Insert your horizontal piping to create your rear brace.

      Wickes_Q2_Outdoor_Entertaining_Day_1_0586.jpg

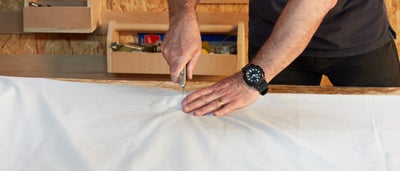
      Using your utility knife, make a small incision in the sheet where your fixings are along the top beam of your frame.

      Wickes_Q2_Outdoor_Entertaining_Day_1_0589.jpg

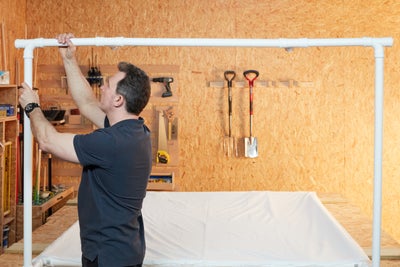
      Feed the ends of the connectors through the holes you’ve made and connect the two rear support bars.

      Stand it up on the floor and insert the two long pipes that make up your extended feet on either side and fit caps on the end of those.

      Wickes_Q2_Outdoor_Entertaining_Day_1_0601.jpg

      Once it’s all done, giving your sheet a steam is a great way to remove creases and make sure you’re projecting on a nice smooth surface that doesn’t affect your picture.

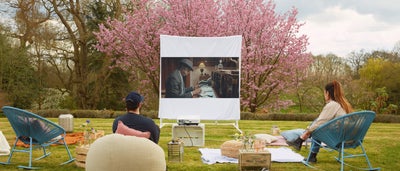
      090421_ABC_B2_DIYPopUpCinemaScreen_K4A0037.jpg

      Get yourself a projector, a bowl of popcorn and you’re ready for movie nights or watching the big game with friends and family wherever you go.

      BBQ Recipes to serve for movie night