Homemade laptop hood
Planning & preparation
- We are going to show you how to build a homemade laptop hood, step by step.
- It’s perfect for providing shade and preventing glare when you want to work outside.
- Designed to be simple and affordable to build, it can be made to fit laptops of any size.
- The materials for this project are reasonably cheap and widely accessible, with an emphasis on working with things you’ve got on-hand. It’s a great way to repurpose any cardboard boxes you have lying around.
- This project should take a DIYer with moderate experience no more than half a day to build, plus additional drying time if you choose to decorate.
Staying safe
- Always make sure that your chop saw is unplugged while you’re setting it up or changing accessories, to ensure your safety.
- Keeping the plug in-sight acts as a visual reminder to prevent accidents and hazards.
- For extra safety when using power tools and painting, be sure to wear protective equipment, including your ear defenders, goggles and dust mask.
Gathering your tools and materials
Prepare by gathering all of the tools and materials you’ll need, so that you’ve got them to-hand.
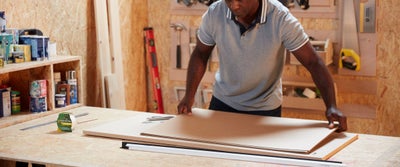
Lay down the MDF sheet on your workbench to be used as your cutting surface.
Your cardboard can either be repurposed from any spare boxes you might have lying around the house, or purchased specifically for this job. Make sure you have enough, and that it’s reasonably strong and rigid.
Make sure your workspace is tidy and well organised before you get started.
Measuring your laptop
Now you’ll need to measure up against your laptop so that you can tailor the size of your hood for a perfect fit.
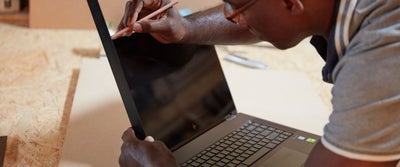
Hold a plastic angle strip against the screen of your laptop and mark the height of your laptop screen on it.
Then place the strip on the top corner so that it’s coming towards you. This lets you visualise and measure out how deep you want the overhang of the hood to be.
Cutting your brackets to size
Before you start your cutting, place a piece of timber on the bed of your chop saw. This will give you some extra support and a sturdier cut for fragile materials like the plastic angle strips.
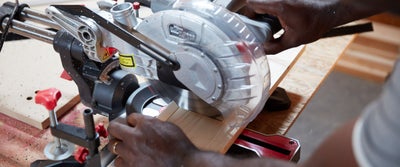
Hold your plastic angle strip in place and cut it to size using your chop saw.
Use the cut piece to mark and cut another identical strip, then repeat this process for the 2 other sides. This should give you three pairs of cut angle strips.
Measuring the outline for the end panels
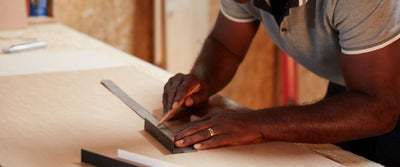
Place your cardboard on your cutting surface and measure your plastic angle strips against your cardboard sheets.
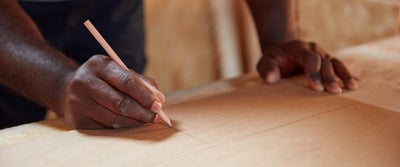
Mark the size of your end panel and trace its outline.
Cutting your panels
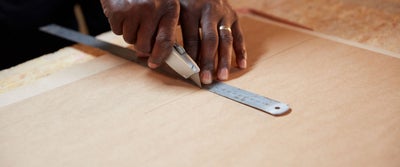
Once it’s outlined, cut your panel using your retractable knife and ruler.
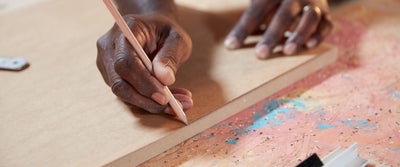
Then use the first panel to outline your second identical panel and cut that out too.
Taping the strips
Wipe down your plastic angle strip cuts to make sure they’re completely free of dust. Any particles can affect the adhesion of your tape, so you need a smooth, clean surface.
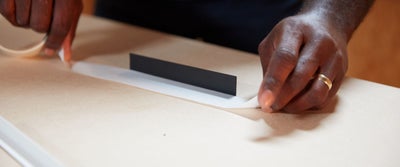
Apply your double-sided tape over the flat edge of your plastic angle strips by placing it in the corner and cutting around it precisely.
Assembling your strips and panels
Lay out and organise all of your parts to prepare for the assembly stage.
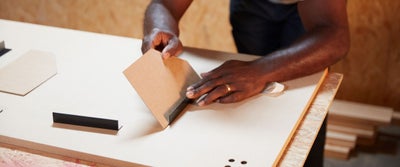
Remove the layer of double-sided tape from your plastic angle strips and place the edge of the cardboard panels so that they neatly slot into the edges of each angle.
Measuring against your screen

Hold your side panels in place and make sure they fit on your laptop screen.
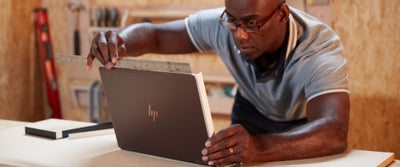
Use the smaller plastic angle strip to measure the width of your laptop screen and your top panel.
Remember to account for the bezels around your screen. Adjusting for the borders will help you to avoid accidentally covering the edges of your screen.
Cutting the top panel

Use your angle strip to mark the measurements of your top panel on your cardboard.
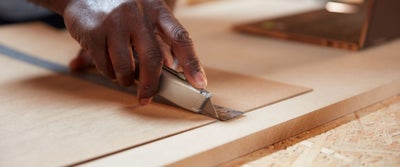
Cut it out using your ruler and retractable knife.
To avoid the tape covering from getting stuck beneath the existing cardboard, try scoring the blade along the double-sided tape.
Assembling the panels and fitting the hood
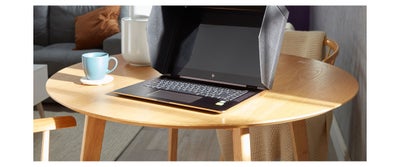
Form the hood by assembling the panels on your workbench and sticking them in-place.

Once the hood is assembled, peel the tape off of the inner plastic angle bracket and lay on the screen of your laptop.
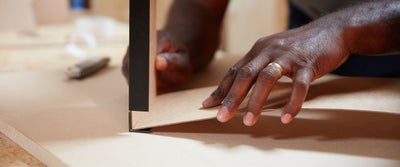
Slide into place and adhere it to the inside of the side panel to create a groove that the screen can comfortably fit in.
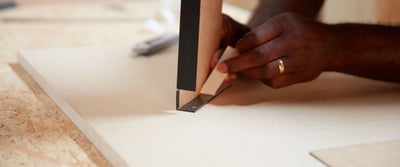
Laying your laptop down can make it easier to get a better grip when placing the hood on top.
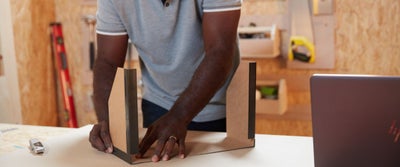
Once it’s built, you can choose to decorate how you see fit; whether you want to go for a professional matte-black finish or something more colourful.
For more ideas, advice and DIY how-to guides, visit the inspiration hub; and share your #WithWickes project with us online.

