DIY Drop Down Desk
Planning & preparation
- We are going to show you how to build a drop down desk, step by step.
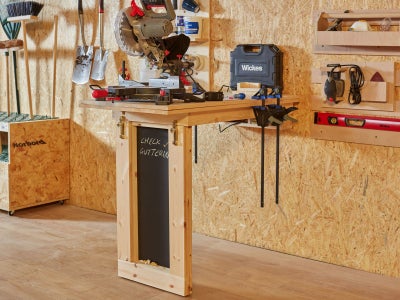
- It gives you an ideal little workstation that you can set up quickly and then neatly pack away at the end of the day.
- The ability to hide away your workspace outside of your working hours is important for helping you switch off when working from home.
- This project is relatively simple and affordable, using materials that are all available from Wickes.
- It should take a DIYer with moderate experience around a day to construct, plus as much time as you need to personalise your desk.
Doing it right
- Make sure to measure the available space in your chosen location.
- Measure your ideal seating height to correctly site the desk, make sure to use your chosen home office chair.
Staying safe
- Always make sure that your chop saw is unplugged while you’re setting it up or changing accessories, to ensure your safety.
- Keeping the plug in-sight acts as a visual reminder to prevent accidents and hazards.
- For extra safety when using power tools and painting, be sure to wear protective equipment, including your ear defenders, goggles and dust mask.
DROP DOWN DESK BUILD GUIDE
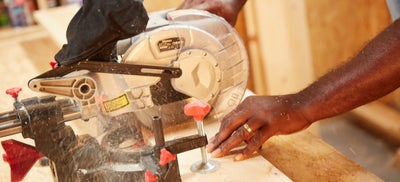
Make a temporary support.
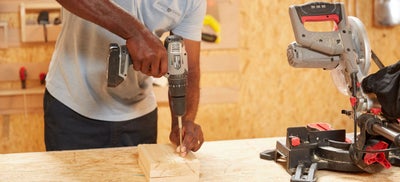
Before you get started, make yourself a temporary support from timber off cuts.
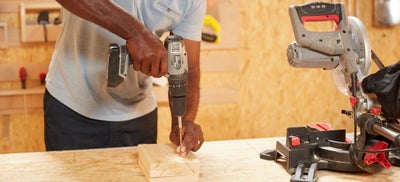
Screw them to your bench either side of your chop saw, so that they sit just below the bed of your saw.
This gives you some temporary support that can be easily removed once you’re finished.
Measure and cut your timber
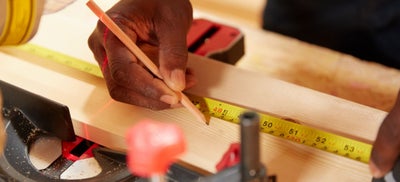
It’s easiest to measure, mark and cut all your timber at once so that you’re not constantly going back and forth to your chop saw. This lets you focus solely on construction once you have all your lengths.
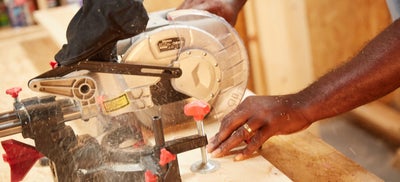
Cut your timber to size according to the cutting list until you have all your lengths.
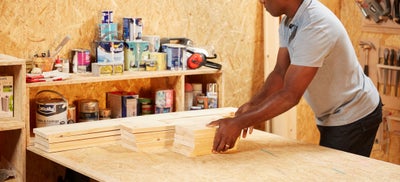
Stack up all your lengths close-by on your workbench for convenience.
When using a chop saw that’s fitted with a laser, bear in mind that it’s not always 100% accurate. It’s best to avoid relying on it alone.
Framing up
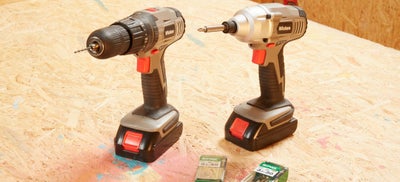
You’ll need to drill pilot holes before driving in any screws, so it’s best to have separate drill and impact drivers to-hand. This can help to speed up your workflow by saving you from constantly swapping over your drill bits on the same driver.
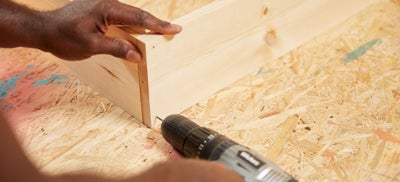
Measure the thickness of your timber and use smaller screws accordingly for your butt joints to avoid splitting.
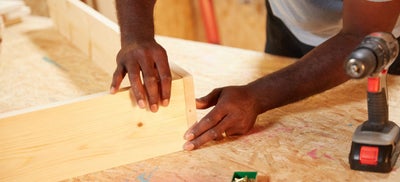
Check that your workbench is flat before framing up with 2 of your long timber lengths and 2 short timber lengths. Use your fingertips to check that the joints are completely flush before fixing them together with screws.
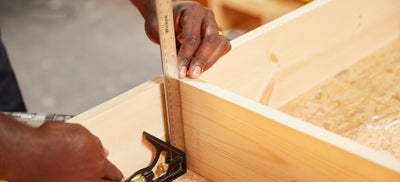
Use a combination square to place your inserts at a right angle. We sized ours according to the size of our monitor, but they’re completely customisable.
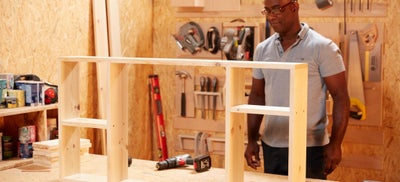
We opted to put 2 shelves in our desk, but this can also be customised to suit your preference.
Repeat the framing up process so that you have 2 frames built.
Joining the frames
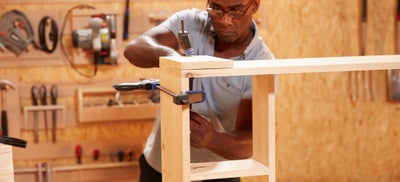
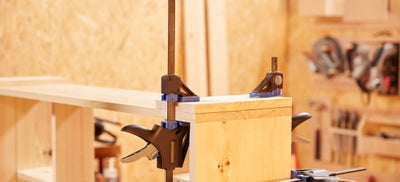
Line up both of your frames and clamp them to hold them in position once they’re aligned.
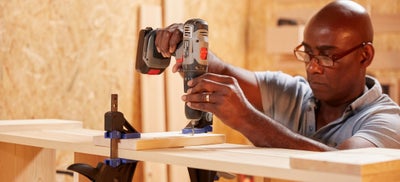
Place, clamp and screw three of your short timber lengths on the top of your frames at both ends and the centre, using shorter screws that don’t go all the way through.
Fitting the drop down desk
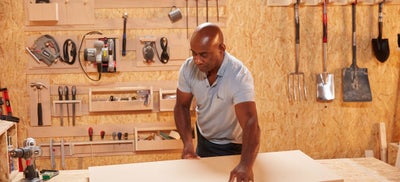
Lay your MDF sheet on your workbench and place the frame on top, with the shelves on top closest to you.
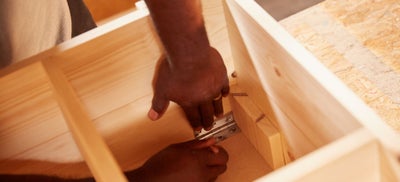
Using a timber off cut as a spacer, position your hinges either side inside the drop-down desk and mark the positioning of the holes. Be sure to circle the entire hole when marking out your hinges.
To get the eyelets we needed for this project, we repurposed wire cabin hooks.
This can be done by using loppers to cut through the wire cabin hook, so that you’re left with 4 eyelets.
Position your eyelets using an off cut spacer and mark the position of the holes.
Remove the frame and set it to the side.
Use your bradawl to make small indentations in the centre of each mark.
Drill a pilot hole through the centre of each mark using a 3mm drill bit, before following through afterwards by drilling down vertically with a 5.5 or 6mm drill bit.
Tidy up the opening of your drilled holes by countersinking them, which removes any spurs.
Turn over your MDF sheet and drill down reasonably deep counter sink holes then tidy up by going over them with sandpaper.
Push machine screws into each hole, before attaching the hinges and fastening with a washer and nut.
Fasten the eyelets to the desk using the same process.
Turn the desk around so that the hinges are closest to you and place the frame back on top of the desk, making sure that they’re aligned.
Drill pilot holes through the centre of all the hinge holes on the frame before removing it and following the pilot holes through into the timber.
Then stand your frame up and drill down through each pilot hole using a 5.5mm drill bit.
Tidy the holes up using a countersink again. You’ll need a drill bit that’s wider than the head of the machine screw under the frame, in order to create a deep countersink. Wrap masking tape around your drill bit to mark the depth you wish to drill, then affix your hinges.
Fitting your chain
Lay down a timber off cut to support your drop down desk, then sit the desk up on top.
Clip the second carabiner to the section of chain that meets your desired length.
Attach an eyelet to the second carabiner and mark its location placed on the frame when the chain is pulled taught.
Affix your second eyelet using the same process as before.
If you find the chuck of your drill getting in your way in tight spaces, drill through the bottom two holes first and then drill through the other side by aligning with the two existing holes.
Once the eyelet is bolted in place, you should be able to lift up the desk and clip the carabiner through it. When you lower the desk, the chain should pull taught.
Use your loppers to remove excess lengths of chain.
Repeat for the other side.
Cut out the cable holes
Using a hole saw drill wherever you would like cables to drop down through.
Go over the hole with sandpaper to smooth the edge.
Fit the latch
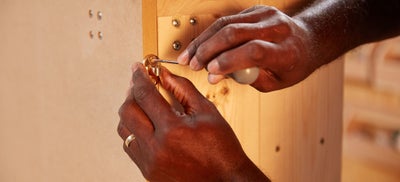
Position your cabin hook and hold it in place for your latch, before marking the position with a bradawl.
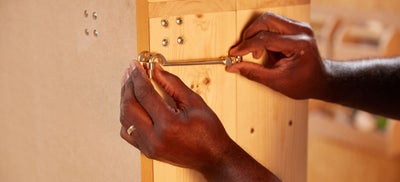
Drill pilot holes through the marks before screwing the hook part of the latch into place.
Repeat the process for the other part of your latch. This will keep your desk attached to the frame.
Fixing to the wall
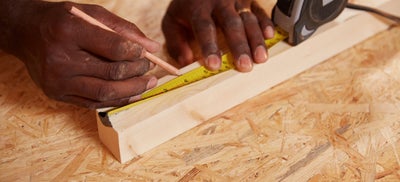
Cut a strip of timber to match the precise size of the gap in the centre of the frame.
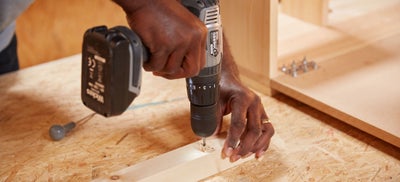
Drill two 4mm holes at either end, going right through the timber, then countersink the holes and twist screws into them. You’ll need appropriate fittings to attach the baton, depending on the type of wall.
Work out the height for your baton. The average desk height is 74 to 76 centimetres, but this is completely flexible.
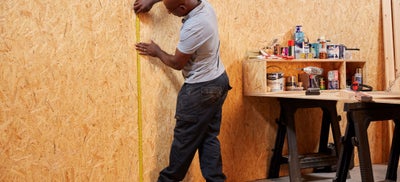
Measure from the top of your desk to the underside of the top of the frame and add the measurement to the desired height of your desk. Mark out the total height onto your wall measuring up from the floor.
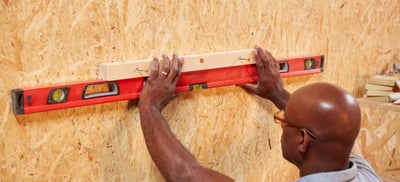
Hold your baton and a spirit level against the mark on the wall and fix the baton to the wall with one screw. Check that it’s still level before fixing the second screw. You might find that it’s easier to do this with two people.
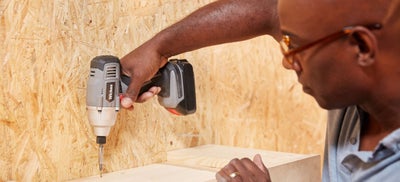
Close your desk, then lift and rest it on the baton. Screw the top two screws into the baton and you’ve got your desk fitted and ready.
Filling and sanding
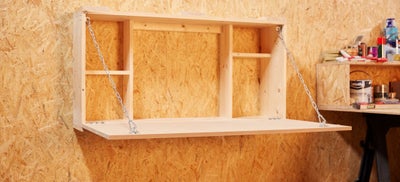
Now that it’s built, you can focus on giving it your desired finish.
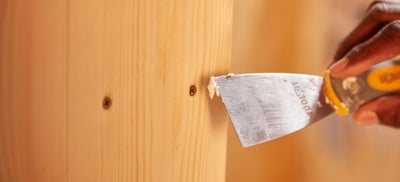
A great place to start is filing in your screw holes.
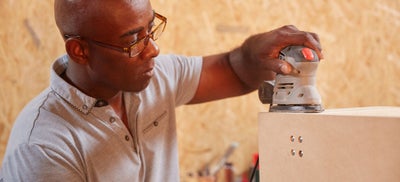
Once filled, sand over them to achieve a seamless finish.
Bear in mind that if you cover your machine screws, you won’t be able to unscrew them should you need to.

Now you can get decorative and set up your desk to completely suit your needs.
For more ideas, advice and DIY how-to guides, visit the inspiration hub; and share your #WithWickes project with us online.
