Skip to content Skip to navigation menu
Basket
0

Planning & preparation

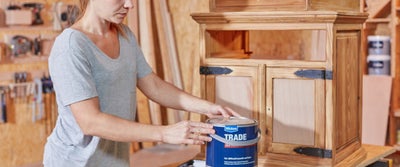
  • We are going to show you how to renovate a bedside table with a range of step by step techniques.
  • Reviving a tired piece of furniture or upcycling an unloved unit is an affordable and fun way to transform your interior décor with a custom design.
  • There’s lots of room for creativity with this project. This project is completely bespoke to the piece of furniture you have to work with and the steps you undertake will depend on the condition of the piece.
  • It’s also a great way to use leftover materials from previous projects and have a go at trying new decorative techniques.
  • We recommend having a look through magazines and social accounts for ideas and the latest decorative trends before you begin. This will give you a plan of action for completing your project.
  • You can add, remove and replace as many elements as you like. Use the piece of furniture as a shell for a creative makeover and experimental decoration. Or give the piece a once over and repair job, complete with a new finish and fittings.
  • We decided to repair, prime and paint our piece, adding new parts and fixings, but you can revive your unit with any number of creative techniques, including varnishing, lime waxing and staining.
  • Depending on what you have to hand, the materials for this project will cost around £30 and take a DIYer with moderate skill approximately 7 hours to complete. We recommend allowing a weekend to complete this project, to allow for repair works and decorative dry times.

Doing it right

  • For this project or any other furniture restoration project, a degree of planning and patience is required. Glueing, pinning and painting all require sufficient drying times so it’s important not to rush for the best finishes.
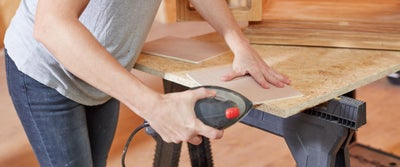
  • If you’re cutting new timber fixtures to size, ensure the timber is securely clamped to your workbench before you begin. Then slowly cut along your scribed line with a clean and sharp saw blade.
  • If you try out a new technique and you’re not happy with the finish, simply sand back the dry surface and start again. There is no right or wrong with creative design as this will depend on your style, taste and skill.
  • Watch our top tip videos for our Wickes DIY skills, tips and advice.

Staying safe

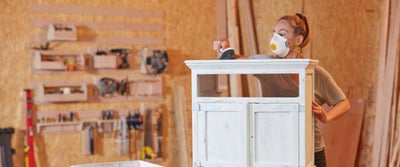
  • Make sure you have appropriate safety wear to hand including gloves, goggles and a dust mask for sanding or cutting timber.
  • Always ensure that your working space is well lit and ventilated, especially when working with paint and decorative finishes.
  • Always check the manufacturer’s label before applying any paints, stains or treatments.
Preparing the unit and making alterations

View instructions

The refreshed design of your bedside table will depend on the current condition and what you have to work with.

1.Upcycle_Bedside_Table_Prep_The_Unit.jpeg

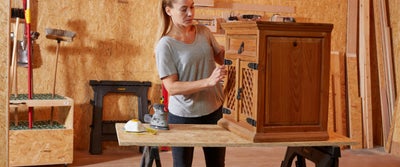
Start by placing the unit on your workbench and opening the doors.

2_Upcycle_Bedside_Table_Prep_The_Unit.jpeg

Remove any fixtures that aren’t fixed in place or that you’d like to replace such as drawers or shelves. It’s a good idea to check drawer runners too as these can become damaged over time.

3.Upcycle_Bedside_Table_PrepThe_Unit.jpeg

The shelf in our cabinet had been replaced at some time with flimsy timber, so we removed the piece with the view to replacing it later on.

4.Upcycling_bedside_table.jpeg

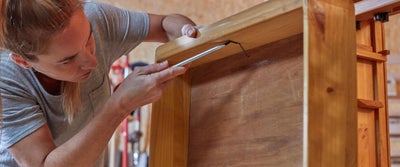
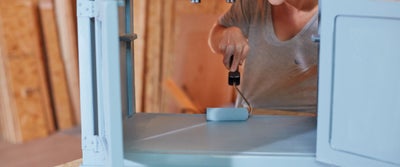
We decided to leave the hinges in place as they were in good condition but removed all of the handles by straightening the legs with a screwdriver and pulling them out.

If you want to keep any of the original fixtures but they require repair, it’s a good idea to remove and clean them while you’re priming and painting, replacing them at the end.

5.Upcycling_bedside_table.jpeg

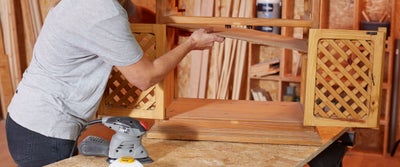
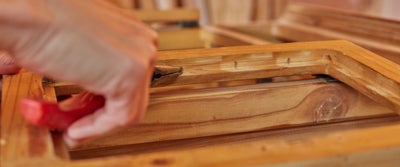
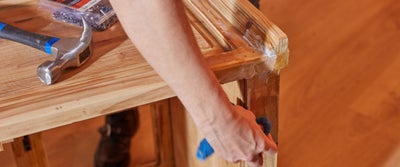
Our cabinet had lattice door designs that we also decided to replace. Using a hammer, we removed the lattice frames being careful not to damage the doors themselves.

6.Upcycling_bedside_table.jpeg

Once you have removed all of the fixtures you need to, give your unit a good once over to check for any loose screws or errant pins.

Sanding down your timber unit will remove any rough edges and prepare the surfaces for treatments and finishes.

7.Smoothing_timber.jpeg

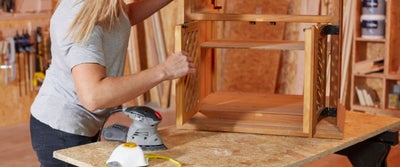
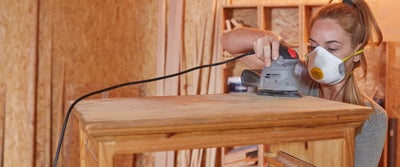
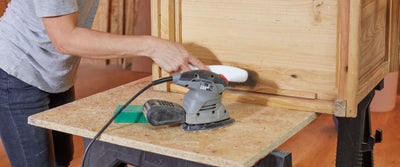
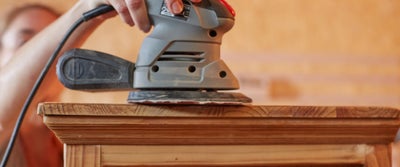
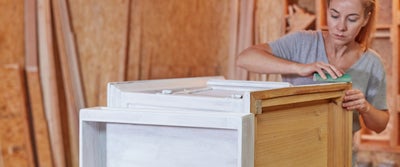
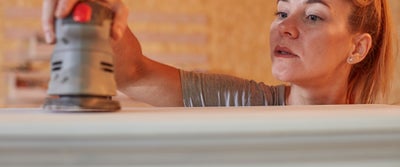
We sanded down the entire cabinet with an electric sander and coarse-grit sandpaper. If your unit was previously painted or had treatments applied, this is also a good way to remove any flakes, chips or rough leftover patches. Starting with the largest areas, work your sander slowly in small circular motions.

8.Smoothing_timber.jpeg

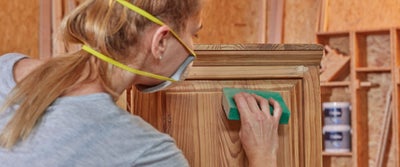
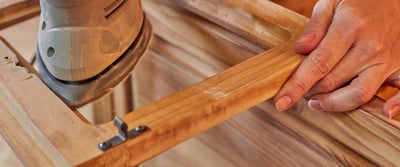
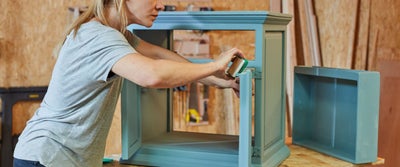
Now turn your attention to the more intricate areas including framework, beading and trims. Use an angled sanding block to get into all of the recesses, grooves and intricate details to achieve a smooth finish.

9.Preparing_timber.jpeg

Giving this stage extra attention and time will ensure that your decorative treatments adhere evenly for a professional finish.

10.Preparing_timber_for_upcycle.jpeg

Once you’ve completed the sanding, give the entire cabinet a good brush down to get rid of any dust and debris.

Identifying and fixing repairs

View instructions

Before you go any further, you should examine your entire unit for any cracks, splits or deep scratches that need to be repaired. This will, of course, depend on the age and condition of your piece but is essential for ensuring your unit is sturdy and solid.

11.Upcycle_Bedside_Table_Identifying_repairs.jpeg

If you have any cracks or deep splits, these will need to be glued and pinned back together.

12.Glueing_wood.jpeg

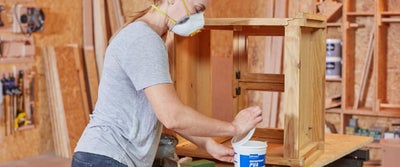
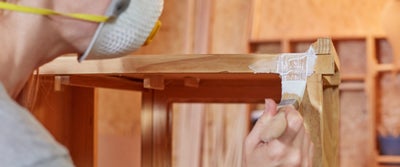
Using a paintbrush, apply a generous amount of PVA glue to the split, forcing it in to fill the space.

13.Hammering_timber.jpeg

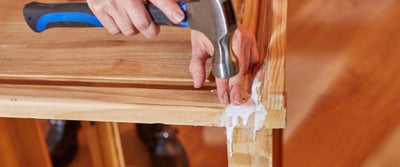
To seal the split, we hammered through 25mm panel pins until the heads of the pins were sunken into the timber, pulling the repair together.

14.Wiping_timber.jpeg

Repeat as necessary until all splits are repaired, wiping away any excess glue with a damp cloth.

15.Preparing_timber_.jpeg

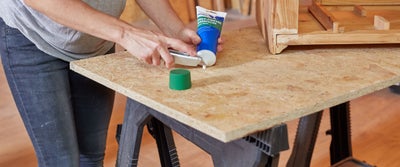
If you have any shallow splits or scratches on your timber unit, these can be patched with wood filler.

16.Wiping_timber.jpeg

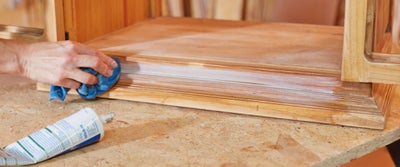
Applying wood filler directly to the surface, we worked the filler in well wiping away the excess with a damp cloth for an even finish. If you’re planning to paint your unit at a later date the colour of the filler won’t matter, otherwise use a colour to match your unit.

You can also use these techniques to fill any old fixtures holes that you don’t plan on replacing, such a hinge and handle holes.

17.Smoothing_wood.jpeg

Once the glue and filler have dried, give the repaired areas a gentle sand with your electric sander to make sure they have a consistent finish.

Replacing panels and shelves

View instructions

As we removed the lattice design and shelf from our cabinet, we decided to replace them with offcut timber that we had to hand.

We made a new chunky shelf from an offcut of timber, then gave it a gentle sand back and a couple of coats of varnish, before setting aside to dry.

18.Measuring_timber.jpeg

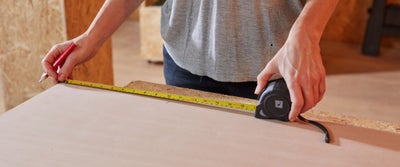
To replace the panels, we measured the height and width of the door frames then marked out the dimensions on a sheet of plywood.

19.Measuring_timber.jpeg

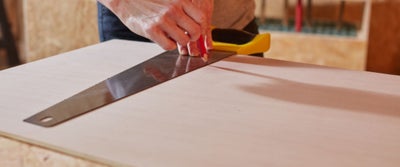
Using the built-in square on the back of our handsaw blade, we scribed straight cutting lines for each panel.

20.Cutting_timber.jpeg

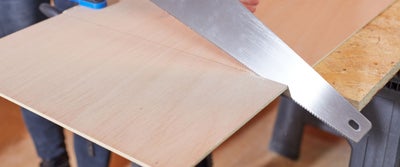
Clamping the plywood firmly to our workbench, we carefully cut along each cutting line with our handsaw.

21.Cutting_timber.jpeg

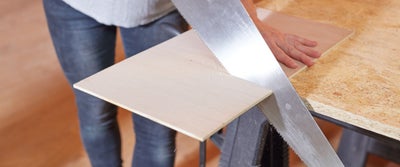
Extending your index finger along the saw handle can help increase steadiness, accuracy and balance when cutting by hand.

22.Preparing_timber.jpeg

Because a lot of this project is bespoke, there’s a good chance you’ll come across unique challenges that are specific to your piece of furniture. Our door panel frames had rounded corners, so we lightly sanded the corners and cut edges of our new panels to fit.

23.Preparing_timber_for_upcycle.jpeg

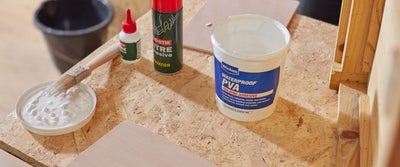
To fix any new fixtures in place, use a combination of PVA glue and mitre adhesive for a secure hold.

24.Preparing_timber_for_upcycle.jpeg

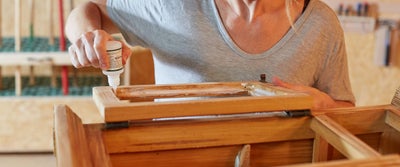
We used a paintbrush to apply the PVA glue to the door frames, adding a dab of mitre adhesive and then spraying with activator. Depending on the structure of your unit you may also wish to use 25mm panel pins to fix the panels in place.

25.Preparing_timber_for_upcycle.jpeg

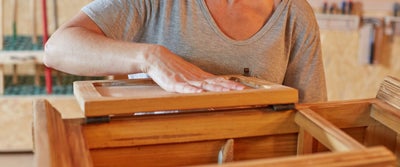
Holding the panels in place to adhere, we wiped away excess glue then allowed the structure some time to dry.


Our cabinet was also missing the entire back piece, so we constructed a new panel in the same way which we secured in place later on.


Priming the cabinet

View instructions

Once all of the glue and wood filler has dried, the focus of your renovation project shifts to finishing the wood. You can add as few or as many layers and treatments as you like, just ensure you allow for sufficient dry times between coats.

We chose to paint our project but equally, you could stain the timber, varnish the wood or apply liming wax to highlight the natural grain.
26.Priming_timber.jpeg

If you to choose to transform your unit with paint, we recommend starting with an undercoat of primer for a finish that’s less likely to chip.

27.Priming_timber.jpeg

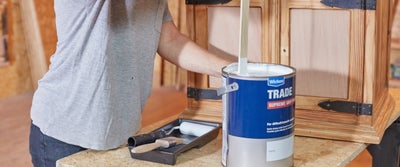
We started by giving our primer a good stir with an offcut length to combine any separated pigments.
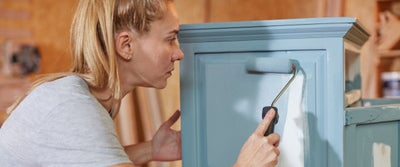
If you decide to keep any of the original fixtures it’s a good idea to remove them before painting.

28.Priming_timber.jpeg

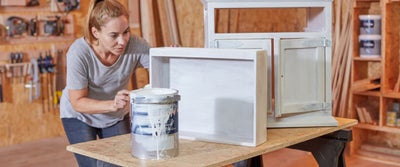
Using a brush, we applied a liberal basecoat of primer to the entire cabinet and drawer. A generous coat of primer can also help to conceal any minor dents or uneven areas in your unit. We also decided to paint over the original hinges for a seamless look.

29.Priming_timber.jpeg

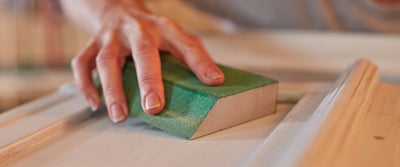
Once the primer had dried, we lightly sanded the cabinet by hand using an angled sanding sponge.

30.Priming_timber.jpeg

Sanding back at this stage of the painting process can help remove any imperfections for a smooth finish, such as drips or bits of dust. The sanding motion also helps to take off any high tops while lightly keying the surface and increasing the surface area for improved adhesion.

31.Priming_wood.jpeg

For larger areas, you can use an electric sander to lightly tickle back the undercoat but be careful not to remove too much.

32.Priming_wood.jpeg

When you’ve finished sanding, give your entire unit a good brush down with a dustpan and brush to make sure the surface is clean and smooth.

Painting the cabinet

View instructions

Now you can add the first coat of your desired colour. For decorative furniture, we recommend painting the intricate areas to start then working up to the larger surfaces.

33.Painting_cabinet.jpeg

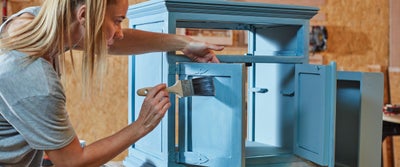
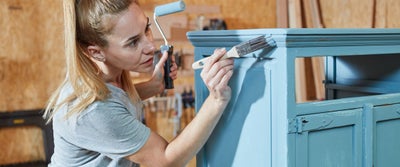
We gave the paint a stir then worked it into the recesses of the cabinet and drawer, using a paintbrush to focus on corners, beading and decorative trims.

34.Painting_cabinet.jpeg

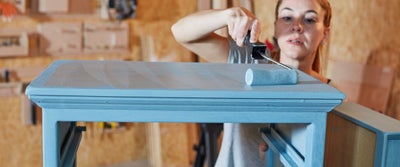
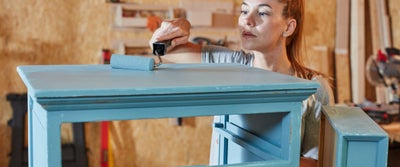
Once the nooks were evenly coated, we moved onto the larger surfaces working with a roller to coat the sides and top of our unit.

35.Painting_cabinet.jpeg

We also give the inside of the cabinet a thorough lick of paint before allowing the first layer to dry.

36.Painting_cabinet.jpeg

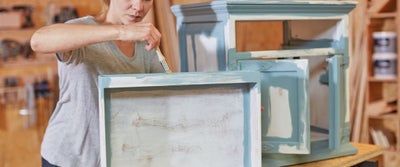
Before moving onto the second coat, it’s a good idea to give your unit another light sand back for a smooth and precise finish. We used an angled sanding sponge and a small piece of sandpaper to rub down any visible drips, dust and clumps.

37.Painting_cabinet.jpeg

Give everything another good brush down before applying a second precise coat of your chosen paint.

38.Painting_cabinet.jpeg

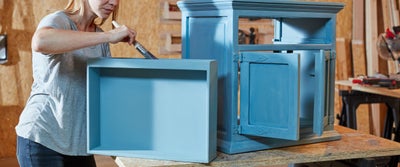
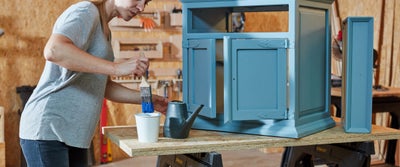
Using a brush to give the details, grooves and recesses another fine coat, we also used a roller on the larger surfaces to smooth over any brush strokes.

Adding decoration and sealing your work

View instructions

Once your second coat of paint has dried, it’s up to you if you want to add any further decoration.

39.Painting_cabinet.jpeg

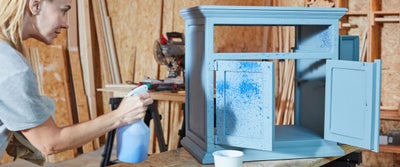
To add a more antique look to our bedside table, we mixed a slightly darker coloured tester paint with a little water to create an inky solution.

40.Painting_cabinet.jpeg

We then poured it into a spray bottle and spritzed it onto the table exterior from a distance.

41.Sealing_paint.jpeg

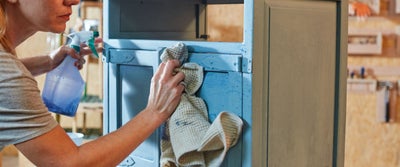
Using a cloth, we wiped the solution away from the flat surfaces, leaving it to settle in the nooks and recesses of the wood. This technique helps to add depth by accentuating the details and structure of the unit.

42.Painting_cabinet.jpeg

If the inky solution settles too much over the flat surfaces, you can go back in with your brush or roller to touch the areas up.

43.Painting_cabinet.jpeg

Once the paint is dry, sealing your work with varnish is a great way to highlight the furniture’s patterns, textures and surfaces.

44.Painting_cabinet.jpeg

Using a clean brush to apply thin and even coats to avoid drips, we varnished the entire unit including the drawer, then allowed it to dry.

Lining with wallpaper

View instructions

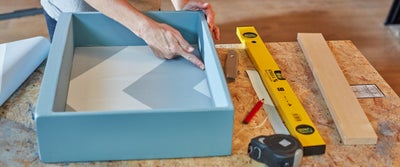
Lining your furniture with wallpaper is a fun way to add a unique, creative and statement finishing touch to your furniture. We decided to line the base of the cabinet, the back panel and the interior of the drawer with a chevron print.

45.Measuring_cabinet.jpeg

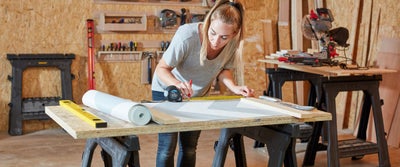
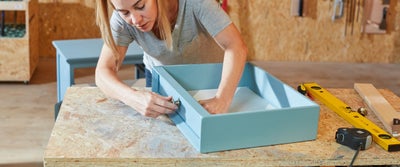
Start by measuring the surface area of the space you’d like to line with wallpaper, then measure out and mark up your pieces using a pencil and flat edge to scribe straight lines.

46.Measuring_wallpaper.jpeg

If you’re using wallpaper with a decorative or repetitive pattern, it can be a good idea to make the markings on the front of the paper, to ensure you get the most out of the print.

47.Cutting_Wallpaper.jpeg

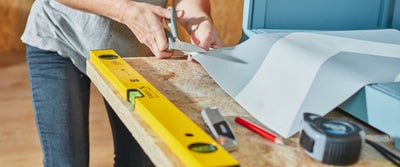
Carefully cut the pieces out using a retractable trimming knife, scalpel or sharp scissors then offer each back up to the unit. To account for decorative fixtures and unusual shapes you may need to trim the pieces for a bespoke fit.

48.Upcycle_Bedside_Table_Wallpaper.jpeg

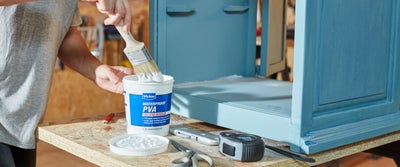
Once you’re happy with the fit, water down a small amount of PVA glue and apply it directly to the unit using a brush. The layer should be even but not too thick.

49.Applying_wallpaper_to_cupboard.jpeg

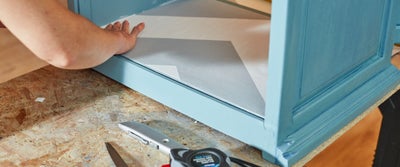
Once you’ve applied an even layer, lay the wallpaper in position and smooth it out. Chase with your hand or a dry sponge from the centre to remove any bubbles and make sure that you get a smooth finish.

50.Applying_wallpaper_to_cupboard.jpeg

If there’s any excess glue, wipe it away with your finger or a damp cloth.

51.Hammering_cupboard.jpeg

We also used this technique to line the new back panel we cut earlier which we fixed into place using 25mm panel pins.

Finishing touches

View instructions
52.Upcycling_bedside_table.jpeg

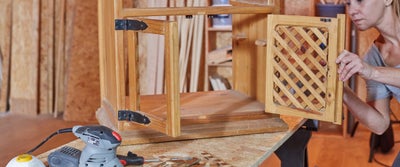
It’s now time to secure any new fixtures to your unit such as new handles, latches and locks. If you decided to keep the original fixtures, give them a good clean and fit everything back into place.

53_Upcycling_bedside_table.jpeg

If you find that any of the fixture holes are blocked with paint, use a drill or screwdriver to clear the residue.

54.Upcycling_bedside_table.jpeg

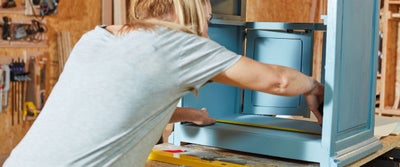
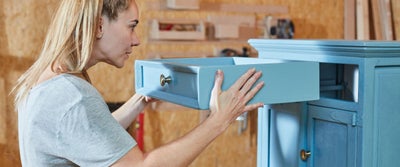
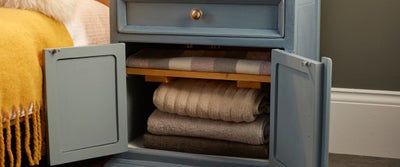
Once everything is secured in place, you can put any new elements or materials back into place. We slid our drawer back in and added our newly varnished shelf to the internal brackets.
55.Upcycling_bedside_table.jpeg

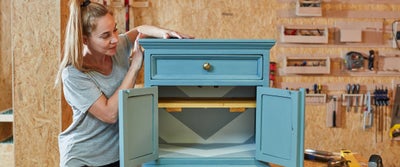
And that’s it! Your beside table has been revived and is ready to find it’s new place in your home.

Aftercare

View instructions
56.Upcycled_bedside_table.jpeg

The beauty of renovation projects is that you can use any number of creative techniques with the only limitation being your imagination. If you change your mind at a later stage, you can strip and sand back your work to start again.

Keep your timber dry and clean to protect the wood for a longer life. If you’re using your unit as an end table for drinks, we recommend using coasters so as not to damage the wood with stains.
If your unit is heavy, it can be a good idea to add furniture feet or coasters to prevent indents in your carpets or scratches to your floor.
Consider having a piece of glass cut to size for the top of your unit, especially if it will be in constant use.

Get creative with your bedside table

View instructions
57.Upcycled_bedside_Table.jpeg

The condition of your piece will usually dictate how extensive repair works need to be. However, with a little patience and imagination, the creative scope for renovation projects is vast.

Use these techniques to renovate any number of timber projects. Try scouring your local car boot sales and charity shops for bargains that with a little love can be transformed.

Revive a piece of unloved or tired furniture without breaking the bank. A renovation project is also a great way to use leftover materials and paint from other projects.

Have a look through magazines and social accounts for ideas and the latest decorative trends.

Paint your unit in the same colour as your walls for a fashionable interior scheme.

Get creative with chalk paint and rub back any high tops for a rustic and slightly distressed look.

Take the timber back to its natural state and highlight the grain with liming wax or varnish.

Try lining with good quality gift wrap, your favourite magazine cut-outs or old newspapers for a touch of nostalgia. Secure or decoupage with PVA glue for a longer life.

Adding new fixtures can take a piece of furniture from a dull design to statement styling. An ornate brass lock or handle could transform a piece, while original chunky black fixtures could be recycled for another project.

Bedside table inspiration

View instructions

Renovated bedside tables have a whole host of potential uses and can be used in almost any room or space around your home.

58.Upcycled_bedside_table.jpeg

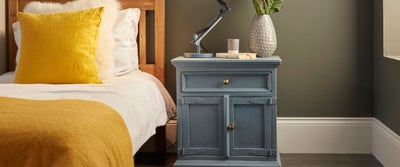
A handsome addition to a bedroom, add a reading light, your current book and bedtime lotions. Paint in soft pastels or match to the colour of your headboard or wall.

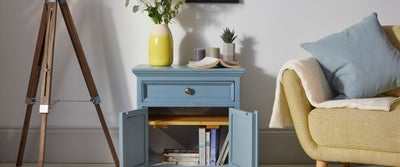
Use it in a hallway as a console table. Add your landline phone and a vase of flowers on top, using the drawer for letters, keys and the dogs lead.

59.Upcycled_bedside_table.jpeg

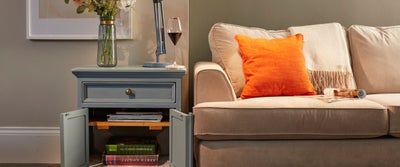
Place it next to your sofa as a stylish end table. A great home for the remote controls, magazines and board games, just add a lamp and a couple of coasters on top for drinks.

A nice addition to a landing, add a comfy chair and place near a window as a cosy reading area. Fill with books and magazines and display the family photos.

Find our favourite ways to style your bedside table and more inspiration for your home, in our ideas and advice hub.

58.Upcycled_bedside_table.jpeg

More inspiration from Wickes