The Big Event! Offers on Tiles, Flooring, Doors & more
Skip to content Skip to navigation menu
Basket
0

Why paint interior woodwork?

The interior fittings and room trims in your home such as windows, doors, and skirting boards are quite high traffic areas which will probably get knocked or scuffed over time. Painting them protects these areas and makes a real difference to the look of the room. It’s quite a straightforward task if you follow some important steps.

If you’re painting interior woodwork as part of a room project, then read our How To Paint A Room guide.

What is the best paint for interior woodwork?

Although gloss paint has traditionally been used for painting skirting boards and internal doors and windows, there are now several different finishes available. The finish you choose will depend on your own personal preference and the type of project you’re doing. The three main finishes are:

  • Gloss - a hard wearing paint with a high sheen and almost reflective finish. However this high sheen can often highlight imperfections in the wood after the paint has been applied.
  • Satin – also known as satinwood, this finish is less reflective than gloss and is better for concealing blemishes. It gives the wood a slightly ‘flatter’ more realistic look and more depth of colour. A satin finish is especially suitable for internal doors.
  • Eggshell – also known as a flat matt finish, this is a very low sheen, non-reflective finish. It looks similar to standard emulsion but is much more durable, making it ideal for high traffic areas.

How do I prepare wood for painting?

Properly preparing wood for painting is essential if you want a professional finish. The preparation you need to do depends on whether you’re re-painting old woodwork or painting new bare woodwork.

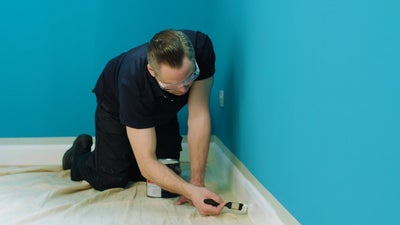
Before you start, remove as much furniture as you can from the room and cover the floor and any remaining furniture with a dust sheet. If you’re painting a skirting board then lay down some masking tape to protect the carpet.

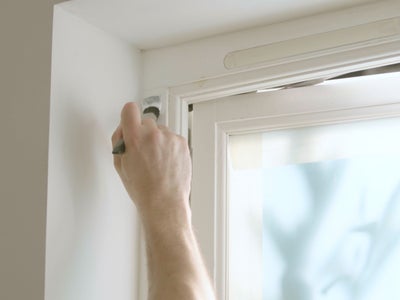
Remember to open any windows before you paint them – if you leave them closed you risk sealing them shut as you paint.

Make sure that your room is well lit so you can clearly see any areas that you’ve missed. Whilst painting, regularly step back to look at the wood from different angles and make sure coverage is consistent. Any patchy areas will be particularly noticeable with a high sheen finish.

Preparing and painting bare wood

Step 1

Any new or untreated wood needs to be absolutely clean and free from dust, dirt and grease. Inspect the wood for any knots in the grain. Apply two or three coats of knotting solution, allowing it to dry completely between each coat. The knotting solution seals the wood and stops the resin from leaking out into the paintwork.

Preparing-and-cleaning-the-wood-Step-1.png

Step 2

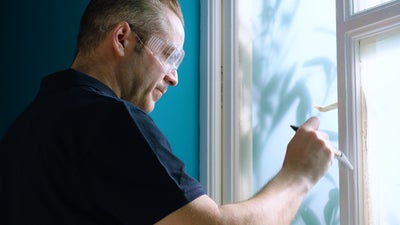
Fill in any gaps or holes with a specialist wood filler and when it has set, sand lightly with fine grade sandpaper. If there are any cracks between the join of the woodwork and the wall you will need to fill them with decorators caulk.

You then need to apply primer to the wood to ensure it takes the paint properly afterwards. Work with the grain of the wood using smooth brushstrokes. Use a white primer for brighter paint colours, and a grey or off-white primer for darker paint colours.

Preparing-new-woodwork-Step-3.png

Step 3

Next, apply a thin layer of suitable wood undercoat, working with the grain of the wood for the smoothest possible finish. On bare wood you will need to use two undercoats.

Painting-Undercoat-Step-3.jpg

Step 4

Once the undercoat is completely dry you can apply the topcoat. Once again, work with the grain and try not to overload the brush. This risks creating a thick coat on the wood which will drip more and dry unevenly. Allow the first coat to dry completely. One topcoat may be enough, but check the manufacturer’s instructions and apply a second coat if necessary.

Paint-the-Woodwork-Topcoat-Step-1.png

Preparing and repainting painted wood

The condition of your existing paint is key to how much preparation you will need to do. If the paintwork is very old or in poor condition then it’s best to remove it completely and strip back to bare wood. A heat gun is the best tool for this – carefully follow the manufacturer’s instructions to avoid damaging the woodwork.
Step 1

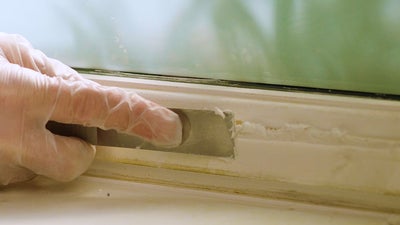
Paintwork which is in good condition and has only a few blemishes can be prepared by the usual method of filling and sanding. Firstly check the wood for any holes or cracks and fill using an appropriate filler. Allow to dry completely.

Preparing-and-cleaning-the-wood-Step-1.png

Step 2

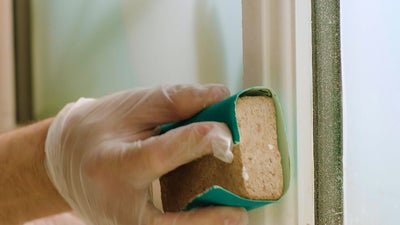
Once the filler is dry then the wood is ready for sanding, so you need to ventilate the room and wear a dust mask. Use a sanding block or a piece of sandpaper wrapped around a block of wood to ensure your sanding surface is level.

Preparing-and-cleaning-the-wood-Step-3.png

Step 3

Work with the grain of the wood using a fine grade sandpaper. The intention is not to remove the paint, but to create a ‘key’, which is an adhesive surface for the new paint to cling to.

Preparing-and-cleaning-the-wood-Step-4.png

Step 4

Thoroughly brush down and vacuum all surfaces after sanding to get rid of any dust. Wipe the surfaces down with a damp sponge until any dirt, grease or grime has been removed.

Next, apply a thin layer of suitable wood undercoat, working with the grain of the wood for the smoothest possible finish. You will only need one undercoat.

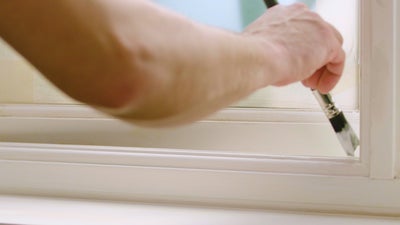
Once the undercoat is completely dry you can apply the topcoat. Once again, work with the grain and try not to apply a thick coat by overloading the brush. Allow the topcoat to dry then carefully remove any masking tape and replace fixtures and fittings.

Paint-the-Woodwork-Topcoat-Step-4.png