Skip to content Skip to navigation menu
Basket
0
181119_Autumn2_C_GalleryWall1_(1).jpeg

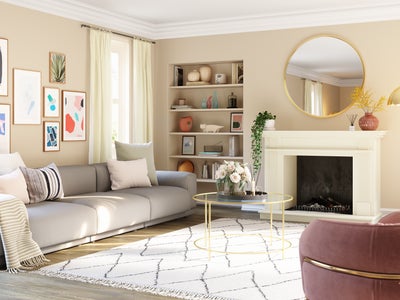
Gallery art walls are a trendy and flexible way to completely transform a room. Inject your personality, add colour and create a mood, by filling empty space with your favourite artwork for a statement focal point.

A fun and satisfying afternoon job, gallery walls will work with whatever budget and space you have available. The versatile beauty of an art wall allows you to tweak your gallery over time, adding to your design as your collection grows and tastes change. To help you get started, here are our favourite tips for creating and hanging your very own gallery.
181119_Autumn2_C_GalleryWall2.jpeg
Choosing the right space

A gallery wall can inject texture, colour and personality into almost any room. Start by sizing up your available space and measuring well, making a note of an approximate eye level measurement from the floor. Don’t be afraid to use the entire space, working from the floor to the ceiling for a full effect.

  • Run prints up your stairwell, extending from the skirting board to ceiling coving.
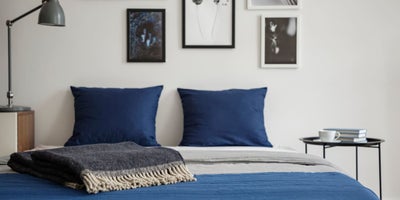
  • Go for a bold statement above a sofa, bed frame or desk area to frame the space.
  • Theme your favourite food prints above a kitchen dining table for a great talking point.
  • Ditch the mirror and display your prints above a mantelpiece, extending into the alcoves.
181119_Autumn2_C_GalleryWall3.jpeg
Collecting your pieces

Whether you have a classic collection of framed family photos or an eclectic assortment of artwork, there are no hard and fast rules to compiling your gallery.

  • Mount your favourite family photos in classic black and white frames. Arrange your travel snaps in multi-photo collage frames; and gather your favourite colourful illustrations and prints, mounted in ornate frames
  • Don’t be afraid of mixing your media. Illustrations, prints, vinyl sleeves, magazine covers, canvases, mirrors, maps, 3D signs and even old plates; all create a fun and eclectic talking point
  • Try theming or complementing your pieces to a colour scheme or room e.g. floral pieces for a garden room, or pastel prints to match your wall paint
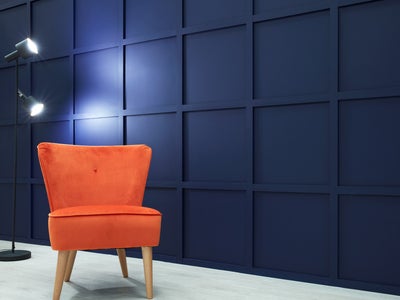
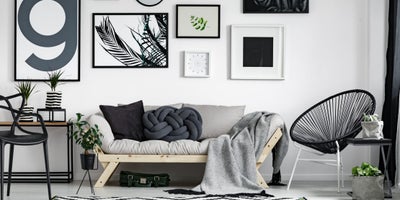
  • Be bold with your gallery and contrast colours, designs and prints for a versatile display. This is especially effective against dark or white walls


271119_Autumn2_C_GalleryWall4.jpeg
Laying your arrangement

Before you begin making holes in the wall, the best way to plan a gallery is to lay your pieces out on the floor and have fun with the layout.

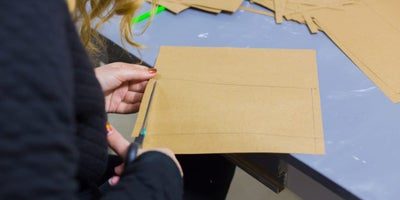
  • If you’re using picture hooks, brown paper templates are a handy way to transfer your design to the wall for perfect placement.
  • If you go for a staggered layout, start by positioning your largest or favourite piece on the paper as a focal point. Then get creative arranging the others around it, until you’re happy with the design.
  • Use a pencil to draw around each frame to create templates, then take a photo before cutting each frame out. If you’re using picture hooks, it can also be helpful to make a small fixing mark in each outline to indicate where the pin will need to go.
181119_Autumn2_C_GalleryWall5.jpeg
Hanging your pieces correctly

There are many ways to affix pictures securely to the wall. Use adhesive strips, traditional picture hooks or wall plugs and screws for heavier pieces.

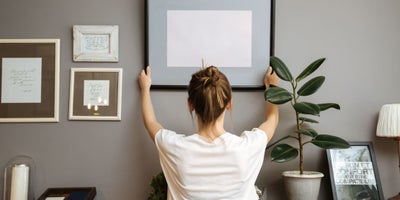
  • If you choose to use brown paper and picture hooks, now’s the time to tape your templates onto the wall. Starting with your focal piece, use your tape measure so the centre of the piece is aligned with your eye level measurement for maximum impact.
  • Using the photo you took earlier, tape the rest of the templates to the wall tweaking the placement until you’re happy with the layout, spacing and design.
  • Now hammer a pin into each of the templates fixing marks, before gently removing the paper and hanging your artwork in place.
  • Grid layouts are a great way to display a collection of photos or series of pieces in matching frames. A gap between frames of 2-5” tends to work well but should be scaled depending on your space. Use your tape measure to get the perfect placement before you hammer the fixings into place.
  • If you decide to use adhesive strips, start with your focal piece placement then work around, hanging your pieces until the design is complete.

More inspiration