10 for £92

10 for £65


10 for £89


10 for £134


10 for £59


8 for £92


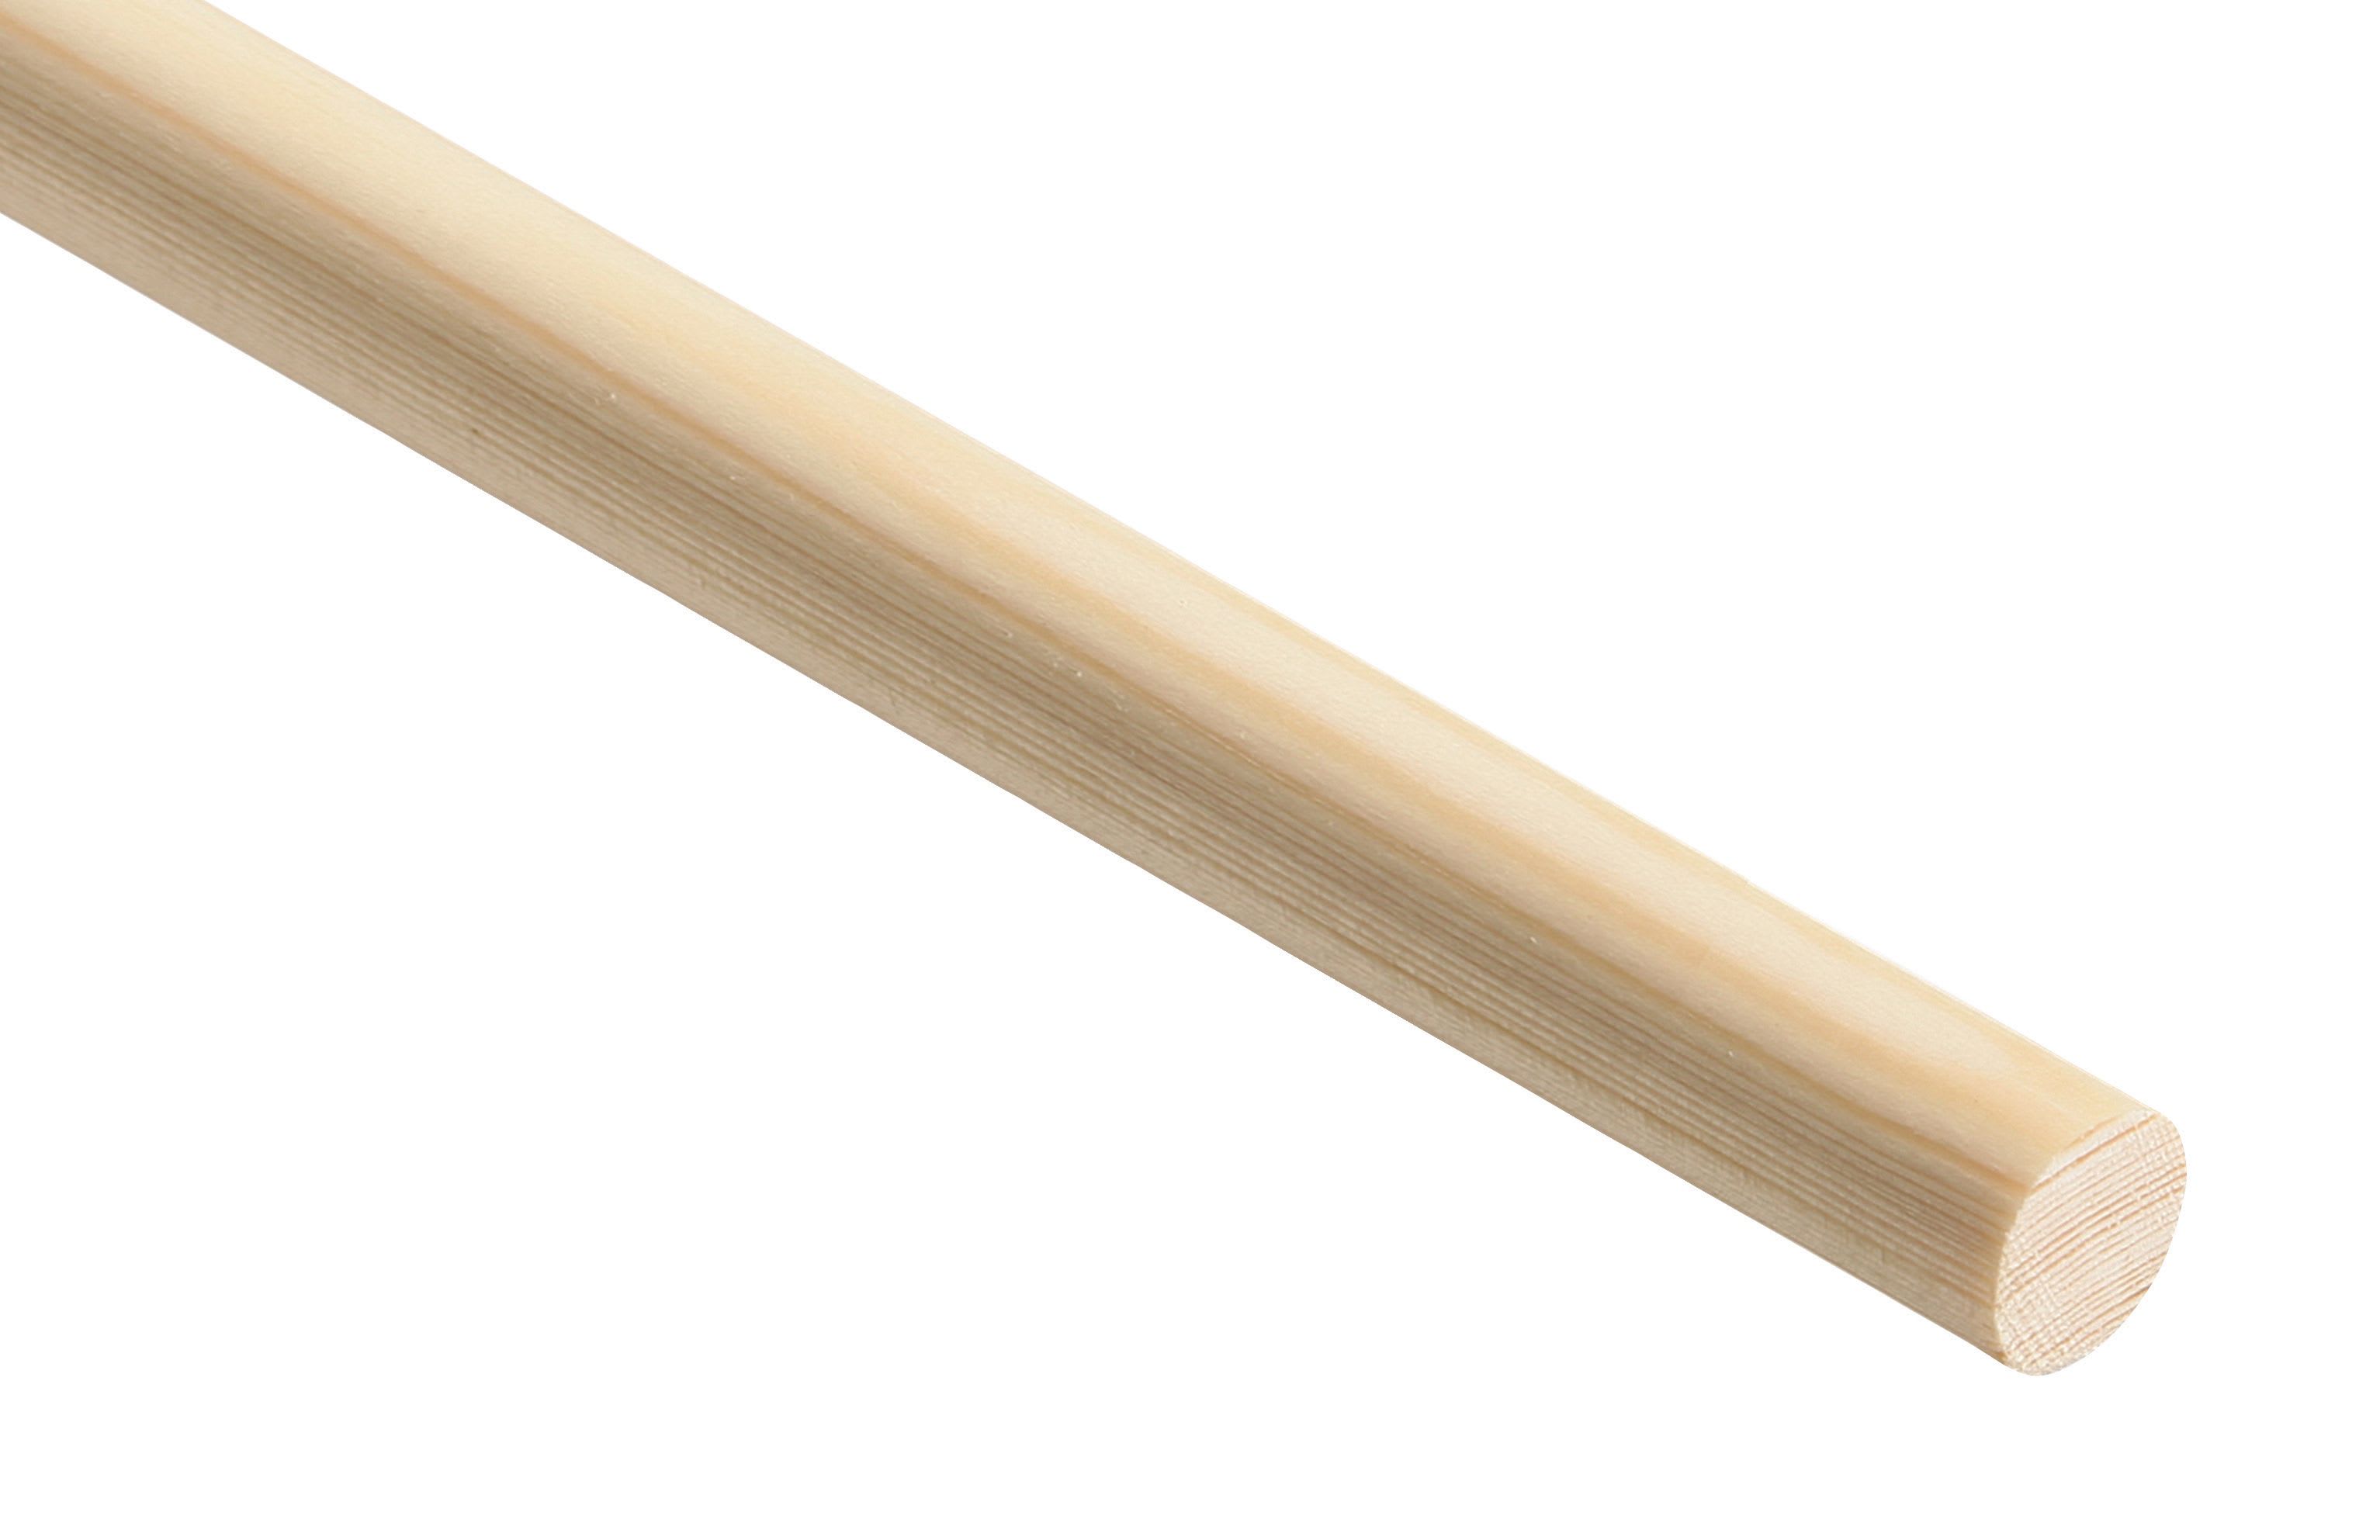
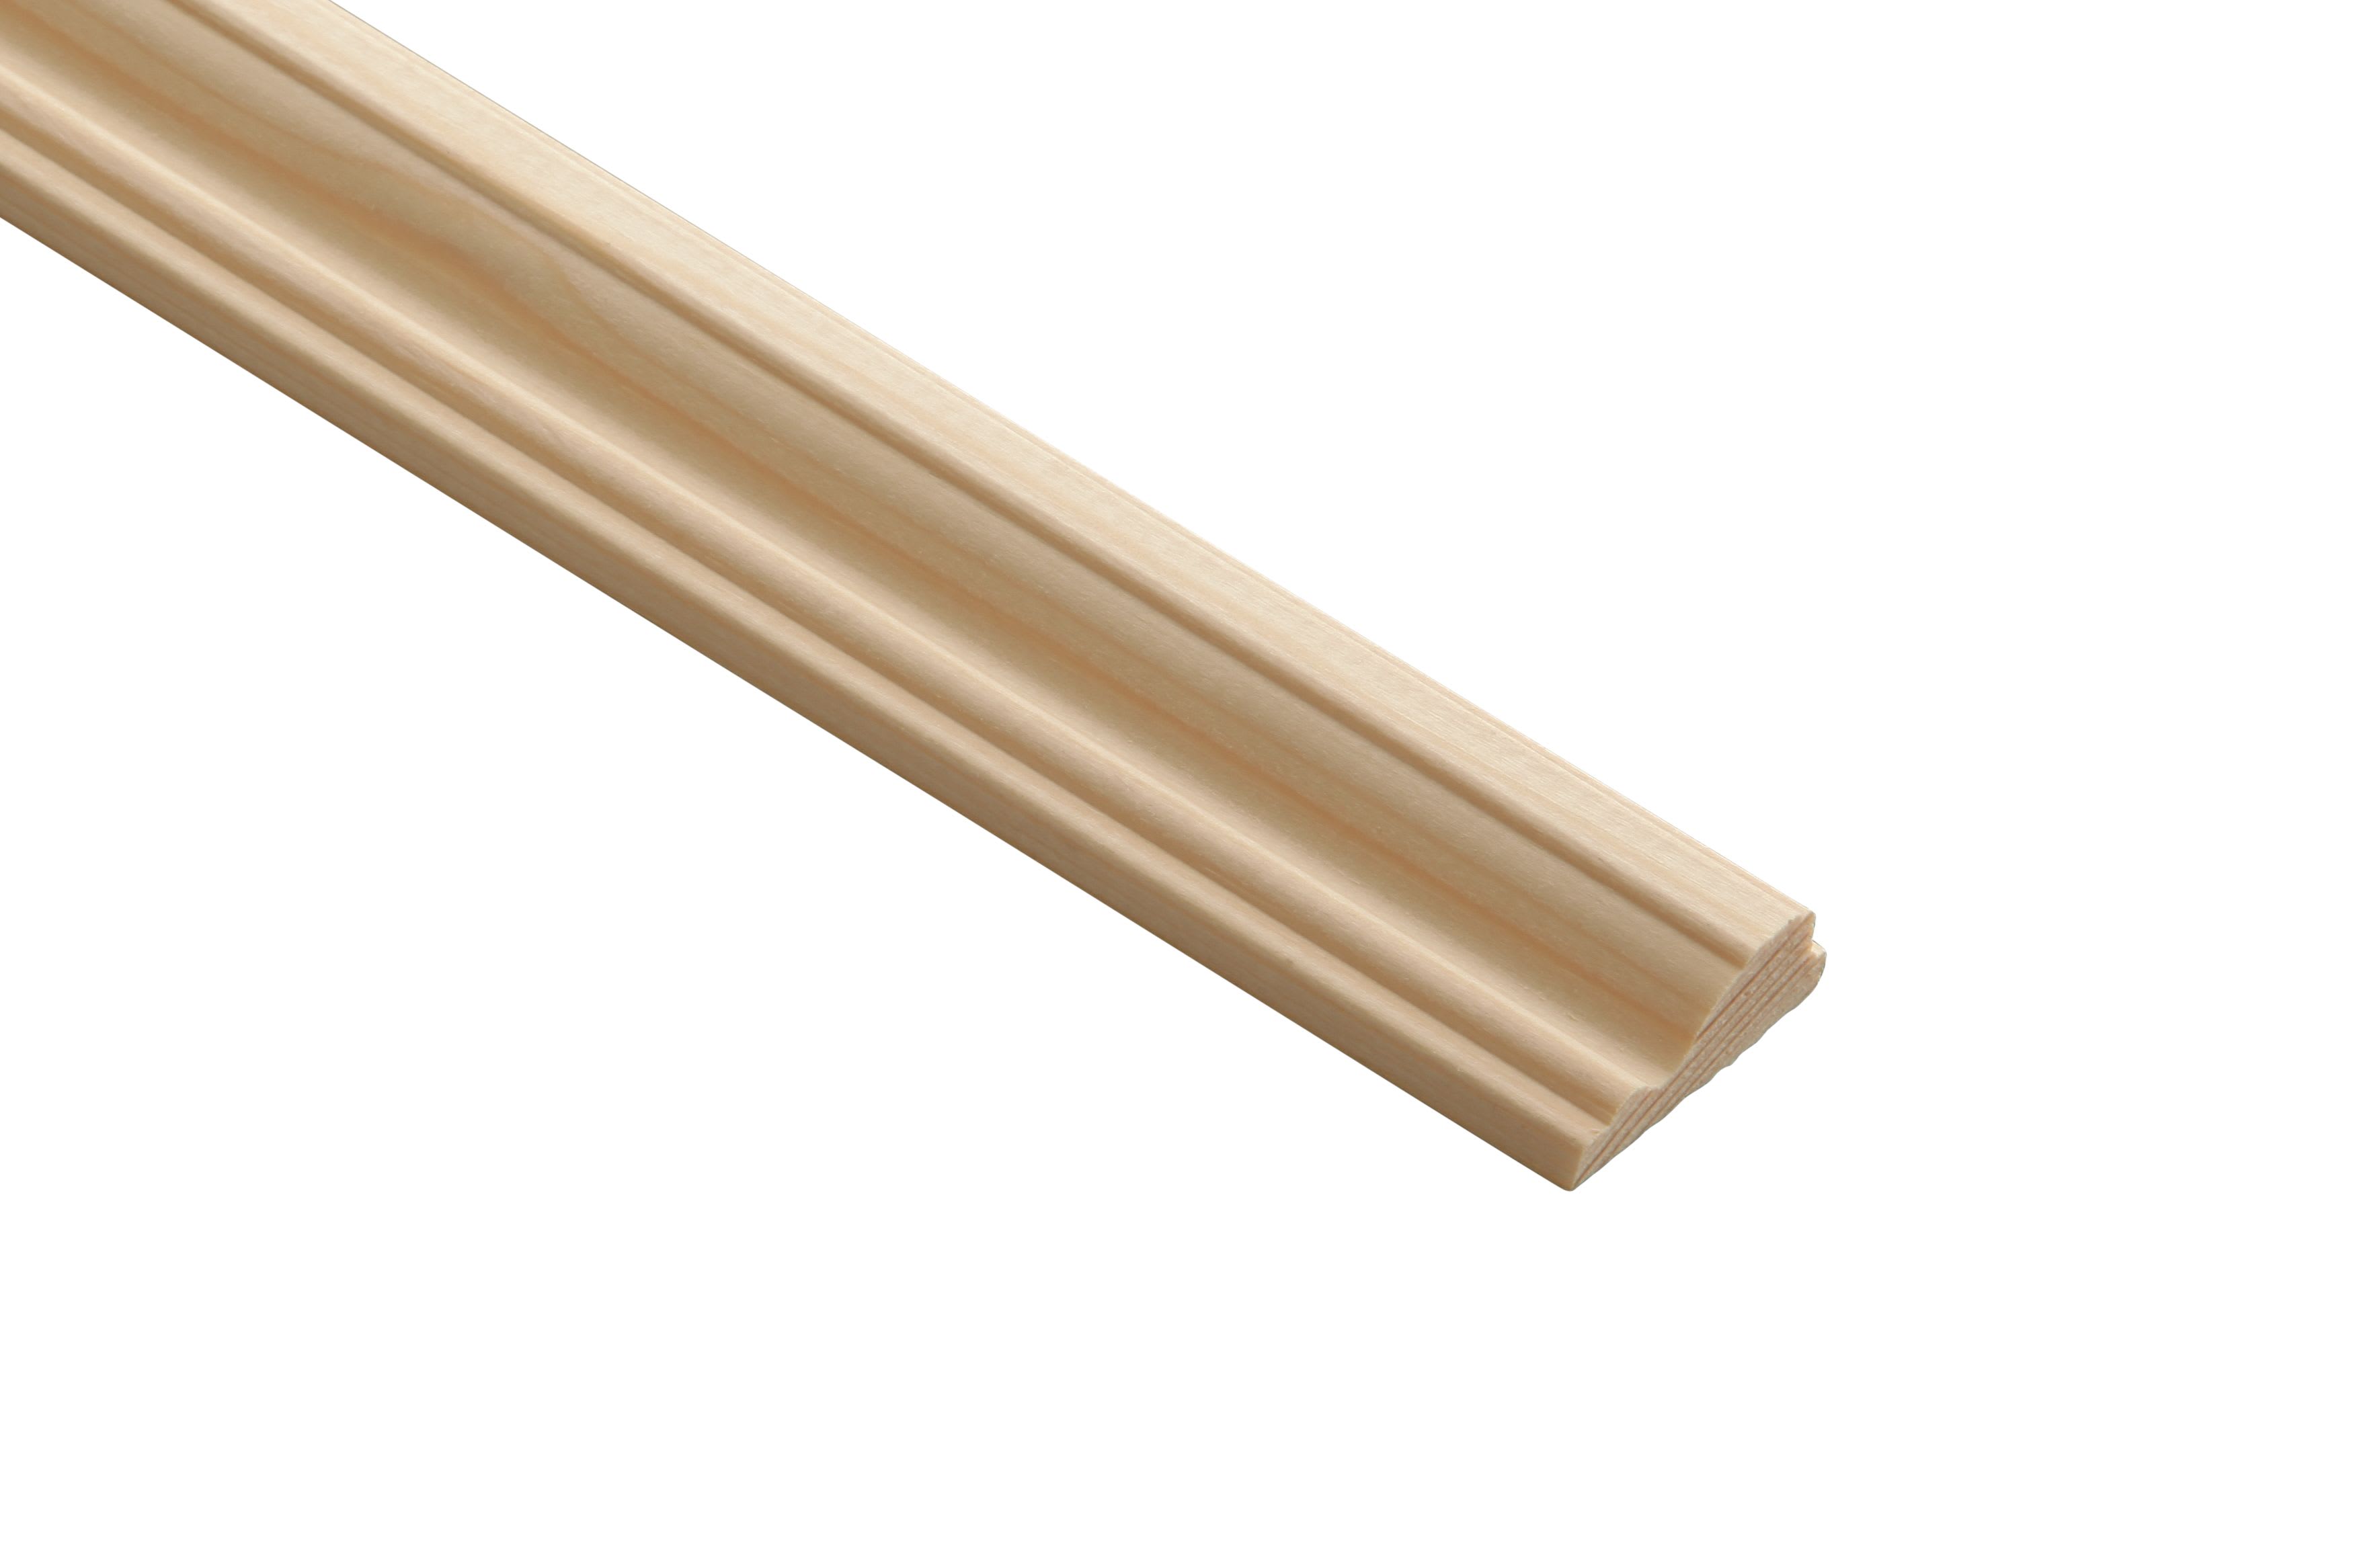
Scotia is a decorative addition to your skirting board, covering the gap that meets the floor when solid wood, engineered wood and laminate flooring has been laid. Not only does it create a visually pleasing flooring addition, but it means that homeowners don’t have to remove their skirting.
Our scotia floor trims come in a range of wood types, widths and lengths, allowing you to install a trim that matches your flooring with ease. Its concave design makes for a new dimension to skirting set-ups, which offers an appealing aesthetic that covers the expansion gap often left after solid floor installation. From the classic white oak for a modern effect to the traditional pine for a warming touch, we have a wood shade to suit your home.
Each type of flooring beading we have available is made with quality and durability in mind. What’s more, with our white scotia options, you are given a pre-primed base that gives you the option to paint your components to match your home’s theme.
Scotia is an easy way to add the perfect final touches to a flooring installation. Begin by measuring and cutting your scotia elements with a handsaw and mitre box, ensuring they align with your wall lengths. Make sure the area that you are installing your scotia on is clean and free of any unwanted debris.
Next, apply a small amount of adhesive along the back of your scotia beading before pressing it firmly in place against your flooring/skirting. This will cover the expansion gap that was a result of your flooring installation. For extra peace of mind, you can use finishing nails to secure the scotia. If you find any gaps in your installation, you can simply fill them with wood filler and then sand them down for a smooth, sleek finish.
Cutting scotia is an easy and straightforward process that requires minimal tools and effort. Before you begin cutting, make sure you measure the length of your components to match your walls. You can mark the cutting line on each of your scotia panels using a pencil and tape measure.
If you want to accomplish an intricate straight cut, use a fine-toothed saw to cut along your marked lines. If you’d prefer an angled cut, a milter box will help guide your saw to achieve this. To finish off, make sure you sand down any rough edges if you want a smooth look.
Scotia beading isn’t a necessary addition to your flooring. However, it serves as a practical solution to covering the expansion gap, allowing for the natural contraction and expansion of materials. Not to mention, you’ll prevent any damage to flooring edges through an aesthetically pleasing and easy to install inclusion.