How to repair a wall or ceiling
No matter how careful you are in your home, you’re bound to come across some holes, cracks or dents in your walls at some point. Thankfully, repairing a broken wall is an easy task anyone can do with the right know-how and basic knowledge of DIY.
Method
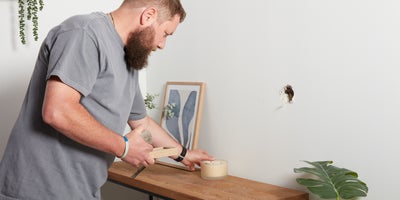
First, create a safe space to work in around the wall you need to repair.
Use a wire detector to ensure there are no pipes or wires above, behind or either side of the breach in your wall.
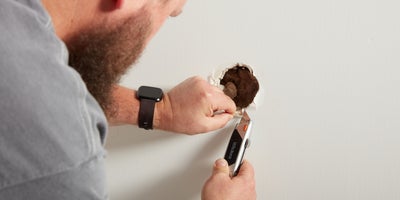
Use a utility knife to cut away the loose pieces of plasterboard until the hole is clear.
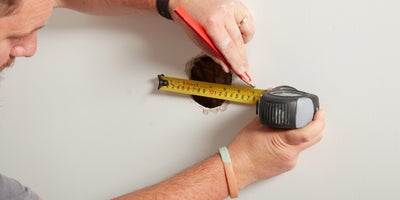
Measure the size of the hole giving a 2 - 5cm excess. Mark down the size so you remember what size to cut the new plasterboard piece.
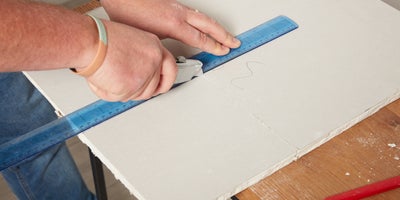
Use a pencil and ruler to mark out your measurements on your plasterboard, then score into the lines using a utility knife this should then snap clean along the line with a light knock.
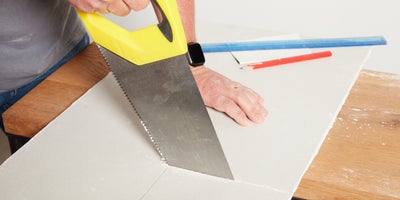
Alternatively, you can use a hand saw to cut out the block ready for replacement.
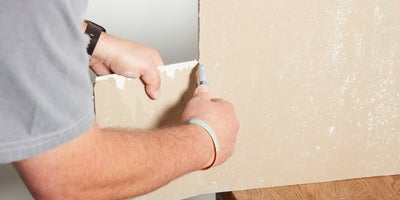
If there is a tear or loose cut of plasterboard on your sawn block, use a utility knife to tidy it up.
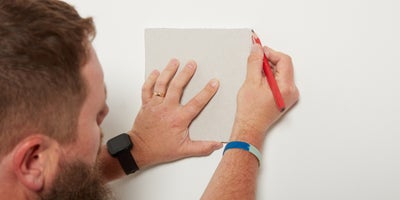
Place your freshly sawn block of plasterboard up against the hole on your wall, then use a pencil to draw around it to create an outline.
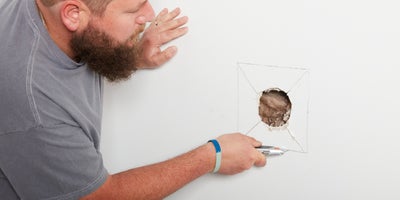
Now, use your utility knife to score from each of the four corners to the middle of the hole. You can then use your saw to cut into those four scorn lines.
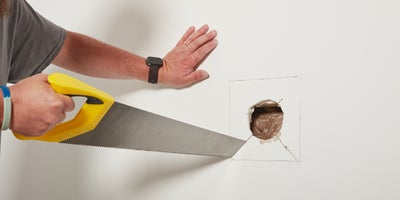
Once you’ve done this, use your utility knife to cut into the outline again, the central pieces of plasterboard should become loose and be removed by pulling them out.
Top tip: If the central pieces of plasterboard on the damaged area are not coming loose, use a hand saw to cut them out from the wall, so you’re left with enough space to fit your replacement plasterboard.

Use a utility knife to tidy up the outline before placing the plasterboard cut into the outline to ensure it fits.
If the cut piece of plasterboard doesn’t fit, cut away a small amount using the utility knife. Keep testing it with each cut to ensure you don’t cut away more than necessary.
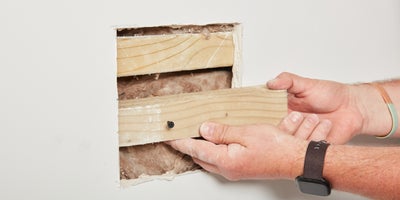
Cut a small piece from your timber slightly wider than the hole to act as a support baton.
Take your wooden support baton and insert it into the hole in order to hold your replacement plasterboard in place.
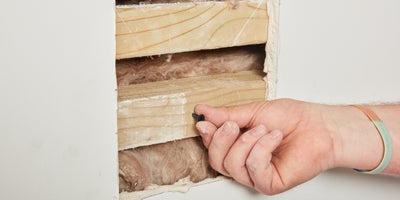
Top tip: Before inserting your wood baton into the outline, drill a screw into the center of the block so you can grip onto it whilst drilling your screws into the baton through the wall. Drill out this screw once you’ve secured the baton in place.
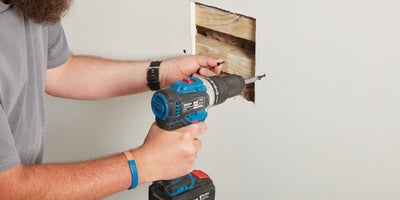
Use a drill to drill through the wall and secure the screws into the support baton behind it.
Now your support baton is in place, insert the replacement plasterboard piece so it fits snug.
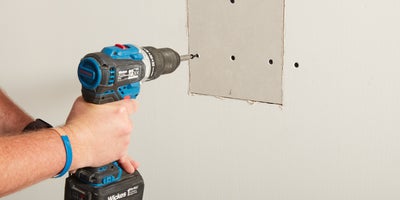
Depending on how big the repair hole is, secure the replacement plasterboard to the wooden support baton using 2/3 screws from your drill.
If your hole is larger than ours then secure it with more screws until you’re happy. You may even need two support batons to secure the top and bottom of the replacement plasterboard.
If you have a stud where your repair is taking place, secure a screw into the replacement plasterboard and the stud to provide the repair with extra stability.
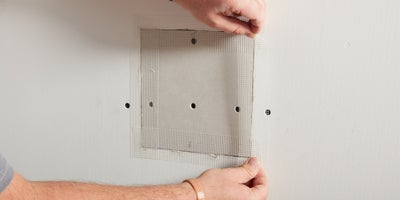
Apply plaster guard repair tape to the 4 sides of your repair.
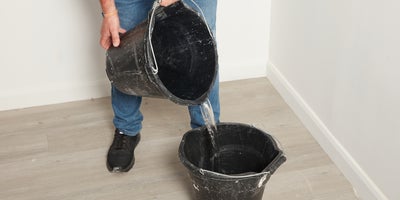
Once your repair has been taped up, it’s time to prepare your interior filler.
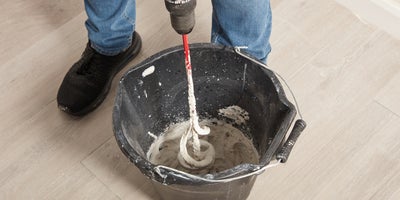
Fill your mixing bucket with water and add the filler powder solution in accordance with the instructions on your packaging. Use a drill mixing pit to mix the solution together until it has a smooth consistency.
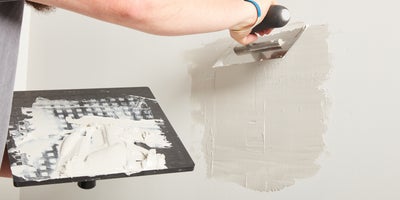
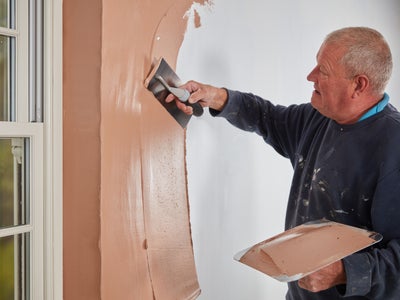
Use a plastering trowel to coat the repair area with your mixed solution, then smooth it out until it is smooth and nicely feathered at the edges.
Leave it to dry for two to three hours or however long your packaging states to leave it for.
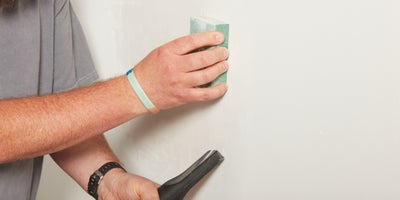
Once dried, use a sanding block to smooth it out and eliminate any high areas on the repair.
Top tip: Place a vacuum hose below the repair to catch the compound dust as you’re sanding it.
When you’re happy with the smoothness of the repair, it’s time to paint over it.
After you’ve finished painting, you’re all done, and your wall should look good as new.
