The Big Event! Offers on Tiles, Flooring, Doors & more
Skip to content Skip to navigation menu
Basket
0
Planning and preparation
  • We are going to show you how to build DIY light fixtures, step by step.
  • They utilise repurposed and recycled materials to help reduce waste and create something out of spare parts. 
  • The sconces are fully customisable, so you can brighten up any wall in your home with a design that perfectly complements your aesthetic.
  • It should take a DIYer with moderate skill approximately a few hours to build, plus any time you allow for drying.
Doing it right
  • This project is all about using whatever you’ve got, so there’s plenty of room to get creative with the materials you use.
  • It makes use of the burn and brush technique; be sure to do this outdoors or in a well ventilated space, and on a suitable floor. 
  • Make sure to go with the grain of your wood when burning and staining.
Staying safe
  • Always make sure that your chop saw is unplugged while you’re setting it up or changing accessories, to ensure your safety. 
  • Keeping the plug in sight acts as a visual reminder to prevent accidents and hazards.
  • For extra safety when using power tools and painting, be sure to wear protective equipment, including your ear defenders, goggles and dust mask.
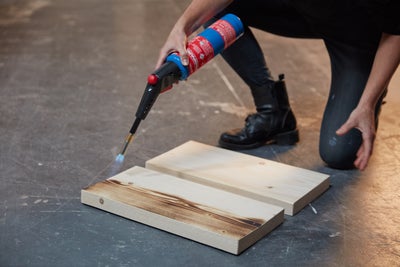
Burn and brush the wood

View instructions

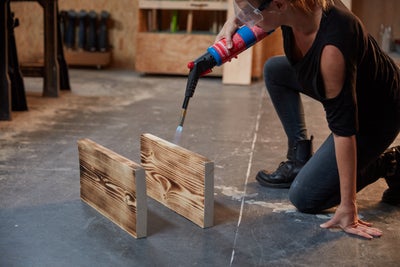
Make sure that you do this outdoors or in a well ventilated room, on a suitable floor.

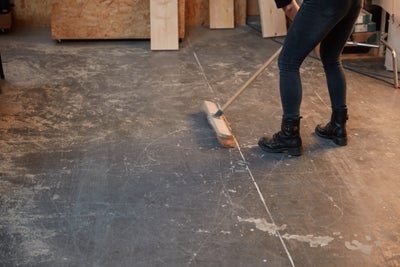
Sweep the floor clean

Sweep away any debris from the area that you’re going to be working in.

Lay two identical timber offcuts in position.

Ignite your blowtorch and move across the wood

Ignite your blowtorch and slowly move it side-to-side over the wood, working from top to bottom.

Sweep along the grain as you go to achieve a consistent finish.

Repeat on the remaining sides

Allow them to cool before repeating this process for all remaining sides.

Allow everything to cool properly, before moving your burned wood to your workbench.

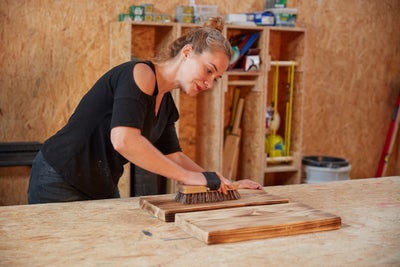
Brush away excess debris

Go over it with a brush, making sure to go with the grain, to give it a textured finish and remove any excess ash or debris from the surface.

Staining the wood

View instructions

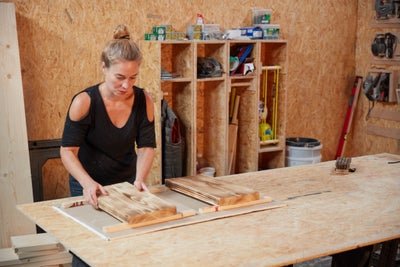
Lay down an unwanted sheet on your workbench to catch any drips.

Use timber offcuts to raise up your pieces of wood

Place timber offcuts on the sheet on which you can lay your burned wood. This will keep them raised from the surface.

Remove dust with a brush

Go over your wood with a brush to remove any dust before staining.

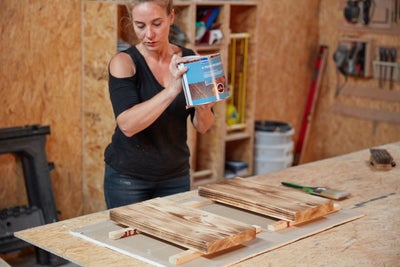
Shake your woodstain

Check the lid is properly fastened and give your tin of woodstain a shake.

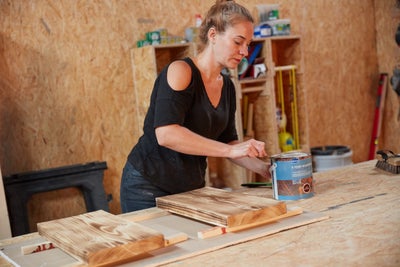
Open your woodstain

Use a spoon to open the lid of your tin.

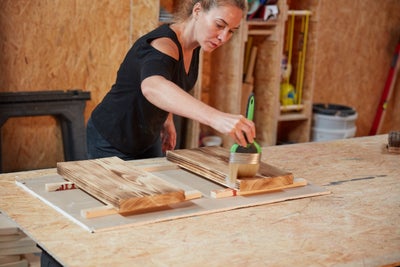
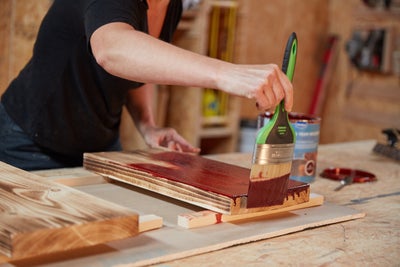
Apply the first coat of woodstain

Brushing with the grain, liberally apply the first coat while trying to avoid too many drips.

Once your first coat is complete, remove as much stain from the brush as possible.


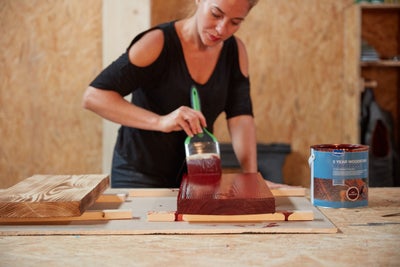
Apply the second coat of woodstain

Go back over any lighter areas in long, slow brush strokes with a relatively dry brush to achieve a more even finish and complete coverage.

Repeat this process for the other piece of wood.

Give them plenty of time to dry thoroughly.

Attaching the bottles

View instructions

Make sure you take the time to find a bottle that fits and stays securely in place when mounted to the wall.

Mark up where you will hang the fixture

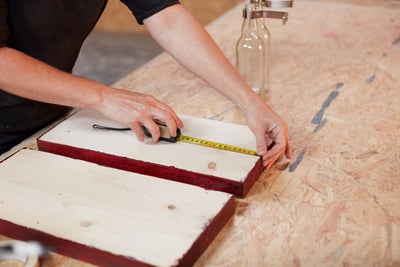
Work out the ideal location for the hole on the back of your wood. This is what you’ll use to mount it to your wall.

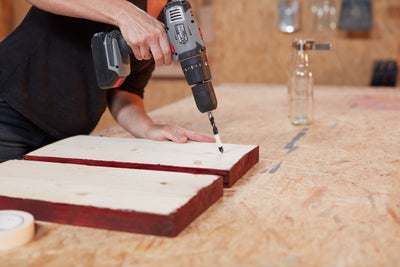
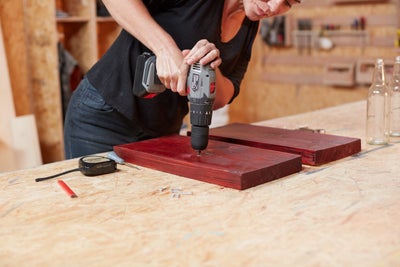
Drill a pilot hole

Mark your spot and drill a pilot hole, making sure not to drill through to the other side.

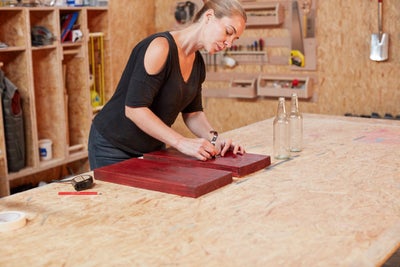
Position the bottles and holders

Then work out where you want to position the bottles and their holders.

Mark with a bradawl

Make an indent with a bradawl to mark your locations.

Drill pilot holes

Drill a pilot hole through the indents.

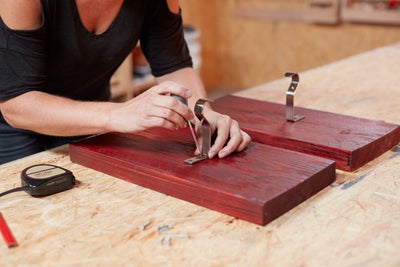
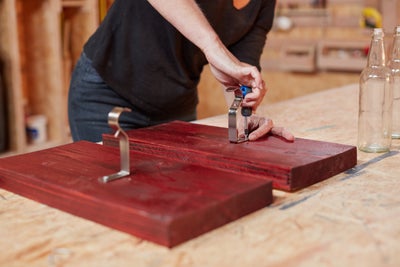
Screw in the hooks

Position your hooks and screw them in by hand.


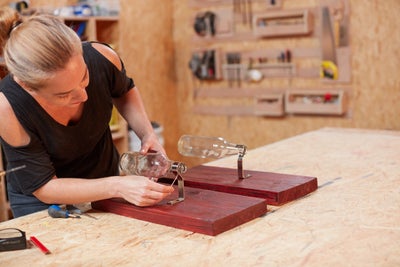
Affix your bottles

Affix your bottles, fastening if necessary.

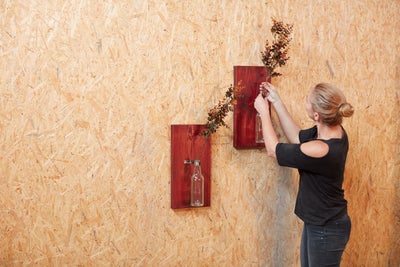
Mount and decorate

Now they’re ready to be mounted and decorated.

More inspiration